I think this recipe exploded the internet last summer and since then my girl friend and I have been tweaking and perfecting the recipe that we now consider the source of truth for all Grinder Salad to come.. Some of it might be the exact ingredients or maybe it is the...
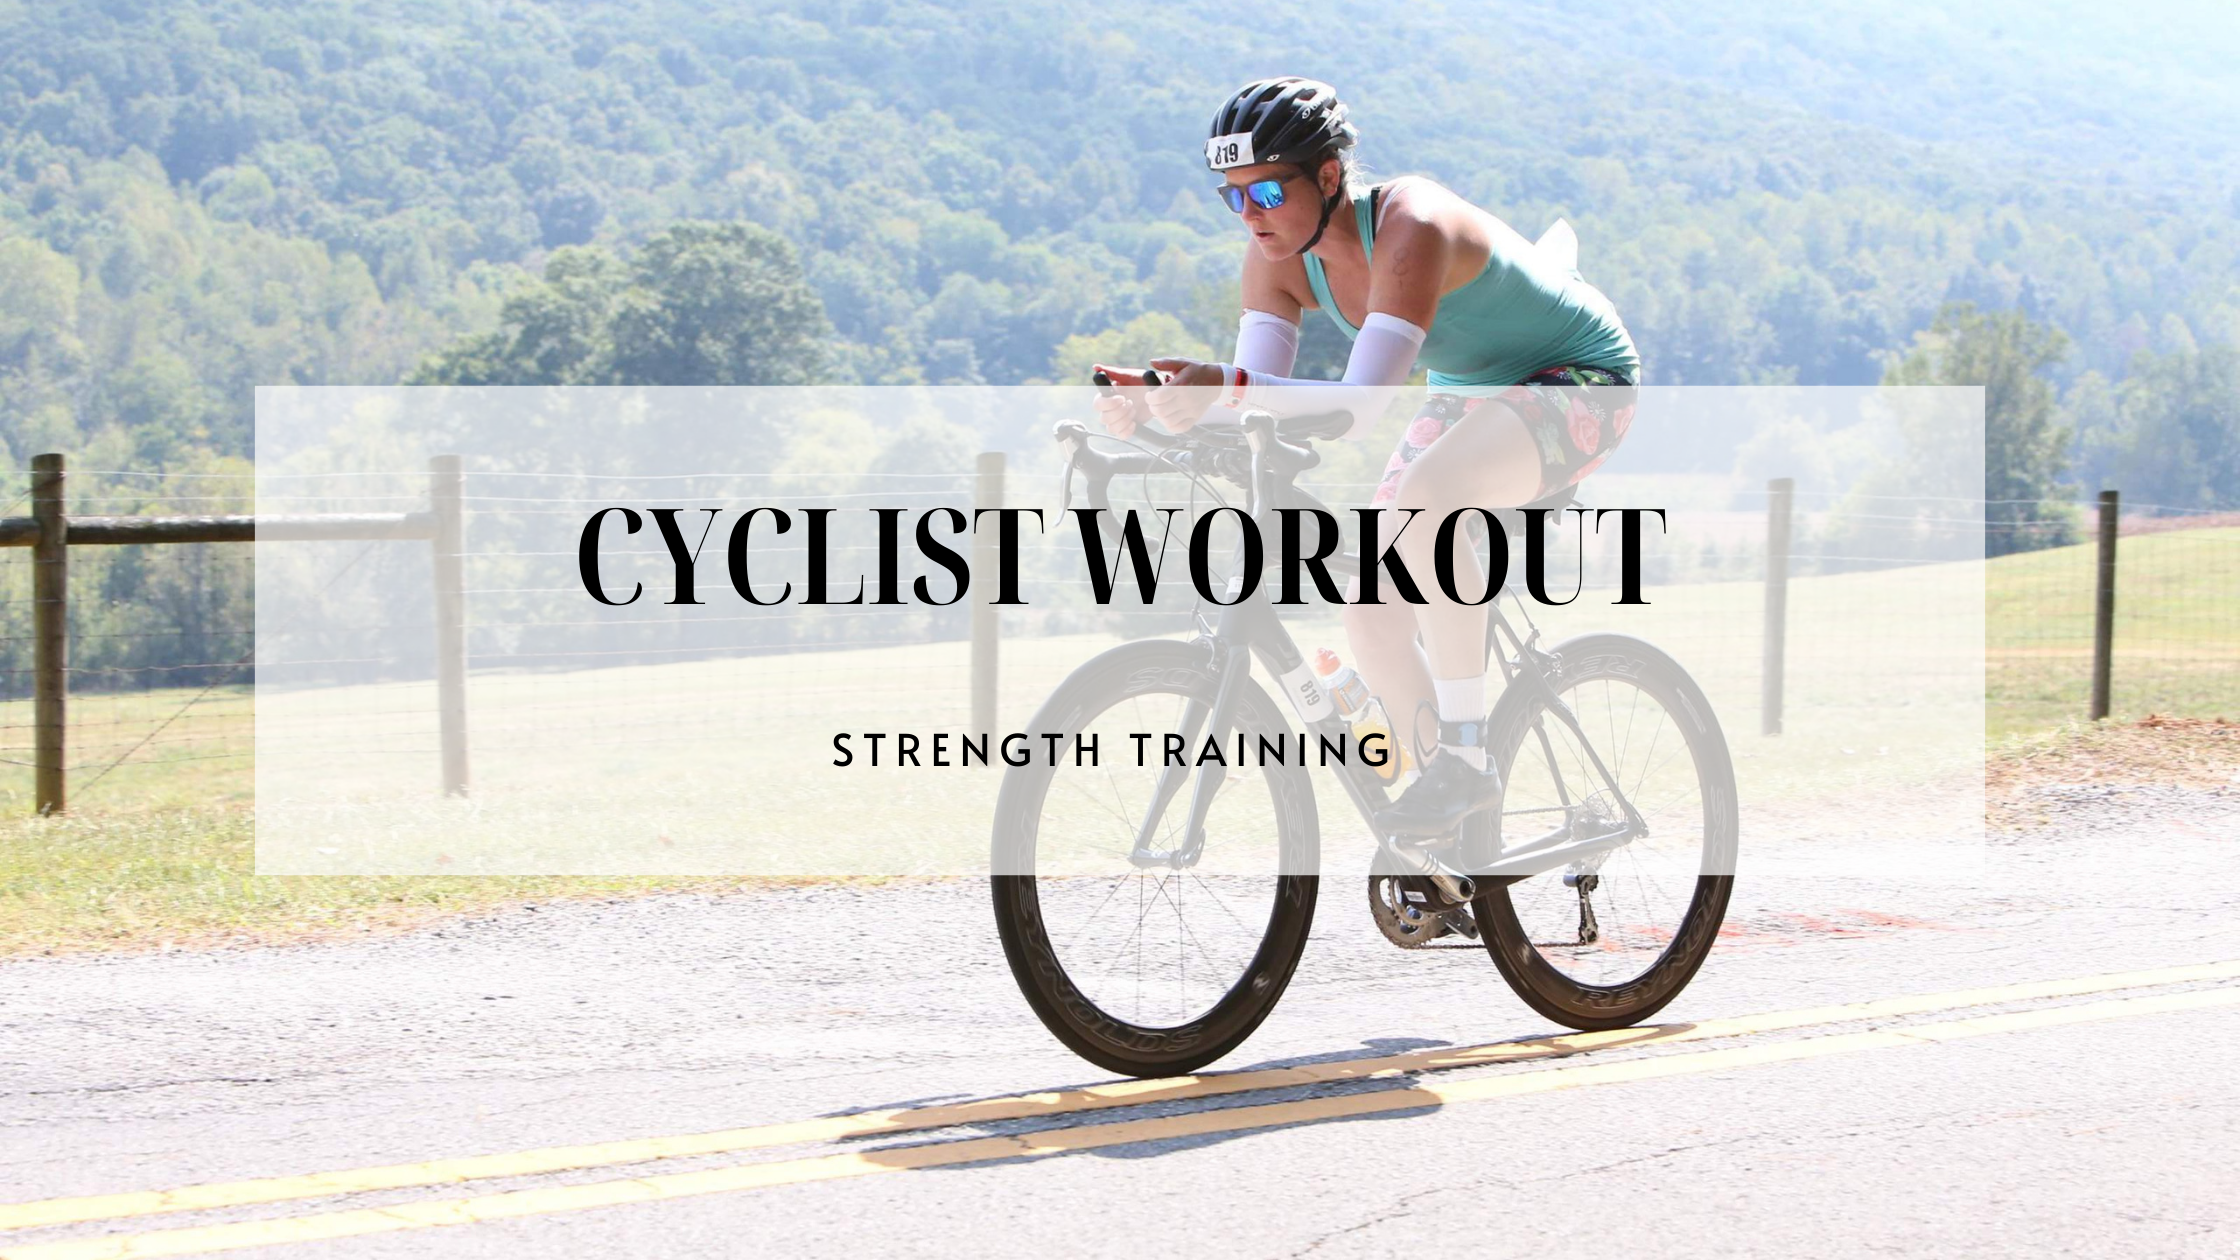
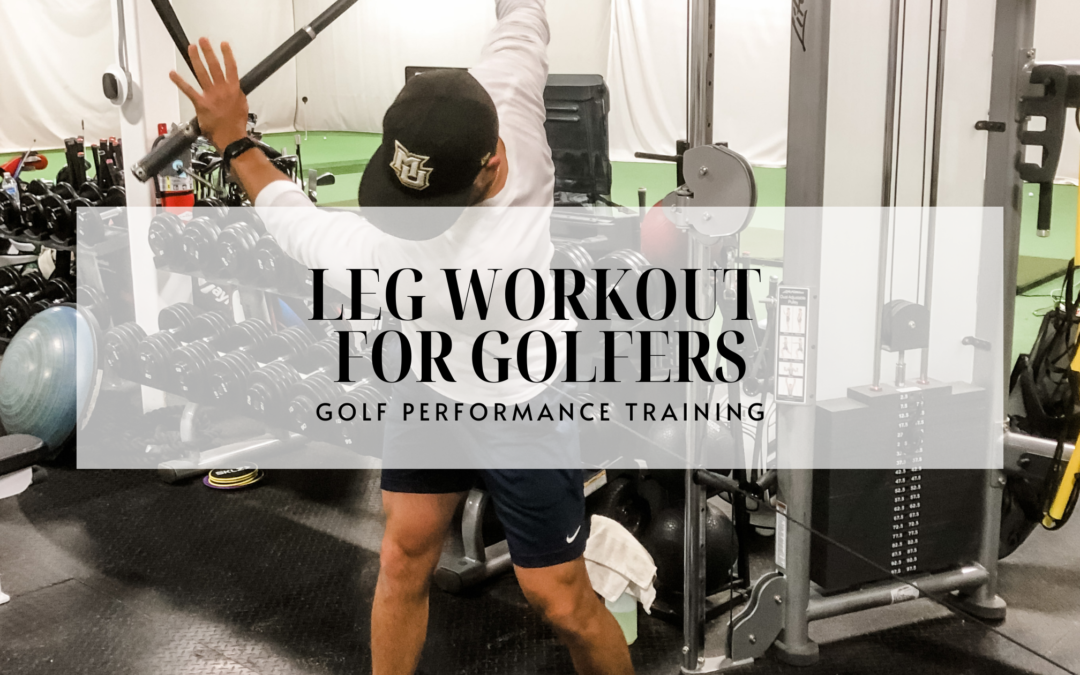
BEST EXERCISES FOR CYCLISTS
I found cycling because I have a great friend who told me I should do an IronMan. And the amazing thing that happened was that I fell in love with it. Sure there were days I didn’t want to ride, but man trying a new sport was exciting. You know what happened next. I wanted to be better. Naturally, I turned to what I knew – strength training.
Lucky for me I had the knowledge base and the understanding that getting better at cycling as a non-professional wouldn’t take a detailed analysis of my bike fit. Or some great cutting edge gear. Or even a technical coach. No at this point the biggest bang for my buck (money and time) would be strength training.
Don’t get me wrong. There is a time and a place for bike fittings, gear and coaching. But as a novice what I needed was to strengthen and condition my body for the sport. After all, even the pros are still strength training between all their training rides, fittings and coaching.
WHY SHOULD CYCLIST STRENGTH TRAIN
 Here is the number one reason competitive cyclist need to strength train. PERFORMANCE. It doesn’t matter if you are competing to win or competing to finish, strength training should be a mandatory part of your training plan.
Without strength training you are at risk for injury. A properly written and executed training plan will work to keep your body’s muscular system in balance as it handles the work load of training.
Let’s be transparent here, not all training programs are made equal. A bad program or poor quality of reps (incorrect muscle firing patterns) will have a negative impact. Increasing risk of injury or prevalence of pain. Finding a specialist to work with you directly or to at least get you going is an absolute must.
Strength training is meant to build power. Power that we can harness in sport to improve our performance. We can argue that the stronger your legs are the more power you can output. Therefore the faster you can be. This is true. But the catch is that you have to be strong and have incredible endurance. Two things that are a little contraindicative.
Your training plan should cycle to account for off-season, in-season changes. Defining a time that is for building strength and a time that is for building endurance. Helping you to peak at the moment of performance. When you are your strongest, with the most endurance and the healthiest (no injuries or risk of injury).
BEST EXERCISES TO WARM-UP FOR CYCLING
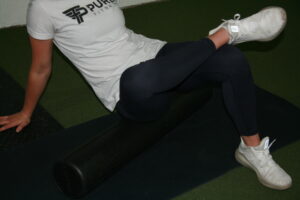
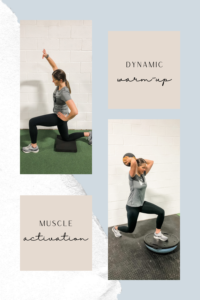 There are three common ways we are suppose to warm-up. Foam rolling, muscle activation and dynamic warm-up. Is one better than the other? Depends on who you ask.
In my opinion, for the average person, it doesn’t matter. What matters is that you find something that you will do consistently. Because let’s face it most people are NOT warming up. And believe me, I have been there. Sometimes the idea of warming-up seems harder than the workout.
The goal of a warm-up is to raise your body temperature and therefore you muscles so that they can be responsive under the stress of exercise. Part of this process should be “awakening” or activating the muscles you want to help you perform. So in the case of biking we want to really warm-up our lower body and core. And typically this takes around 10 minutes.
Personally I prefer to use whatever type of warm-up I am feeling for the day. I LOVE a good dynamic warm-up, but I would be lying if I said I did that every time. I would say quite often when I am cycling indoors I will foam roll for 5 minutes and then take the start of my workout slow to increase my body temperature. And every so often, when I am having some nagging discomfort I use muscle activation to relieve the discomfort and ensure proper muscle firing patterns in my workout.
Take a look at the these three styles of warm-ups:
- Foam Roll: glutes, IT band, quads, hamstrings + calves
- Muscle Activation: focus on the glutes, hamstrings and core
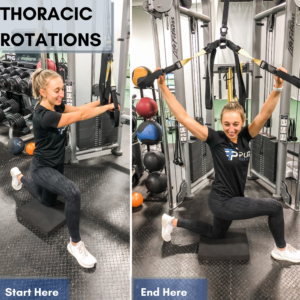
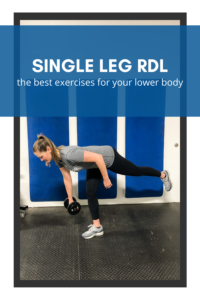
- Dynamic Warm-Up: standing hip circles, lunged rotation, flexion and extension, single leg rdl, standing swimmers and standing chest rotations.
If you are looking for a less running specific warm-up routine to use on strength training days or just to get your body moving check out this blog.
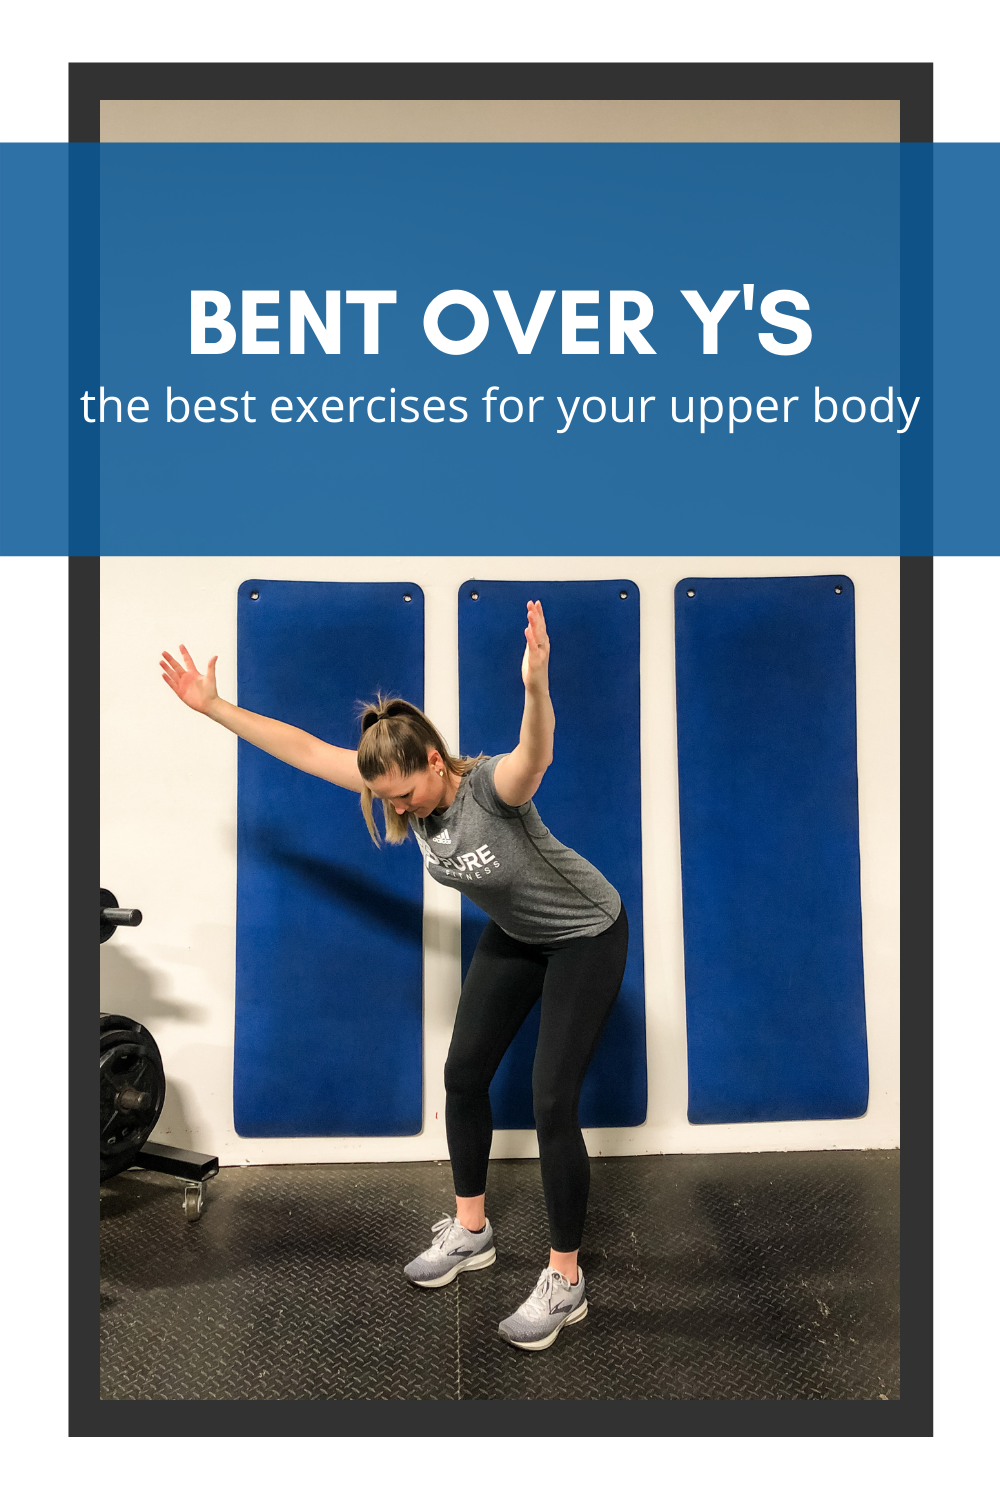
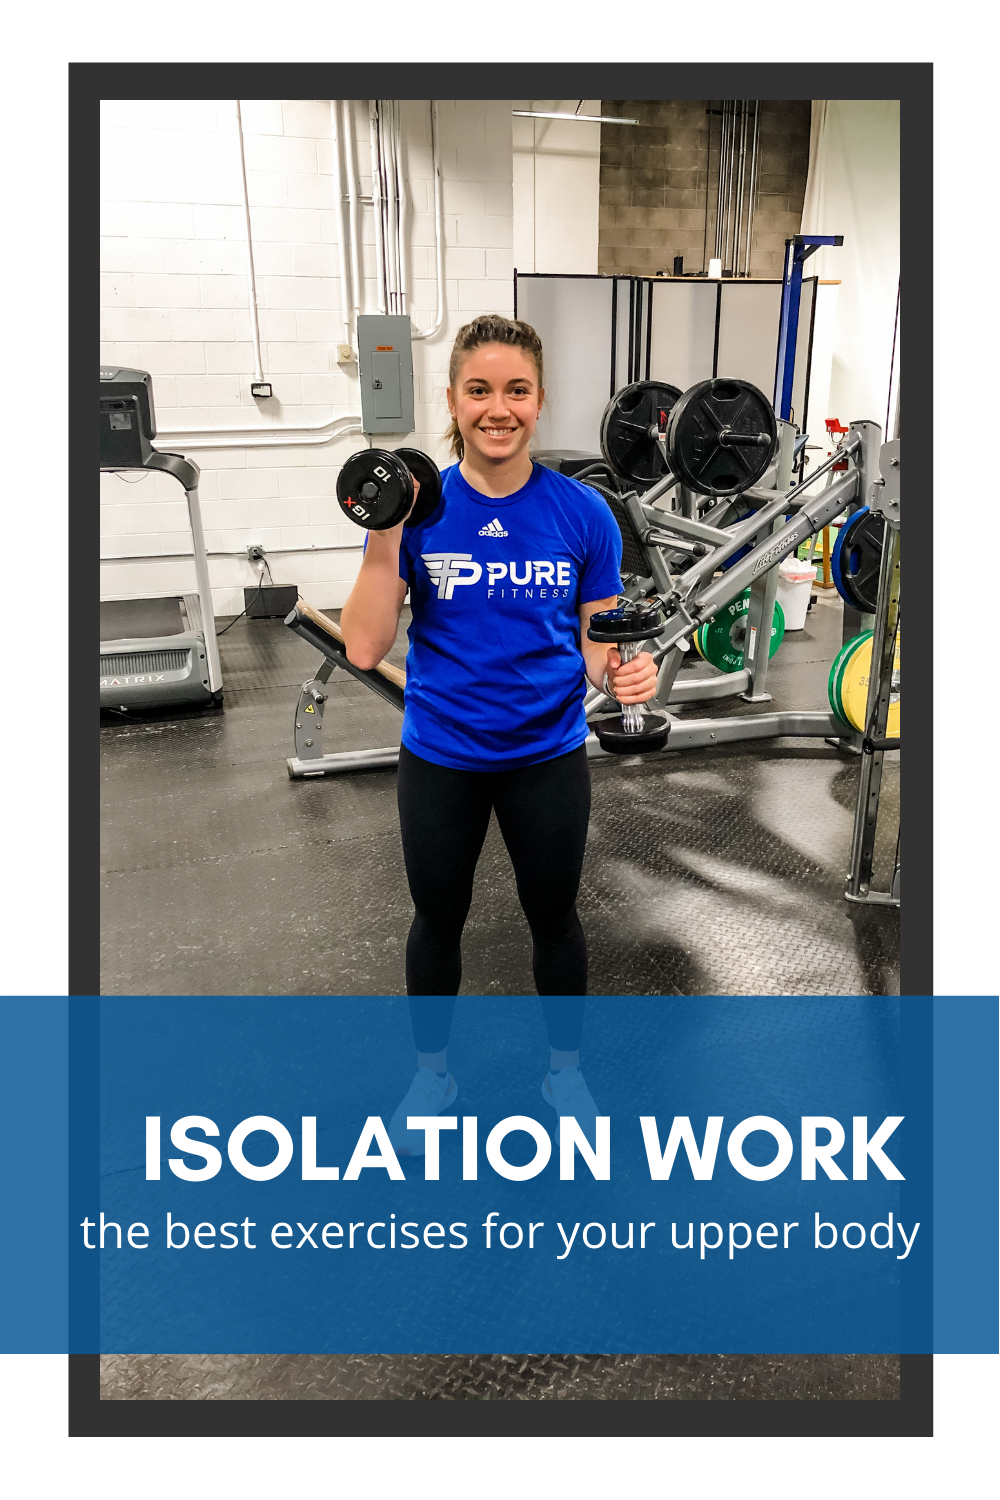
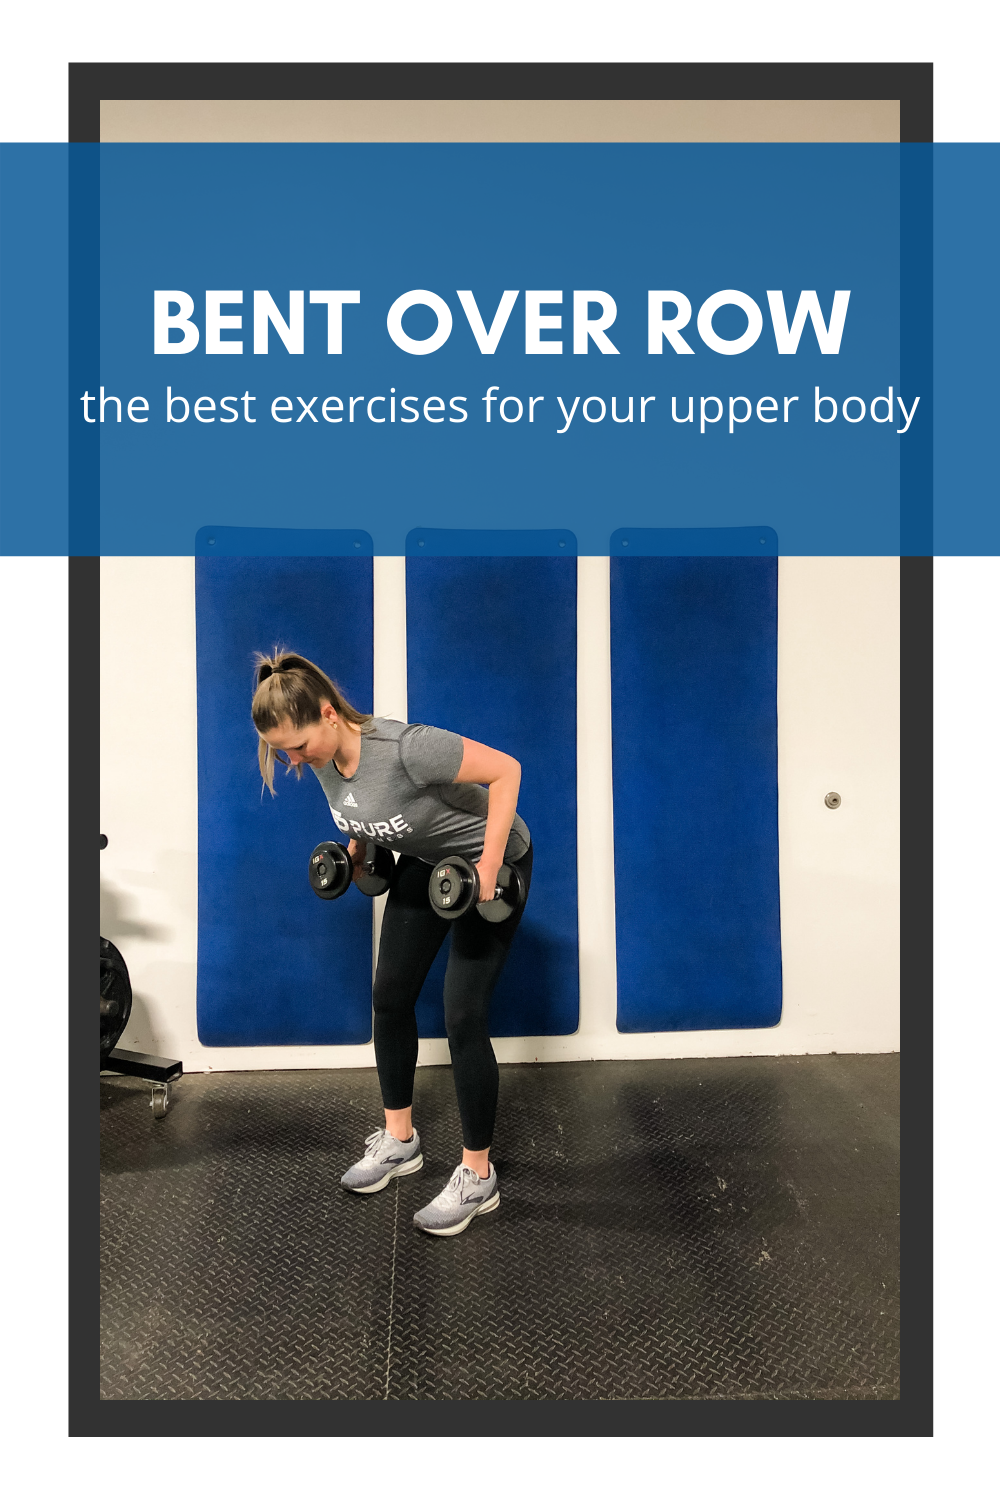
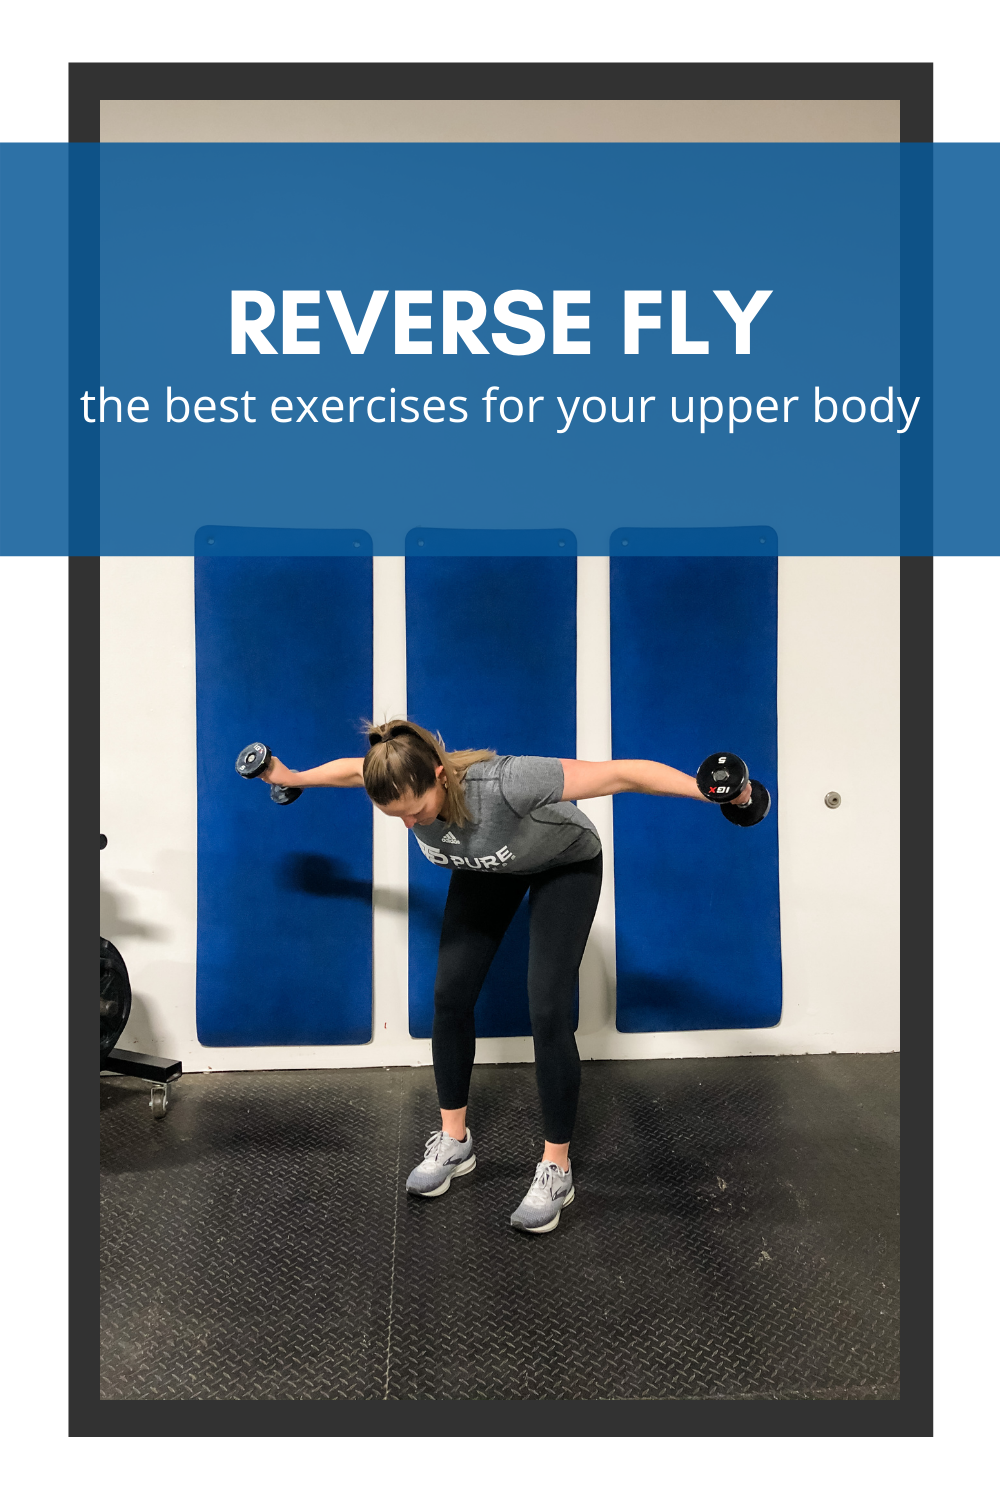
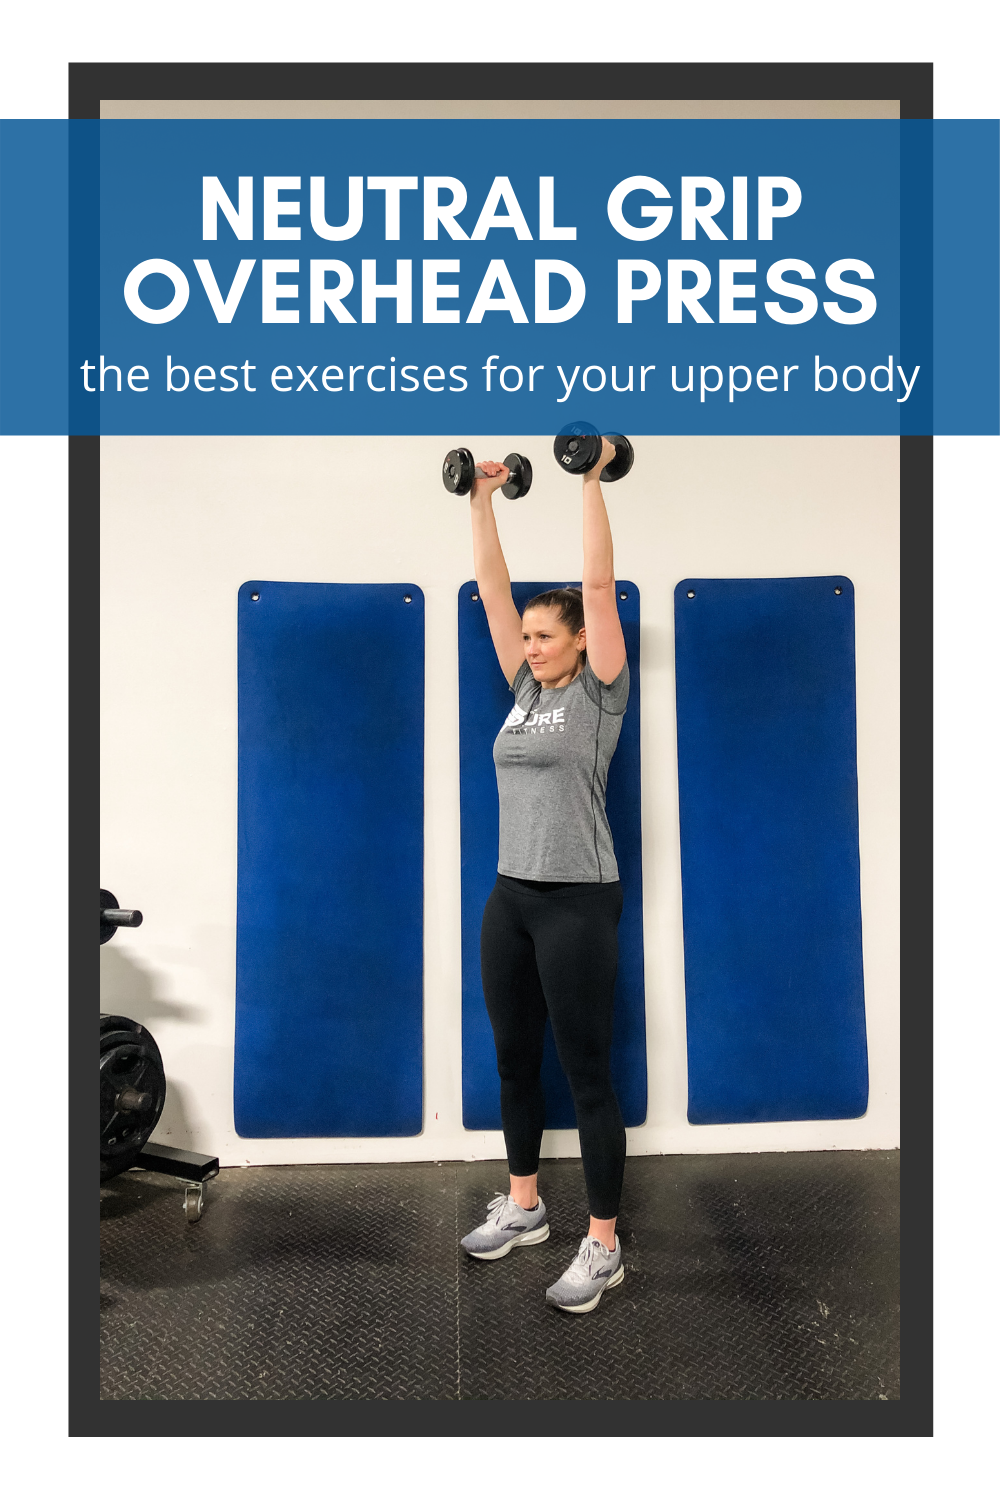
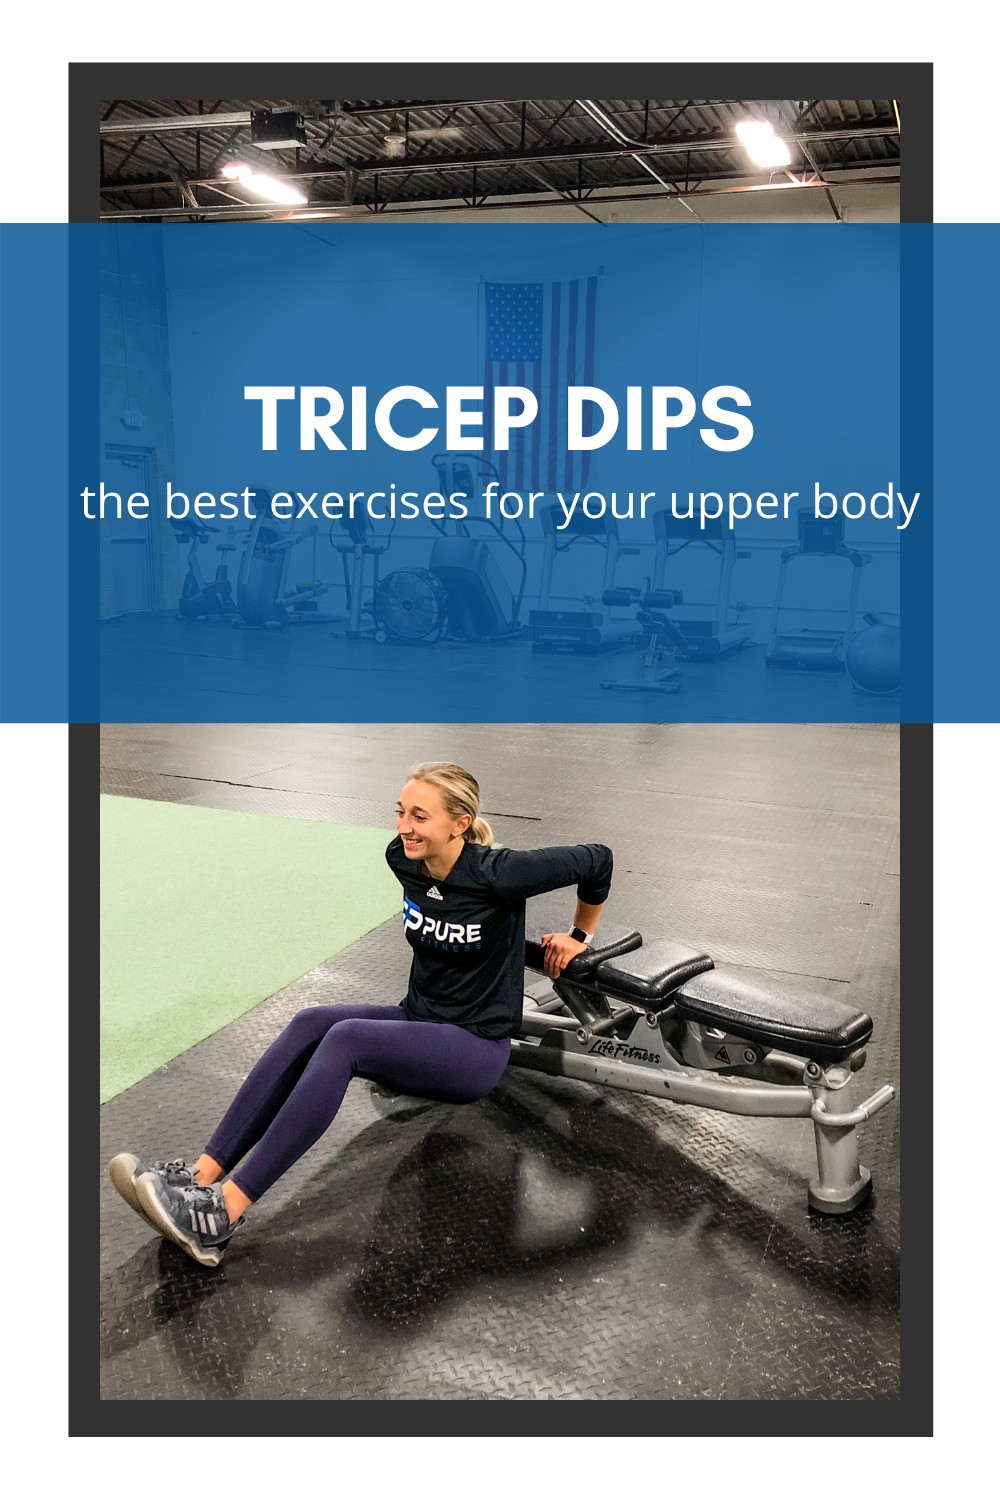
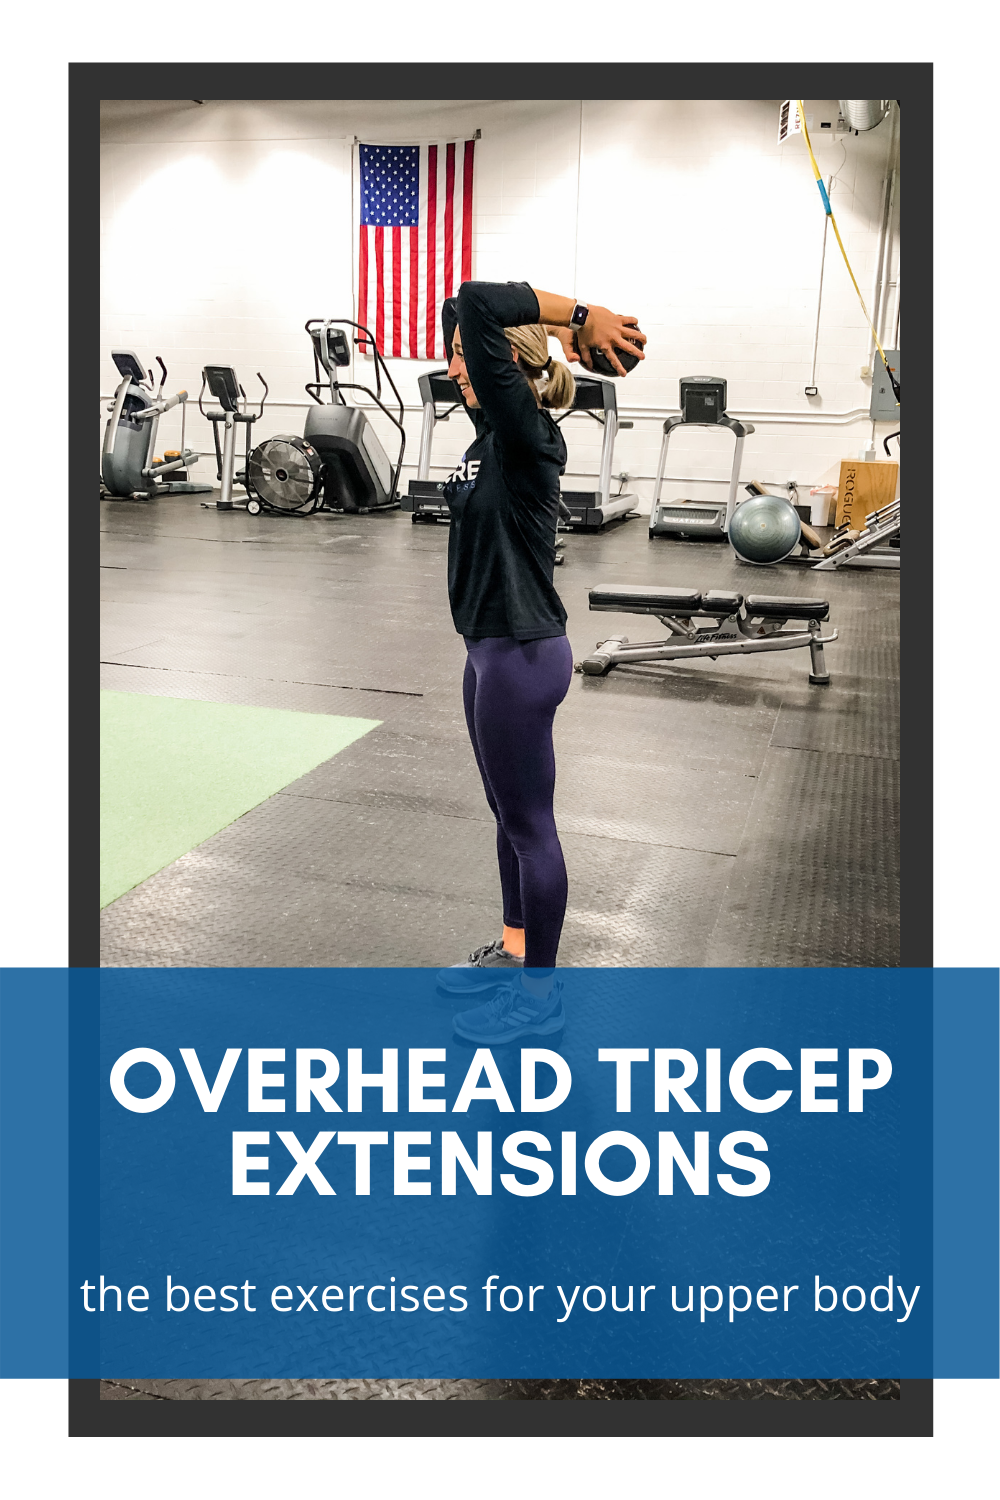
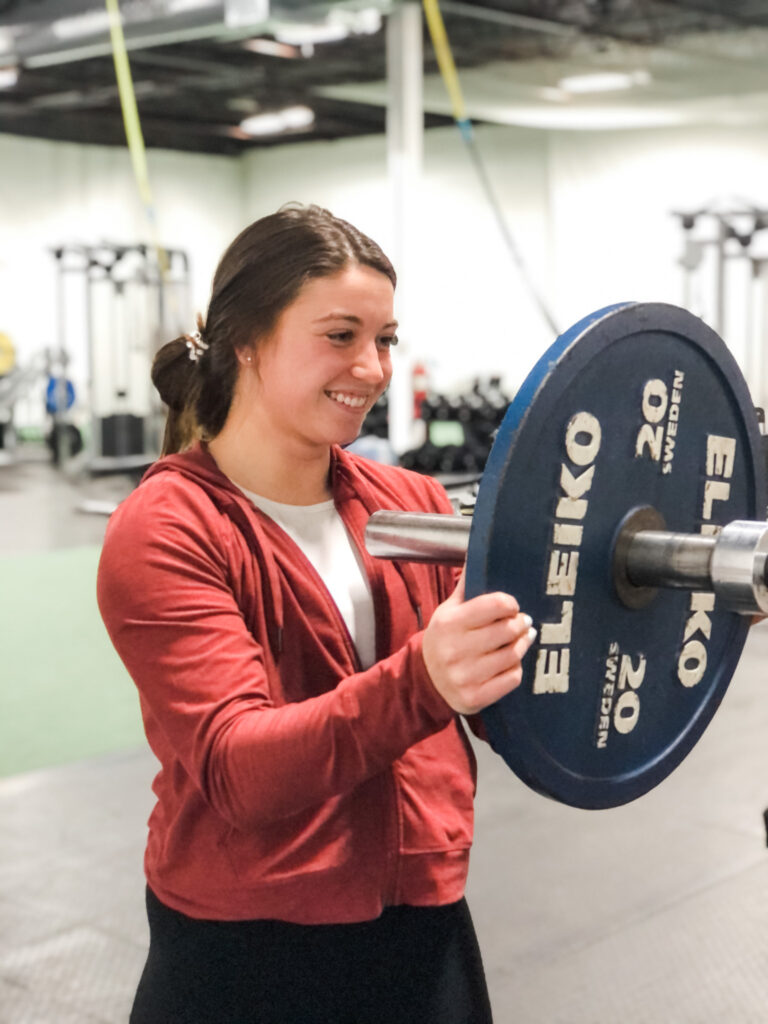
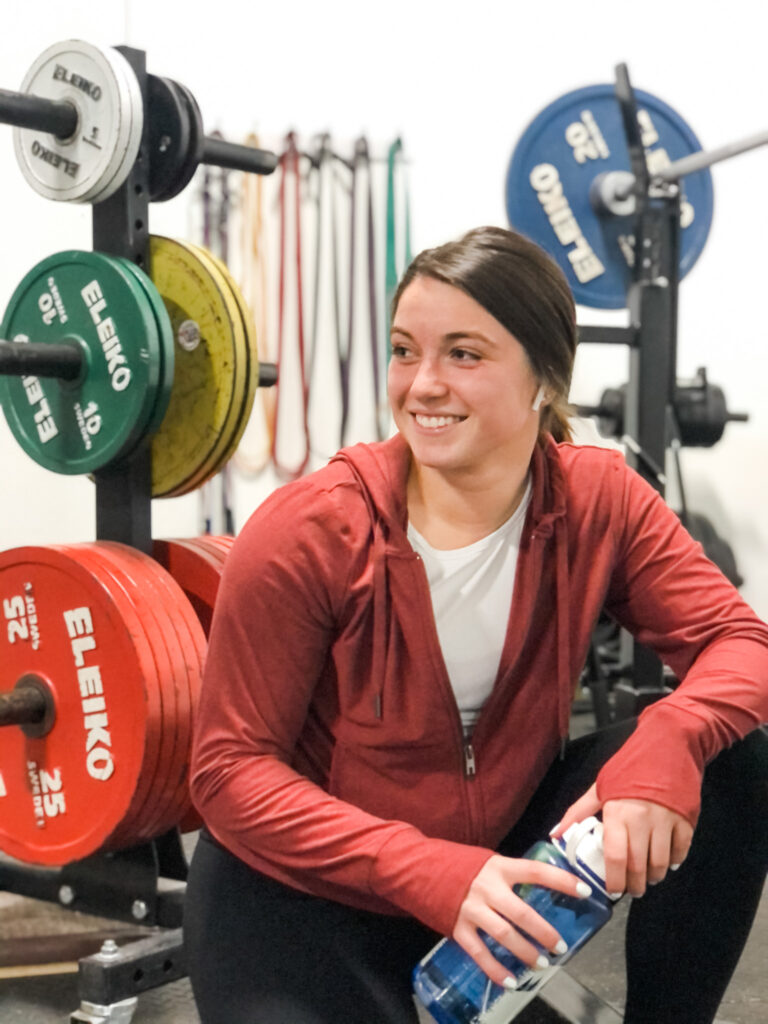
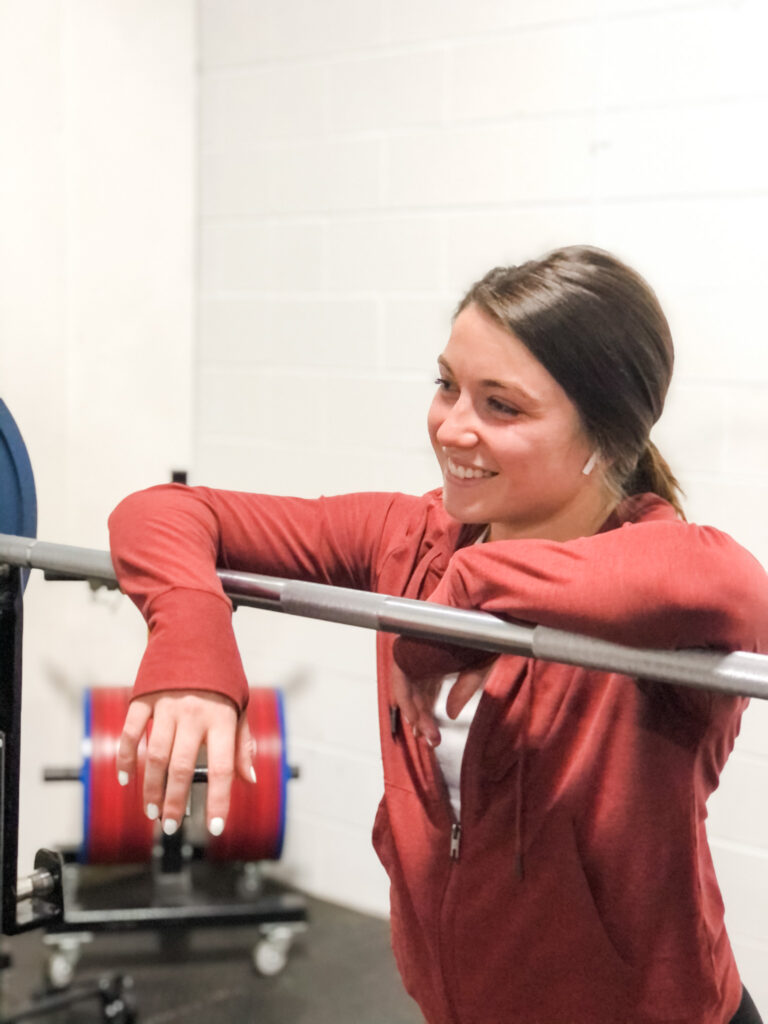
BEST EXERCISES TO STRENGTH TRAIN FOR CYCLING
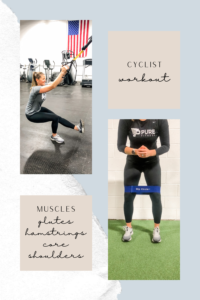 I have put together two strength sets, legs + core, you can try incorporating into your weekly training. My intention was to provide you a challenging program that can be done body weight or with resistance. You can also vary the repetition numbers based on your training situation.
There are a few important pieces of information you should have in order to make the most out of your strength training. Well there are actually a lot, but I am going to try and give you a brief overview of the essentials. If you want more then it is time to get yourself a personal trainer 🙃. Let’s start with some guidelines for training.
Quality over quantity. Any good training program can give poor results if it is not executed correctly. What does that mean? Proper form and muscle loading is the basis of any program. If you can’t fire your glutes you will never get the benefits of a reverse lunge, a back squat, a single leg RDL and more. Strength training is purposeful, going as hard as you can without purpose will end you in injury or frustration or both.
Here is my tip – most people are NOT appropriately using their glutes and hamstrings while cycling. Using a training program that will help you access those muscles while cycling will be a game changer.
Muscular endurance verse muscular strength. Depending on the distance you are training for your strength program will look slightly different. To keep it simple the longer the distance the more muscular endurance you need. To train for muscular endurance your rep count and overall volume is going to be higher. I generally look in the rep range of 15-20.
Not to confuse you, but a well designed program for a long distance race will still include muscular strength. It boils down to periodization to ensure that an athlete peaks at the ideal time. Yes, you are an athlete. You don’t have to be a pro to be an athlete, or have played a sport in college. You just have to approach your athletic hobby with the mindset of an athlete. And if you are reading this, then I would hazard a guess that you are in-fact an athlete.
Consistency. Don’t read this and think oh I am going to be stronger and faster and a better cyclist by next week! Results will come with consistent, long-term practice. Nothing happens overnight.
If you want to read a little bit about how you can use various types of interval training for your strength training check out our blogs on HIIT and Tabata. When used correctly, as described in the article (probably not what you are currently doing), they can vast improve someones cardio vascular capabilities.
And one more thing … even athlete need an off-season. You should have time built in to work on your strength imbalances or weaknesses. Time to give back to your body so that you can push it further next time. A lot of progress (read: faster + healthier) is made by gaining muscular strength in the off-season and translating that newly built strength into muscular endurance. Periodization.
If you are a triathlete check out my other blog on strength training for running.
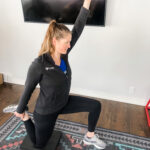
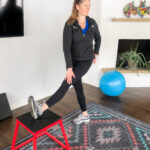
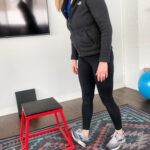
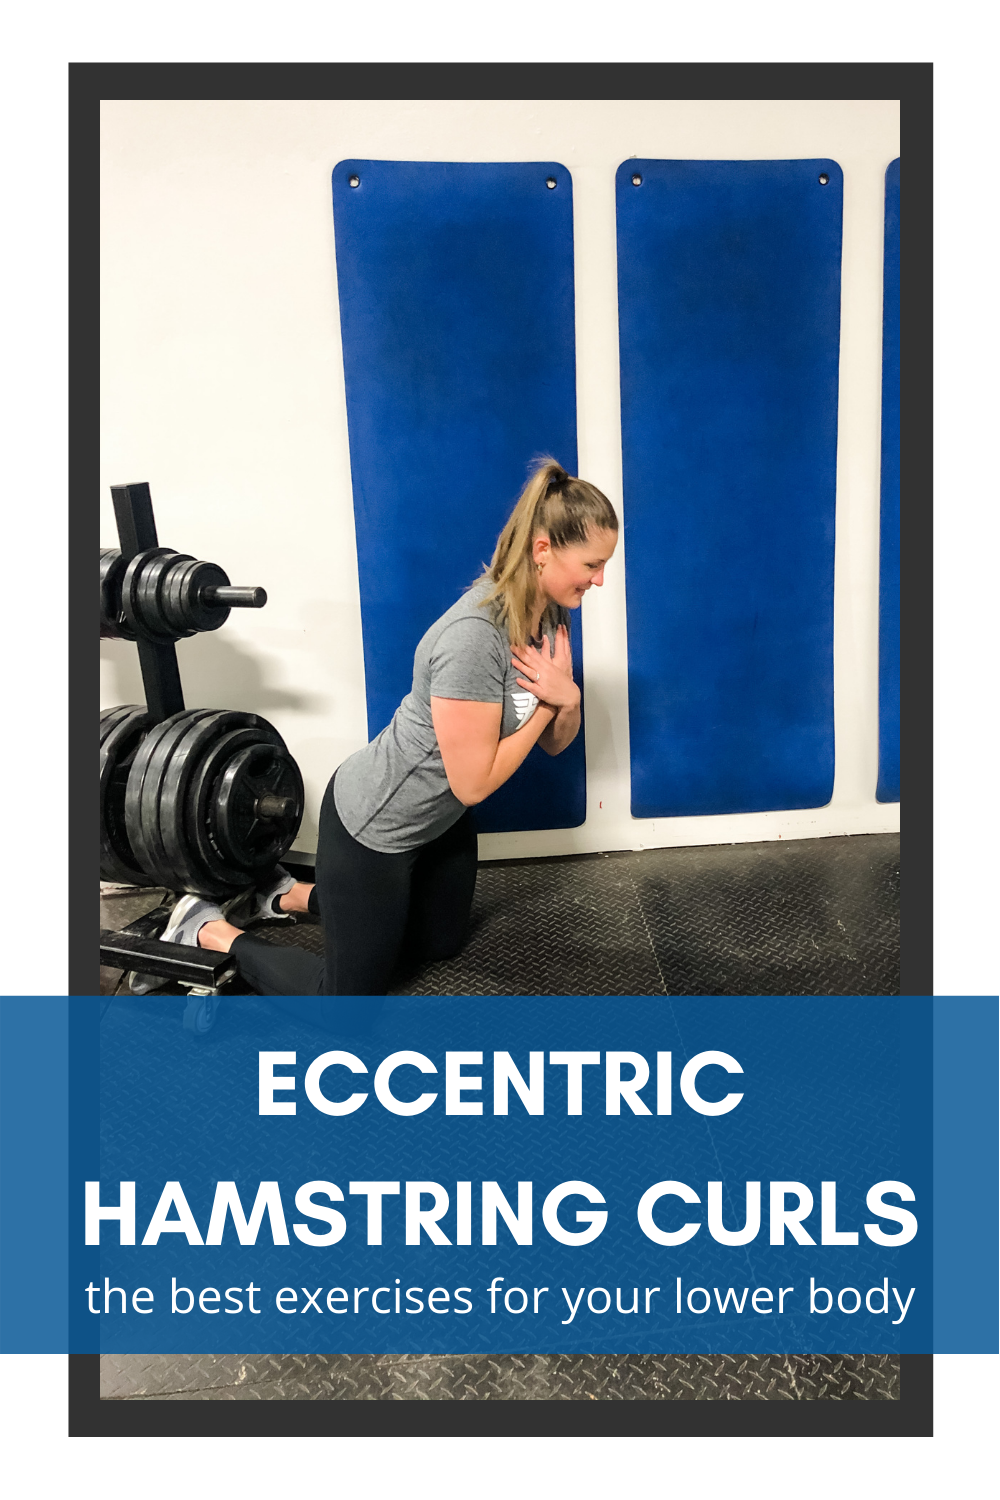
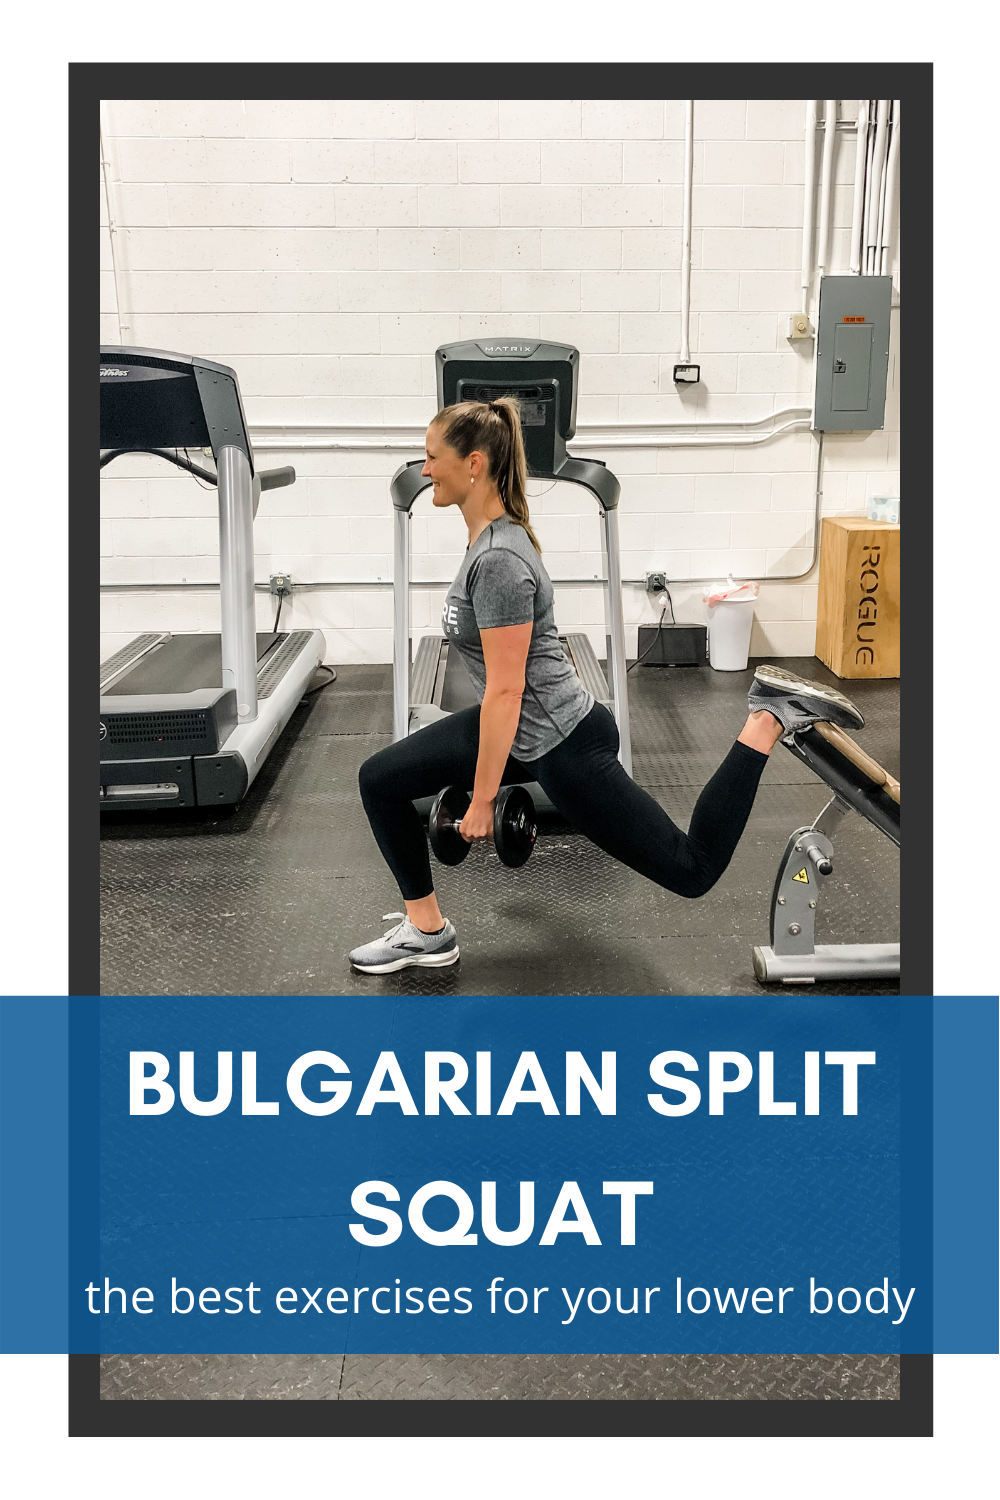
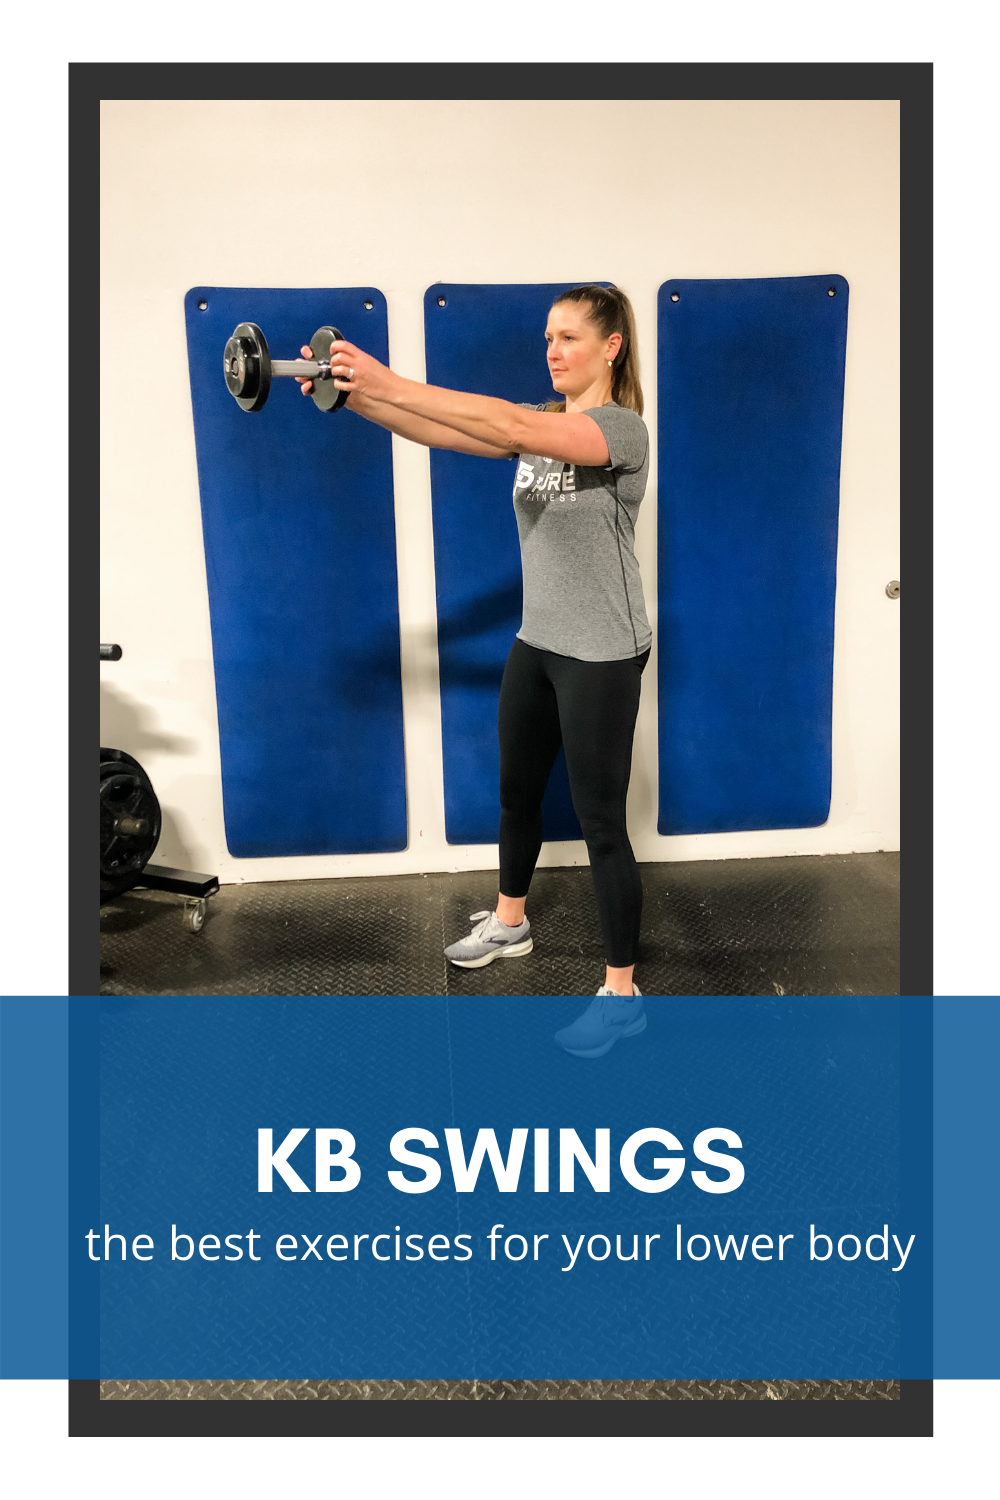
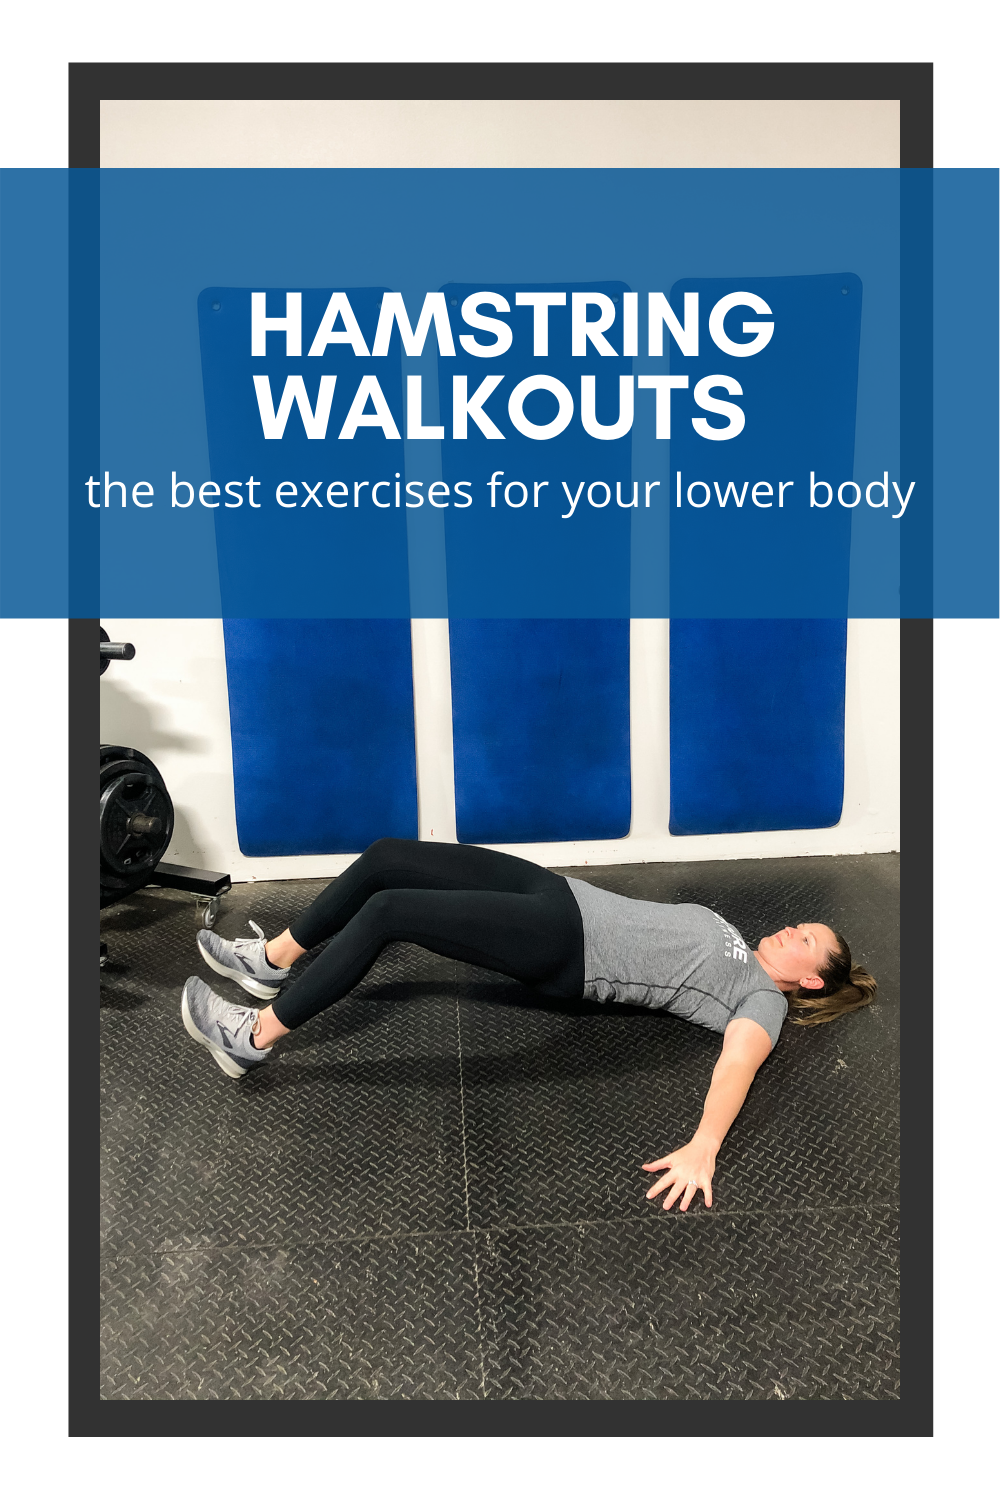
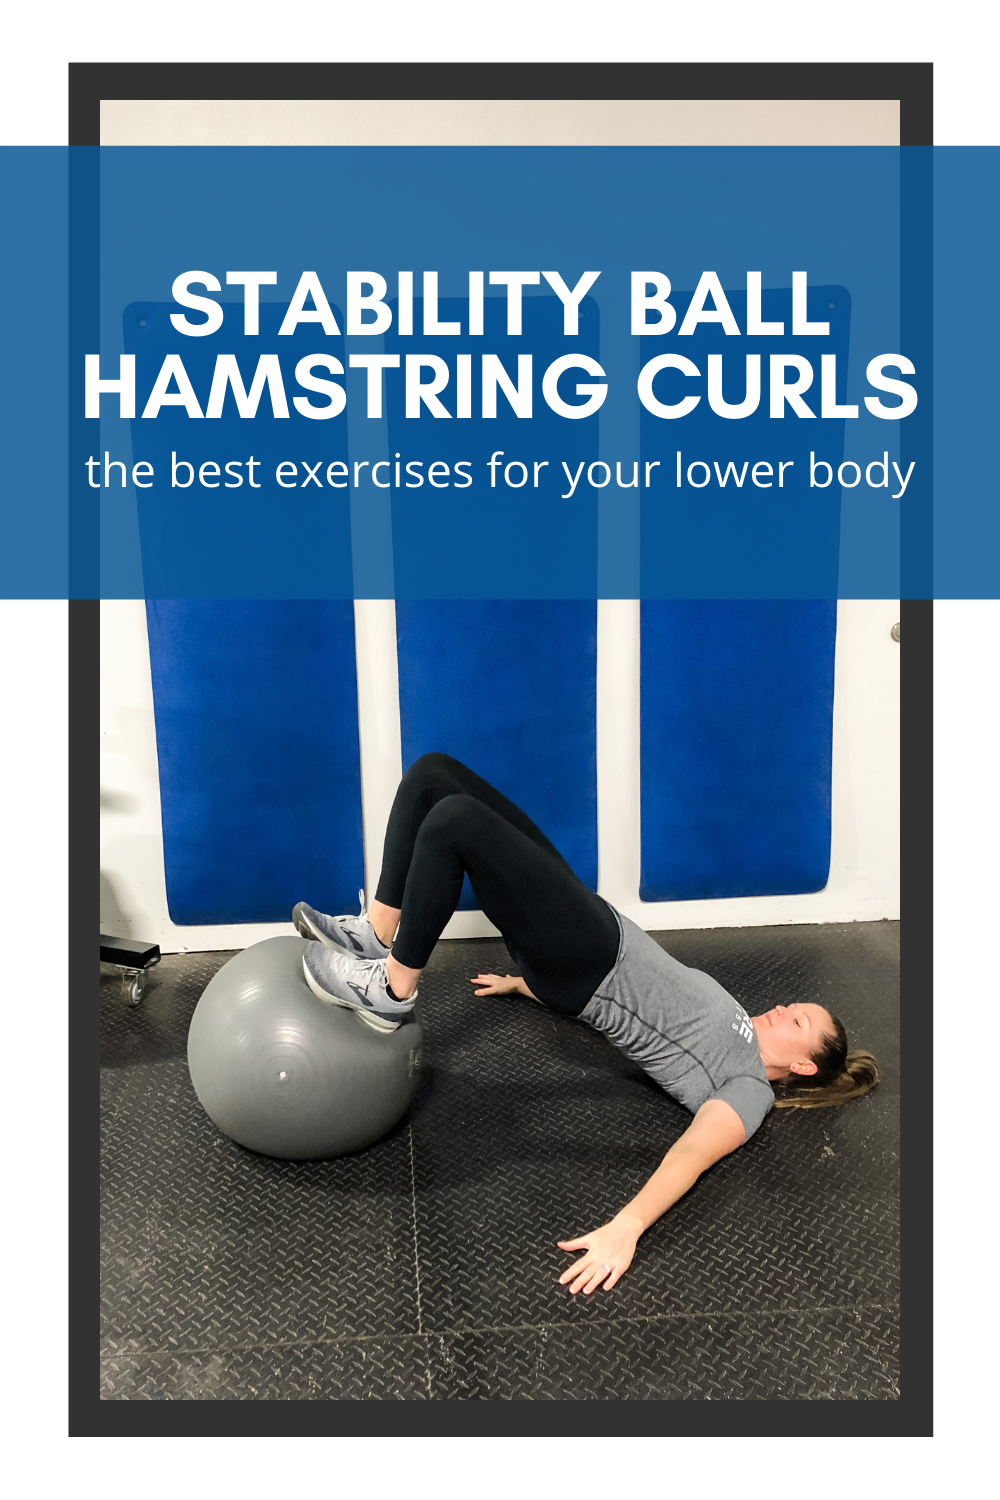
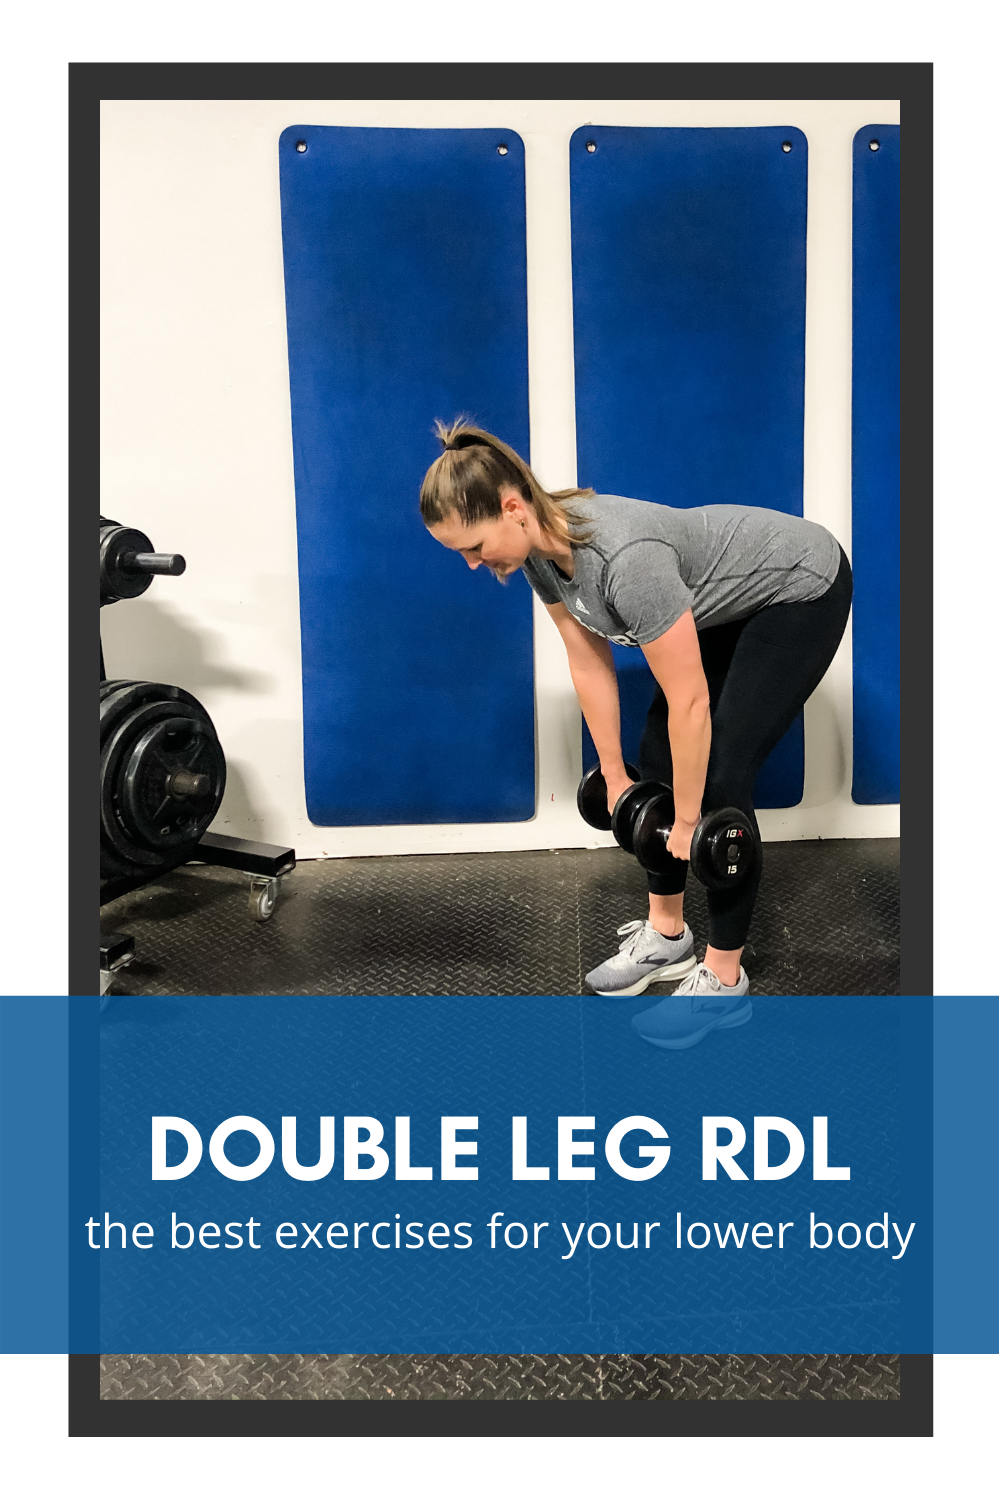
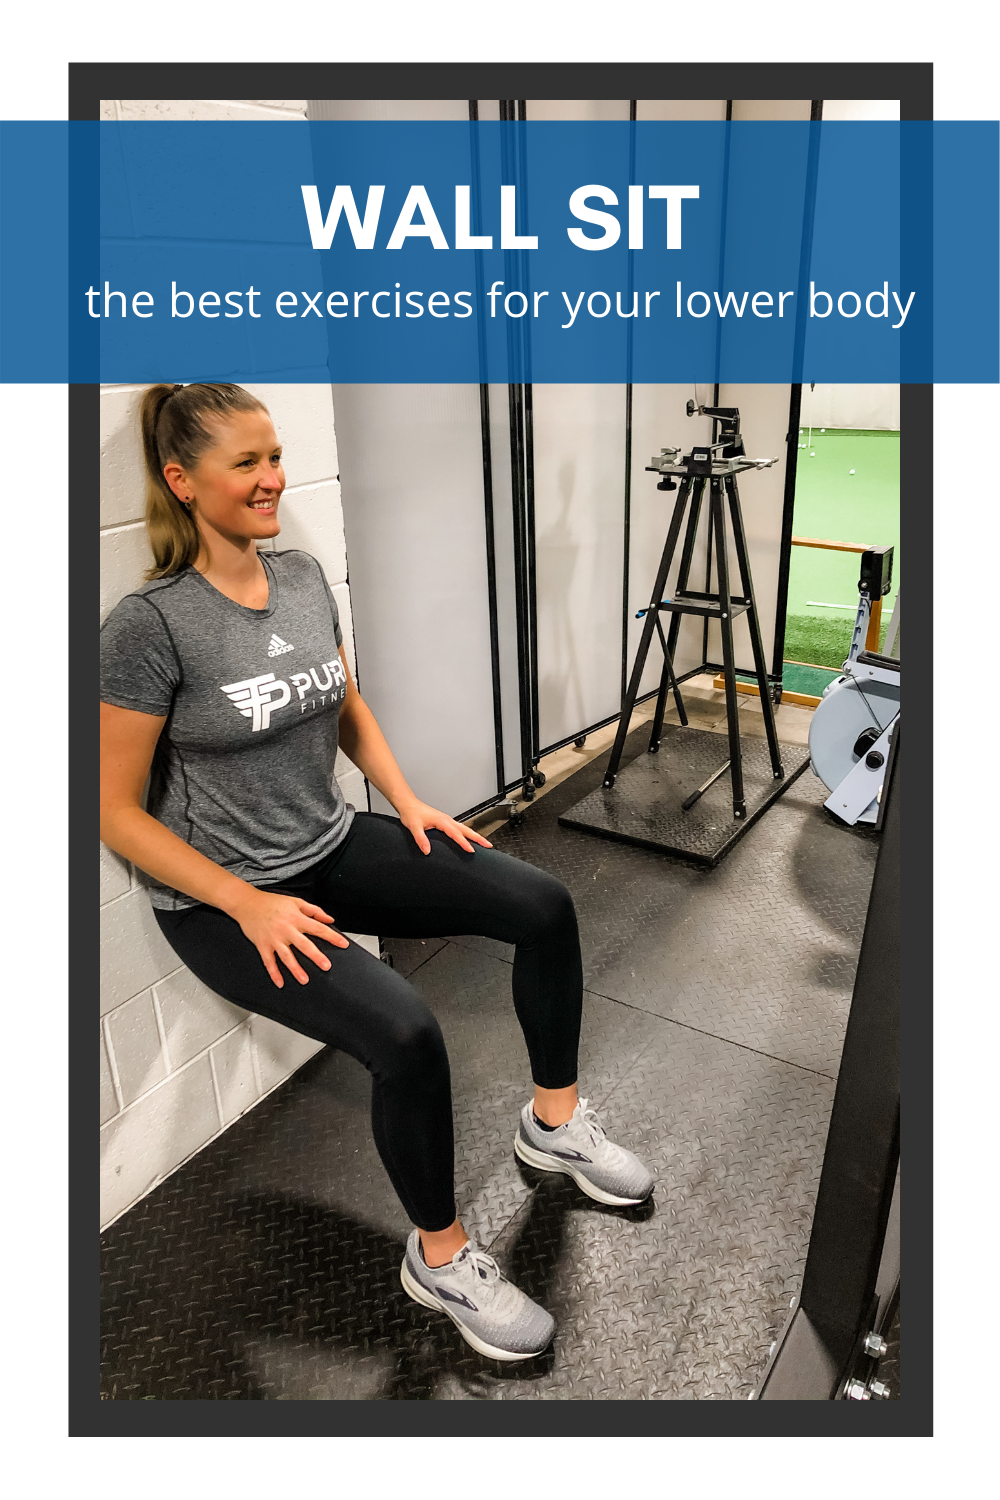
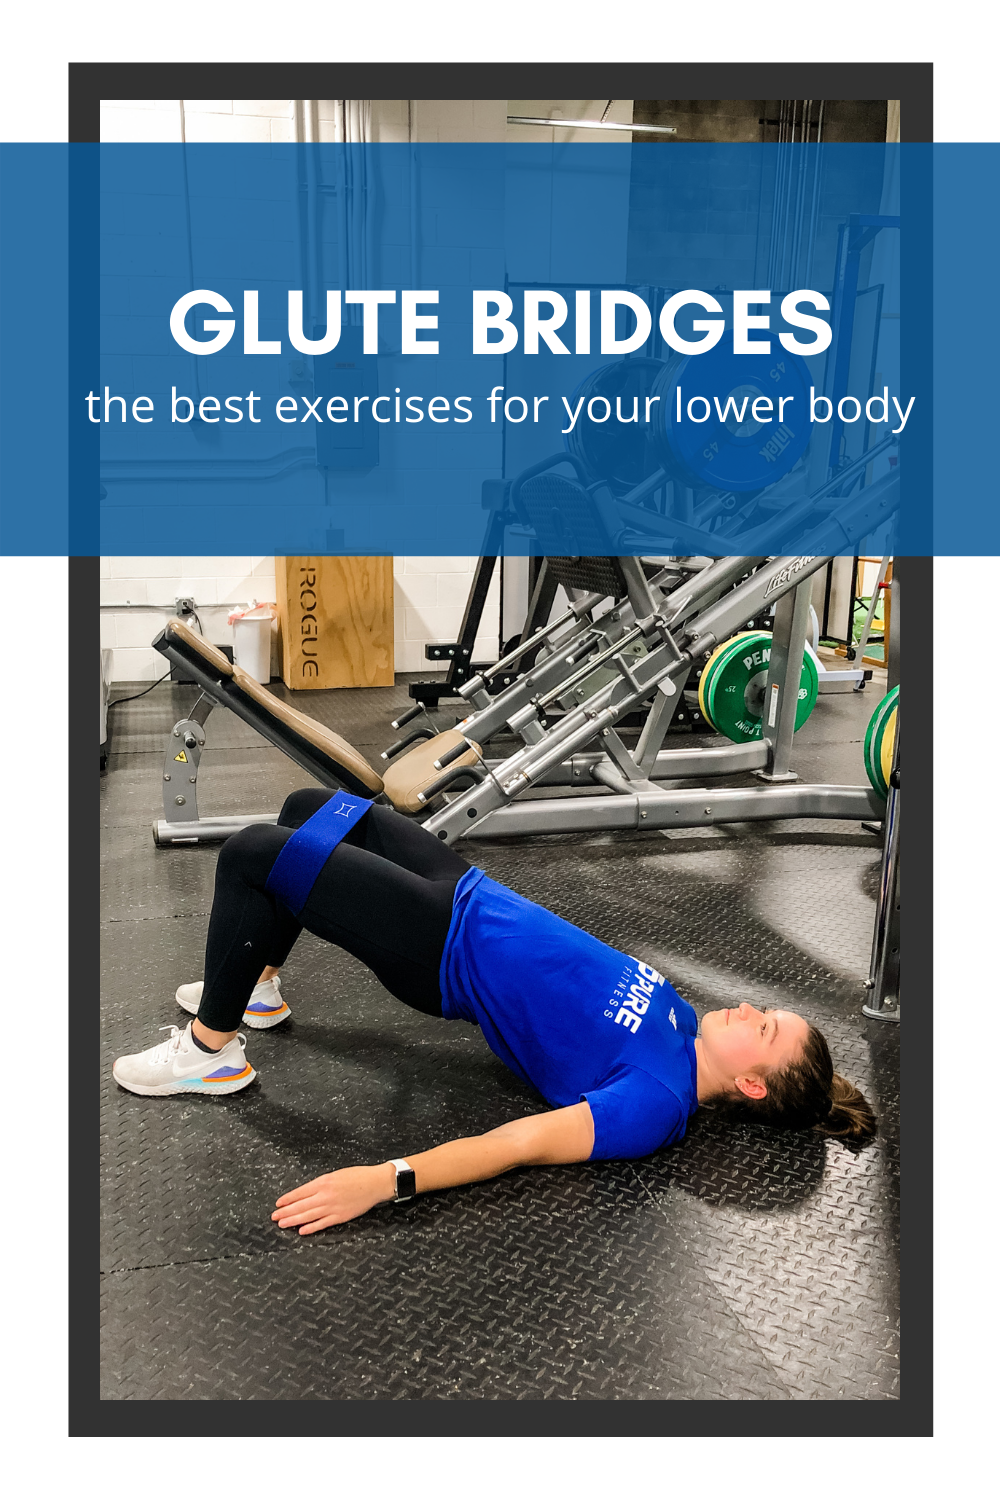
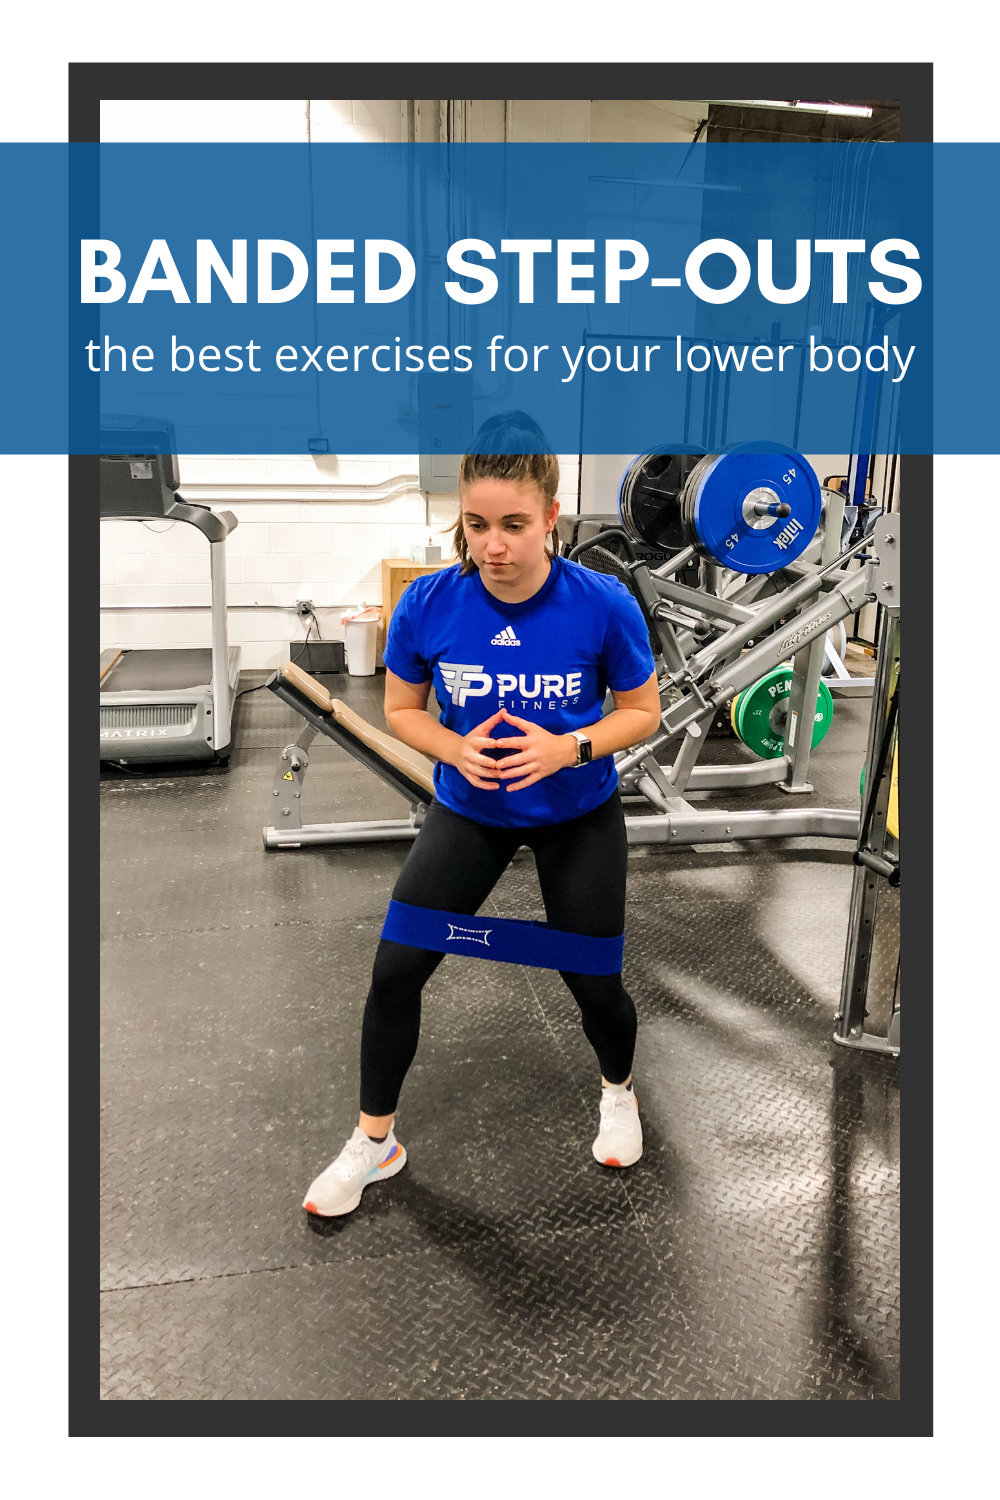
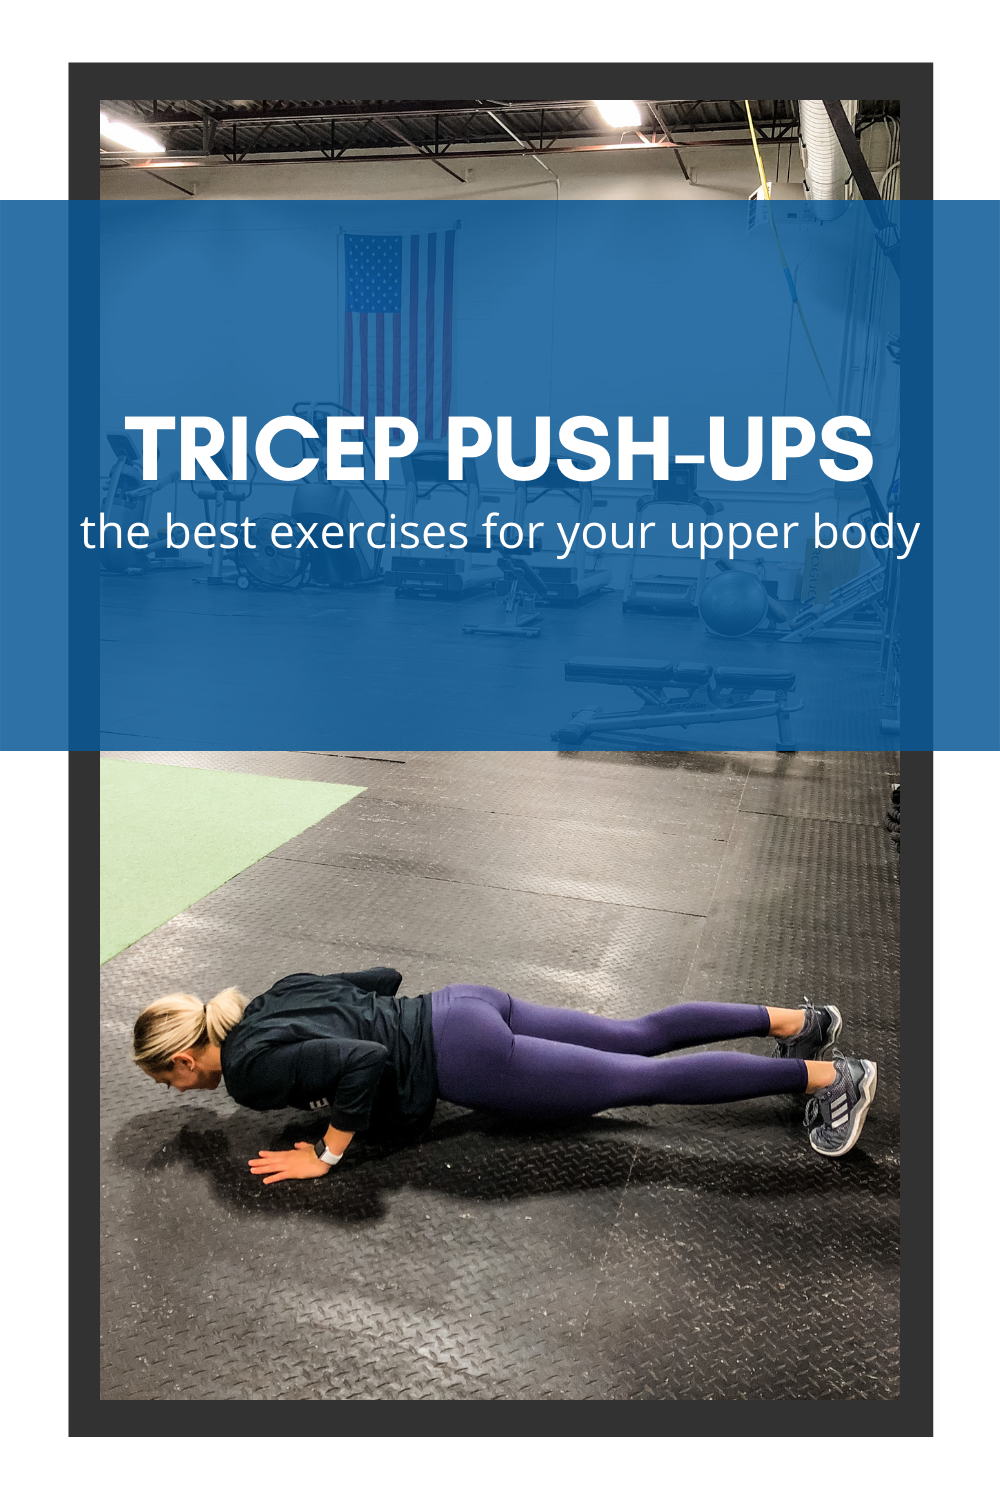
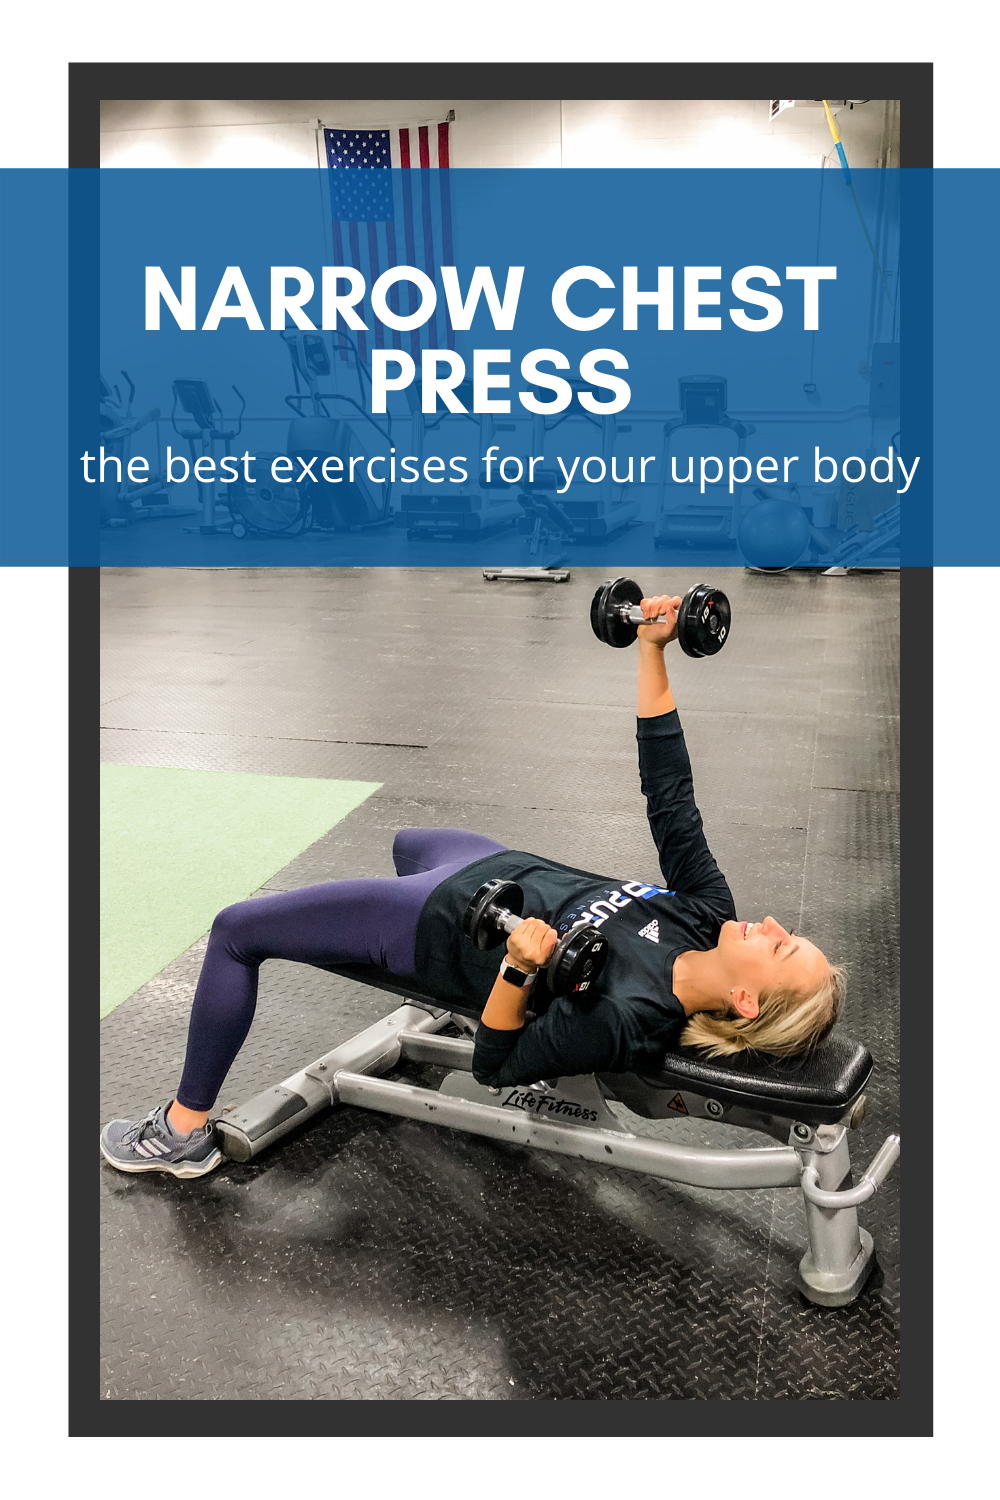
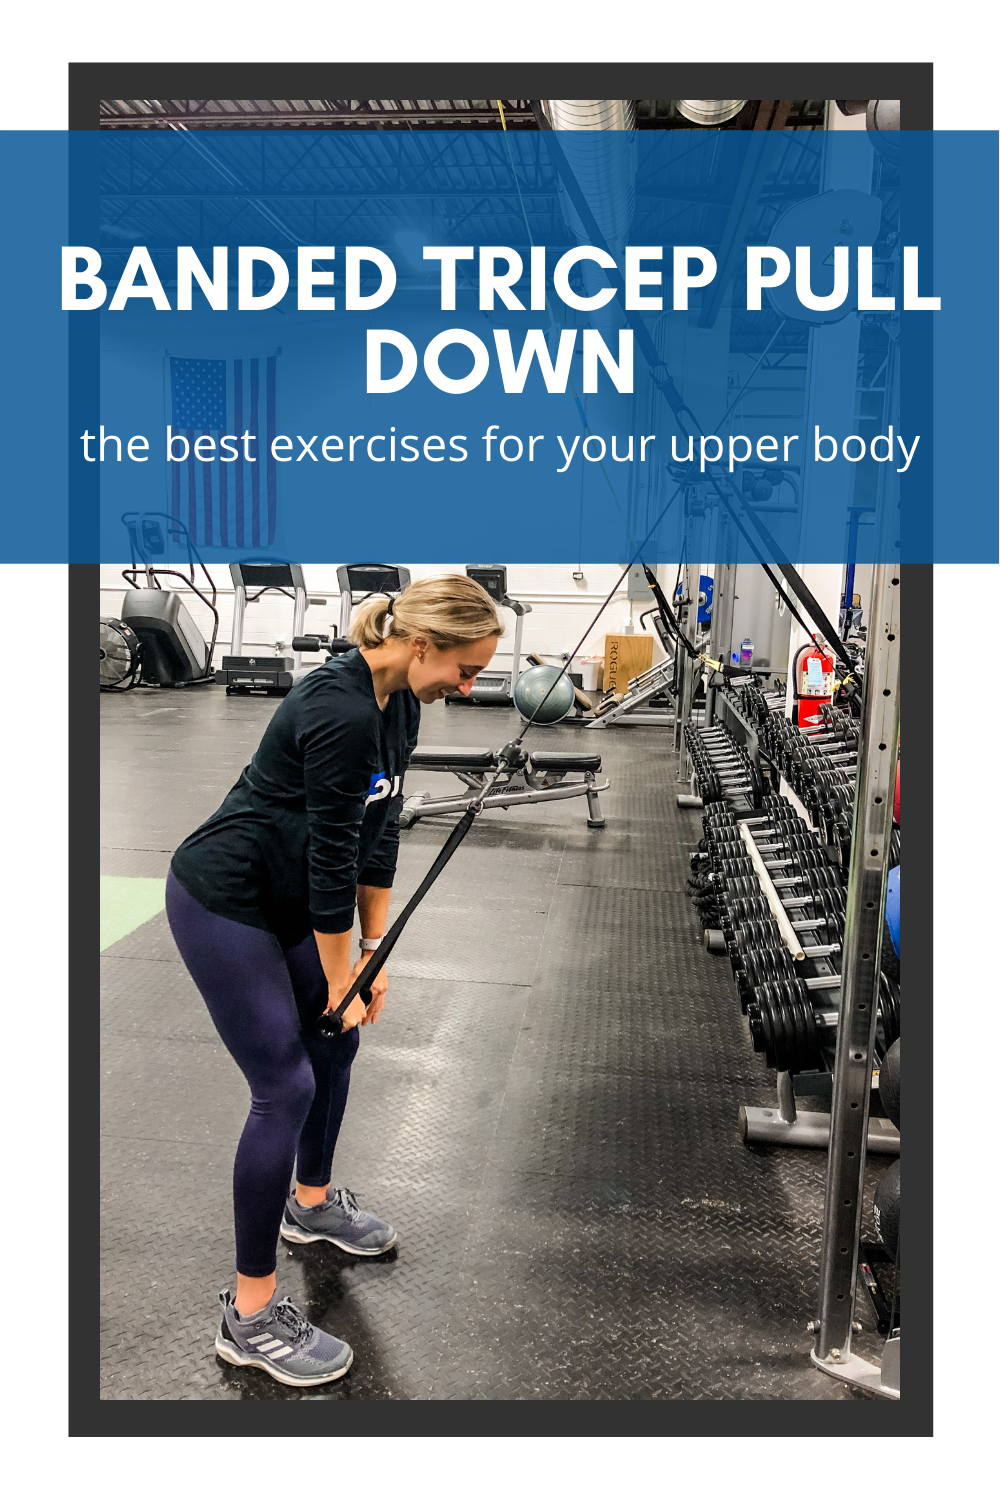
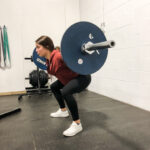
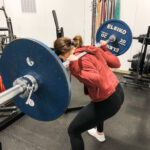
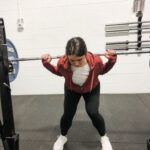
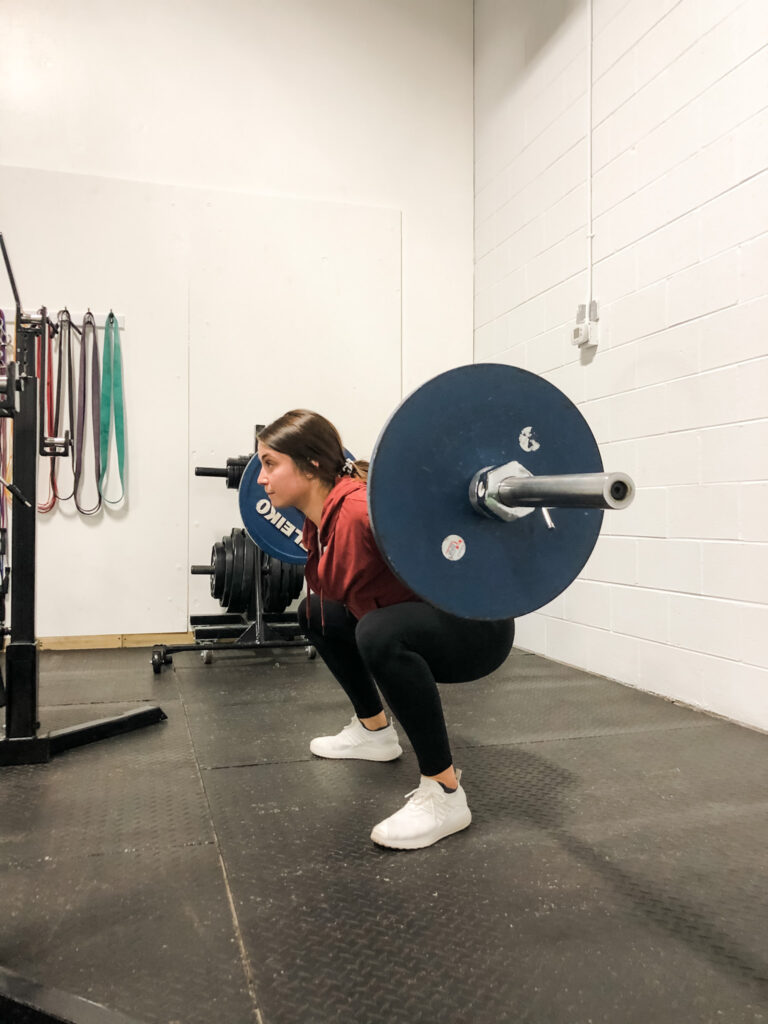
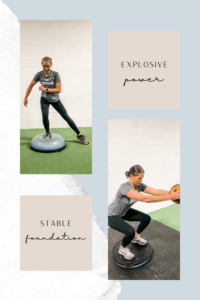
CYCLIST LEG WORKOUT
- Glute Bridge to Hamstring Curl on Swiss Ball
- Deep Squat with Lateral Move to Step-up with Knee Drive
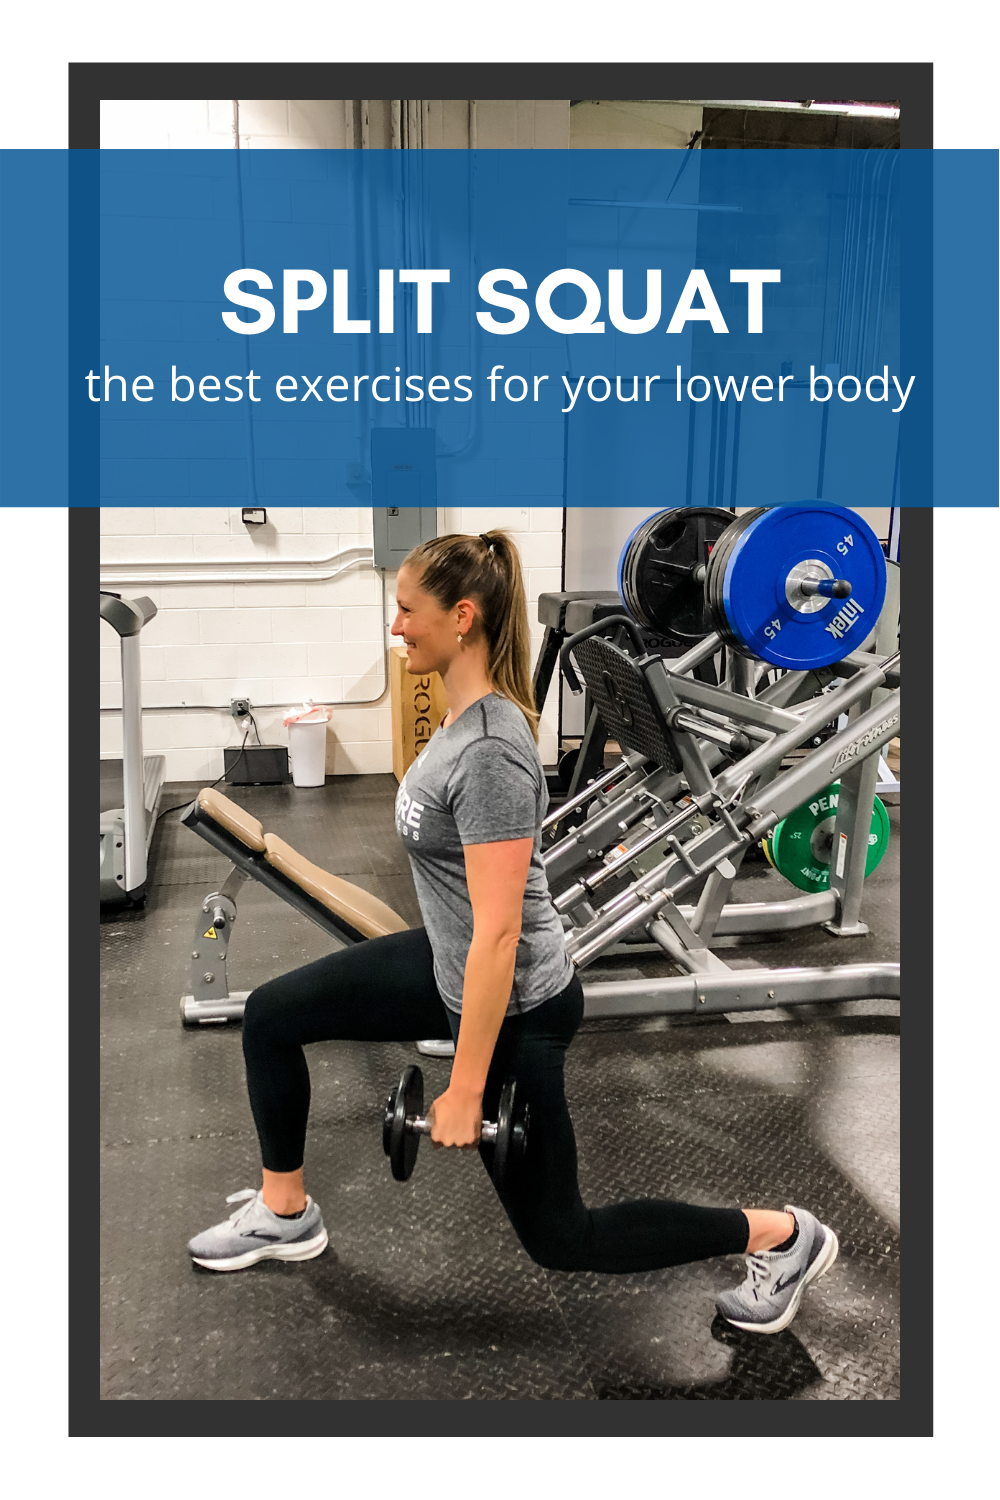
- Single Leg RDL to Reverse Lunge with Knee Drive
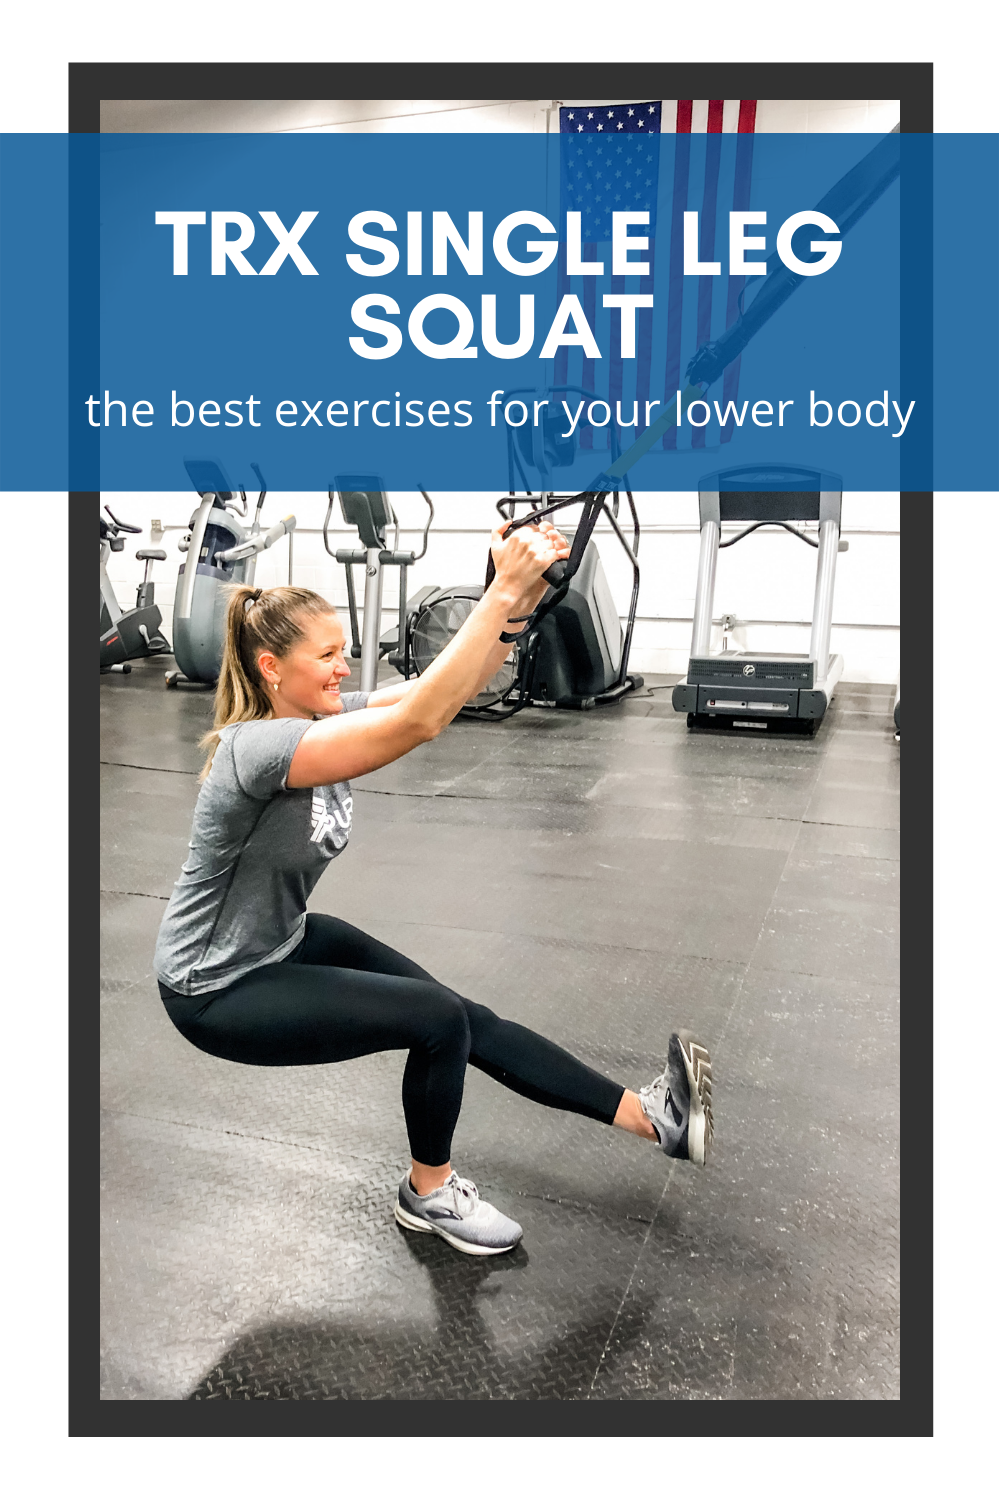
- Hip Circle Back to Front to TRX Single Leg Squat
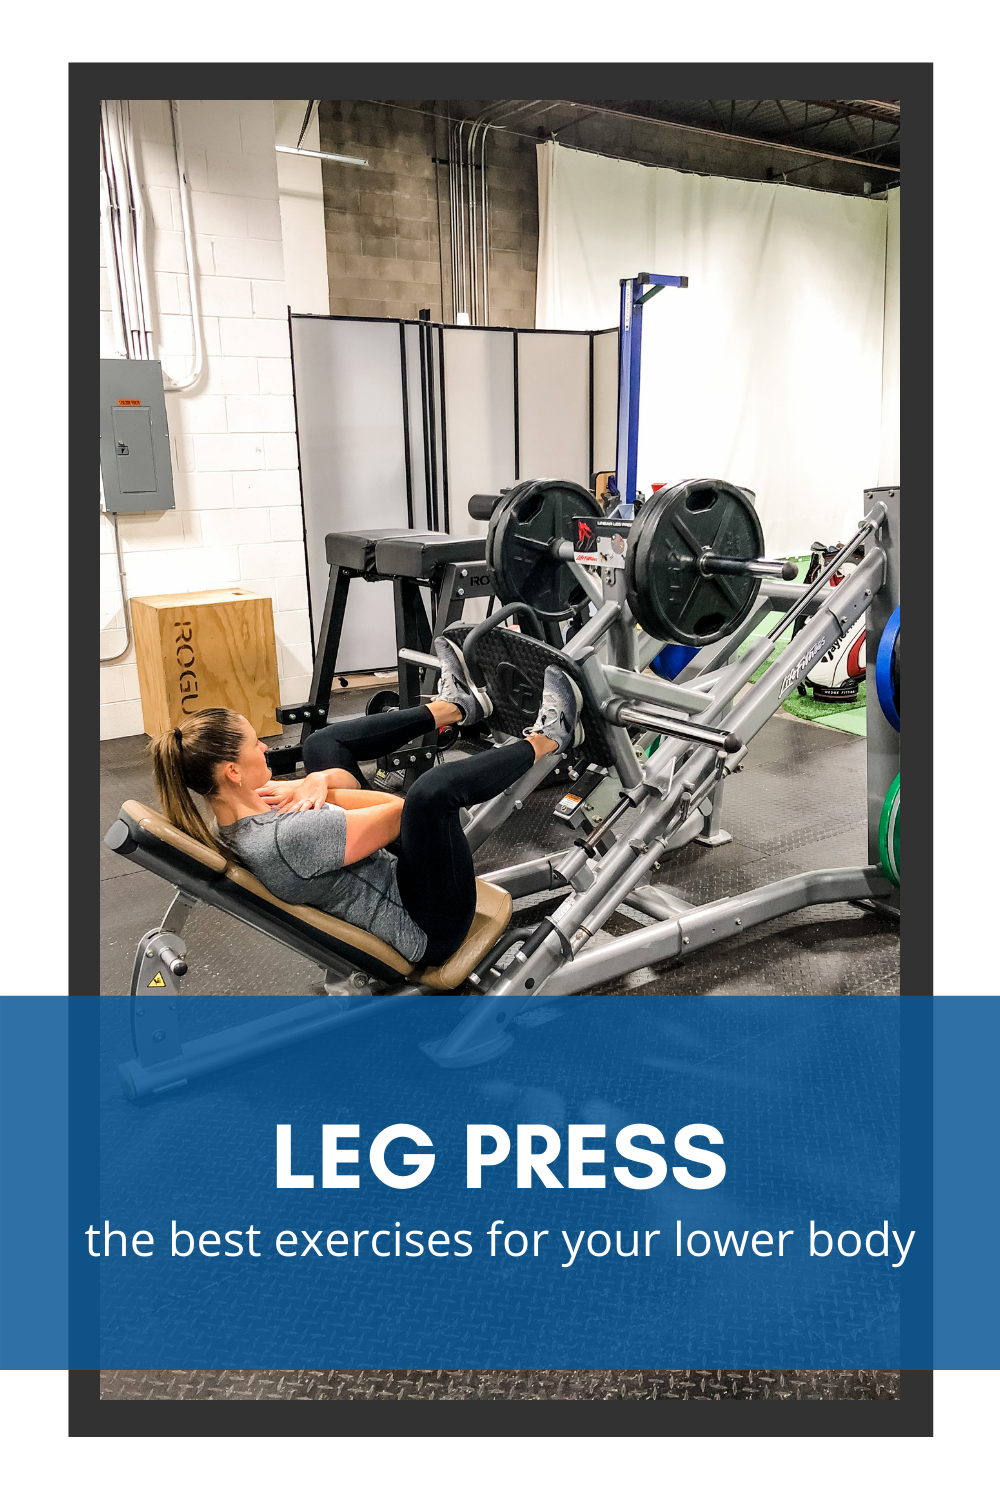
- Cable Squat to RDL
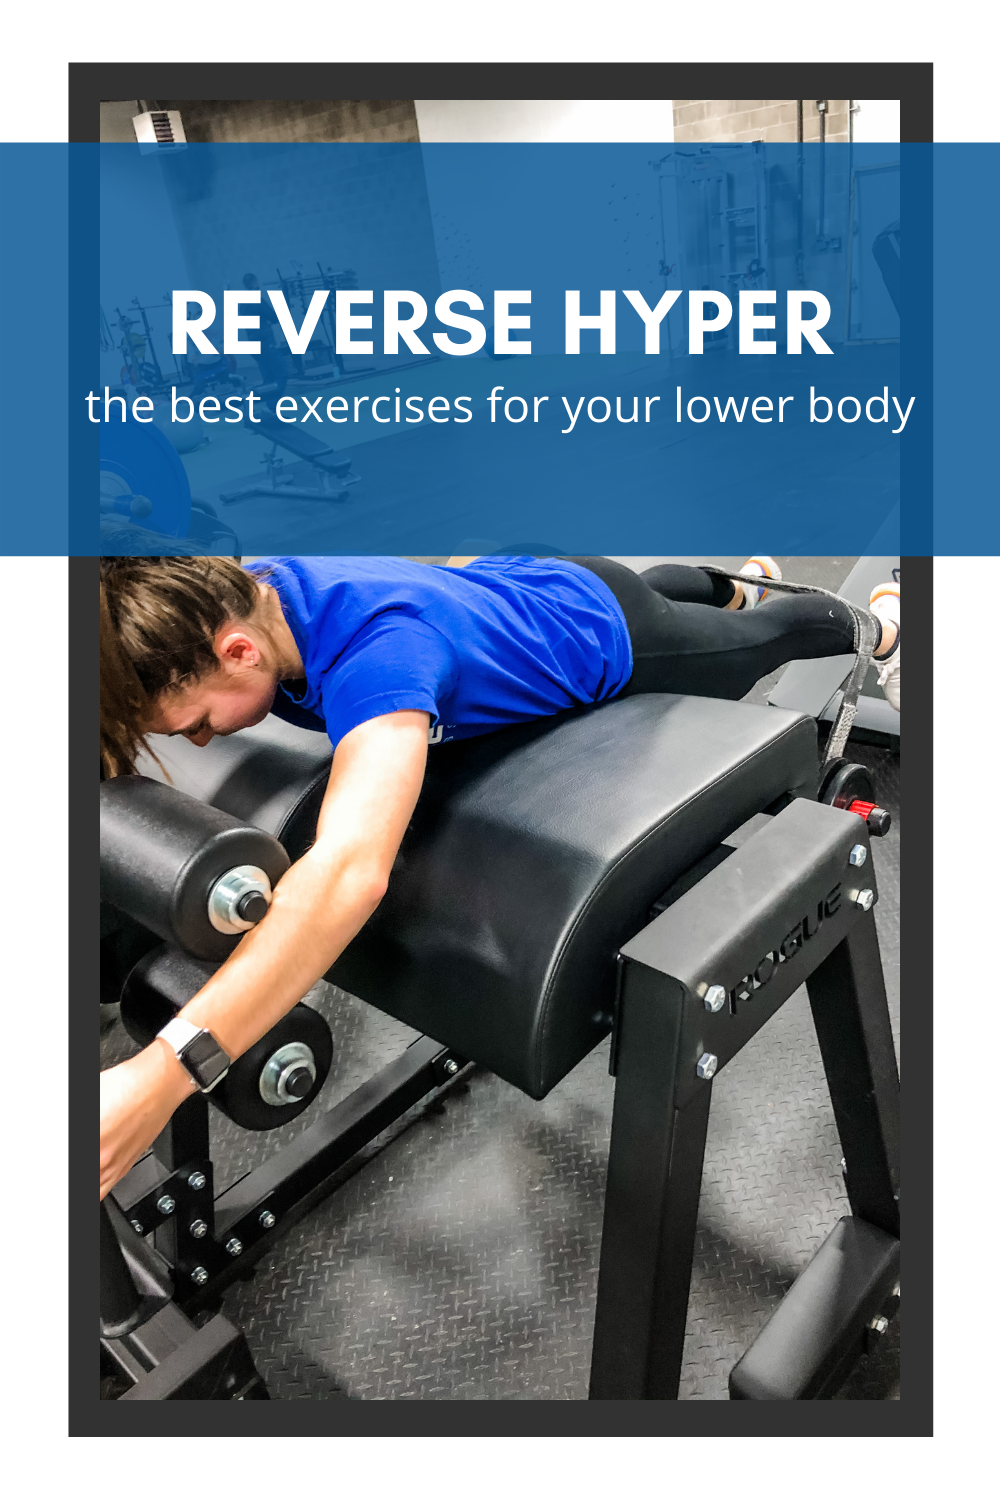
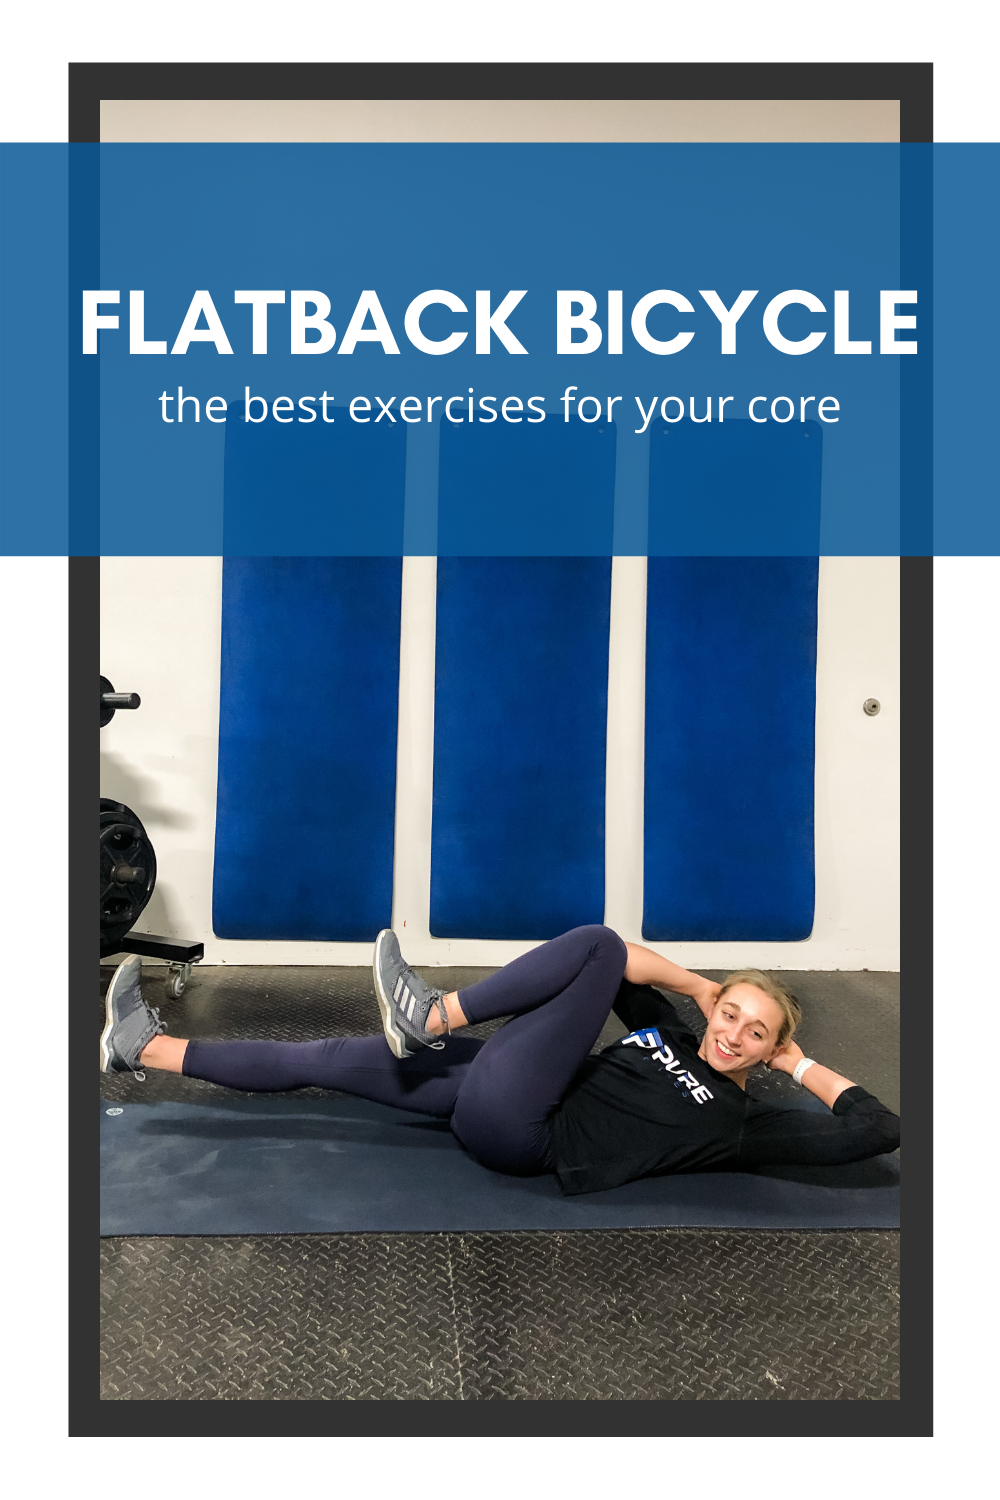
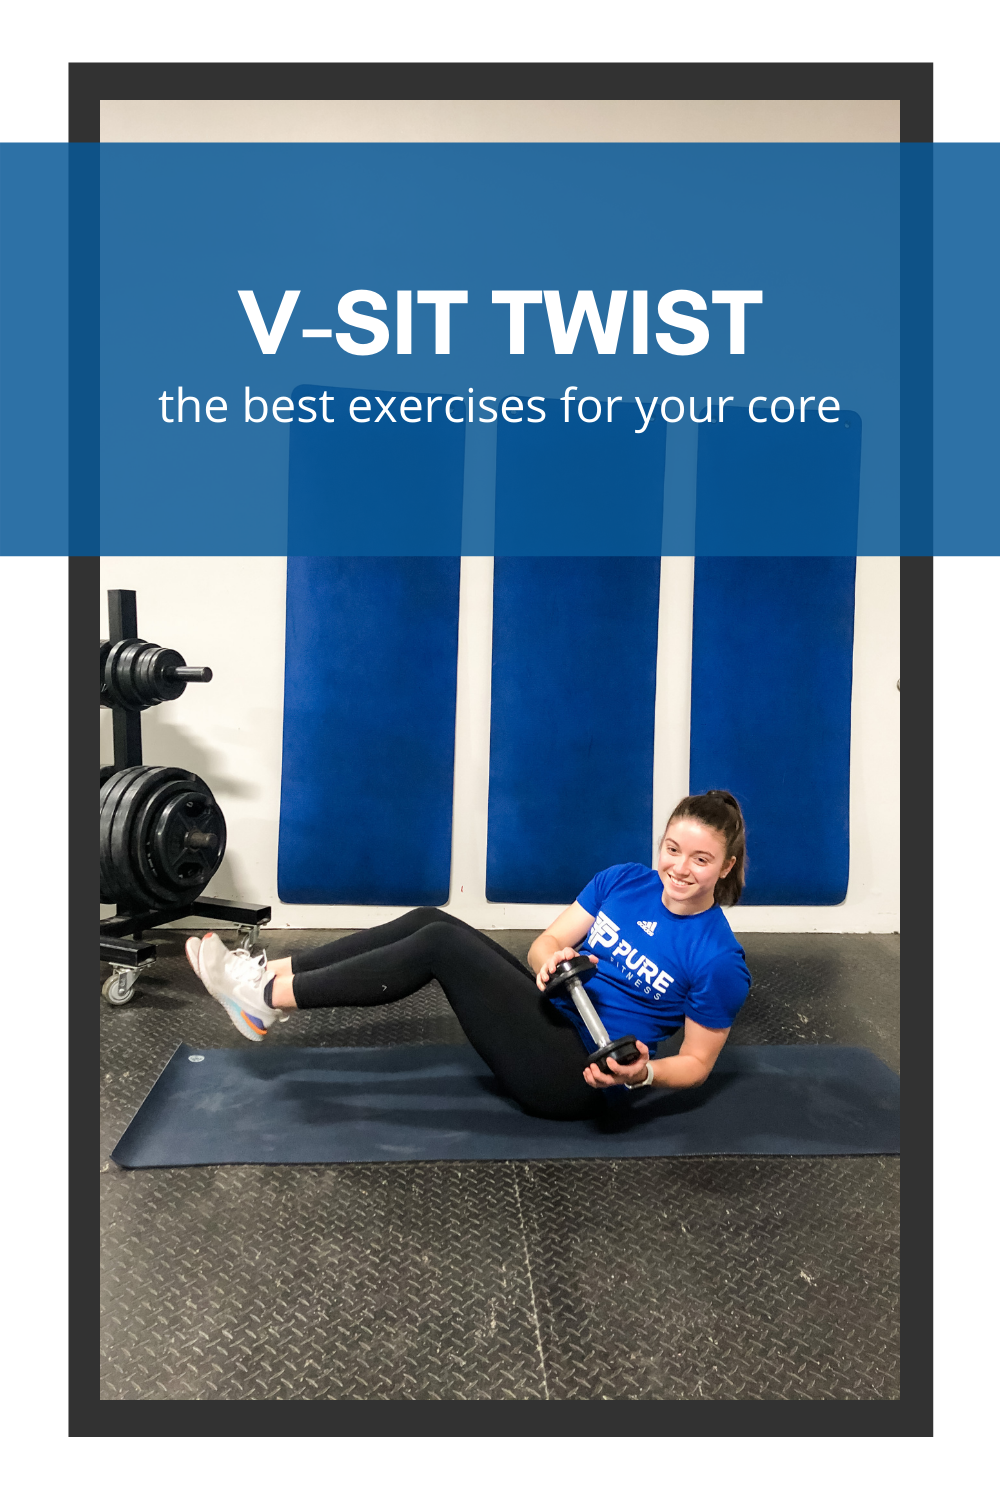
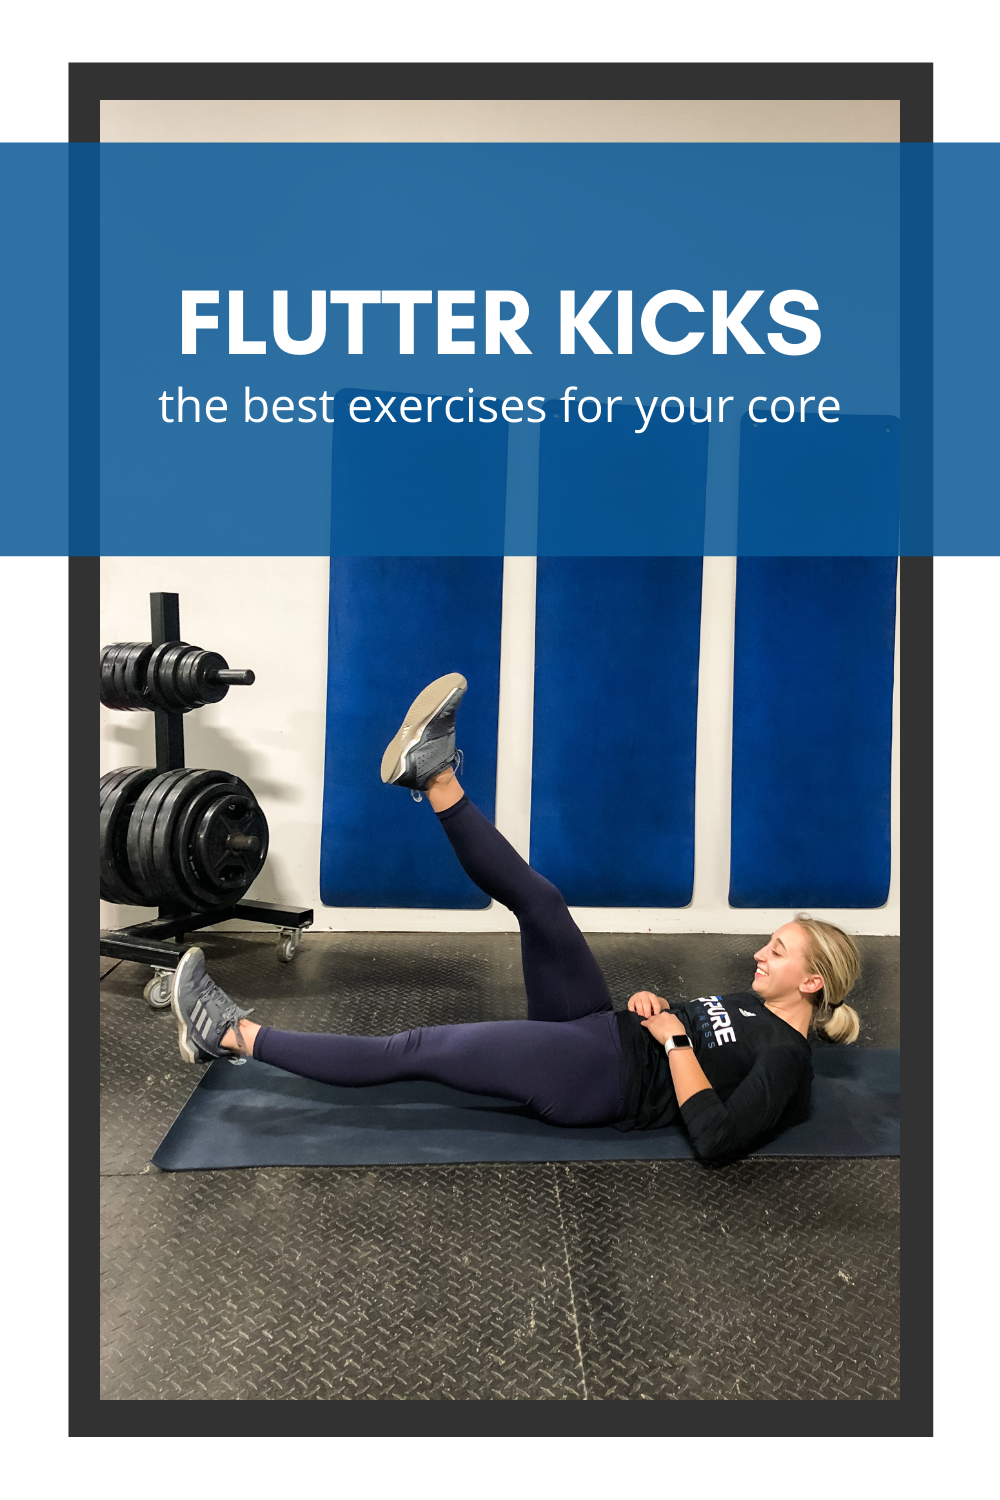
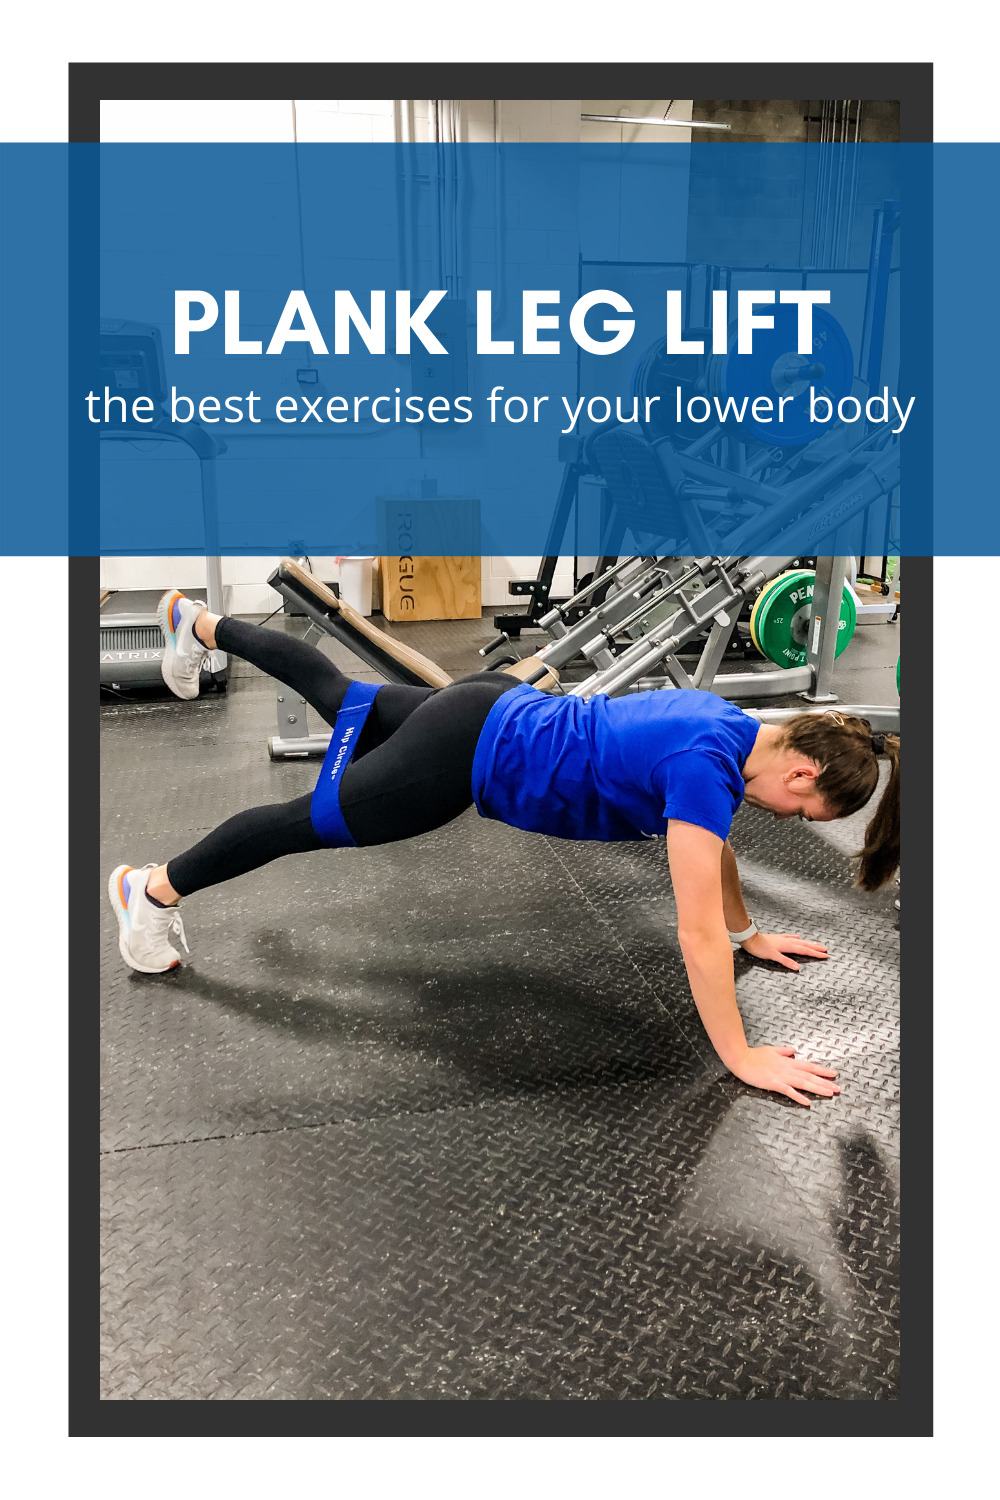
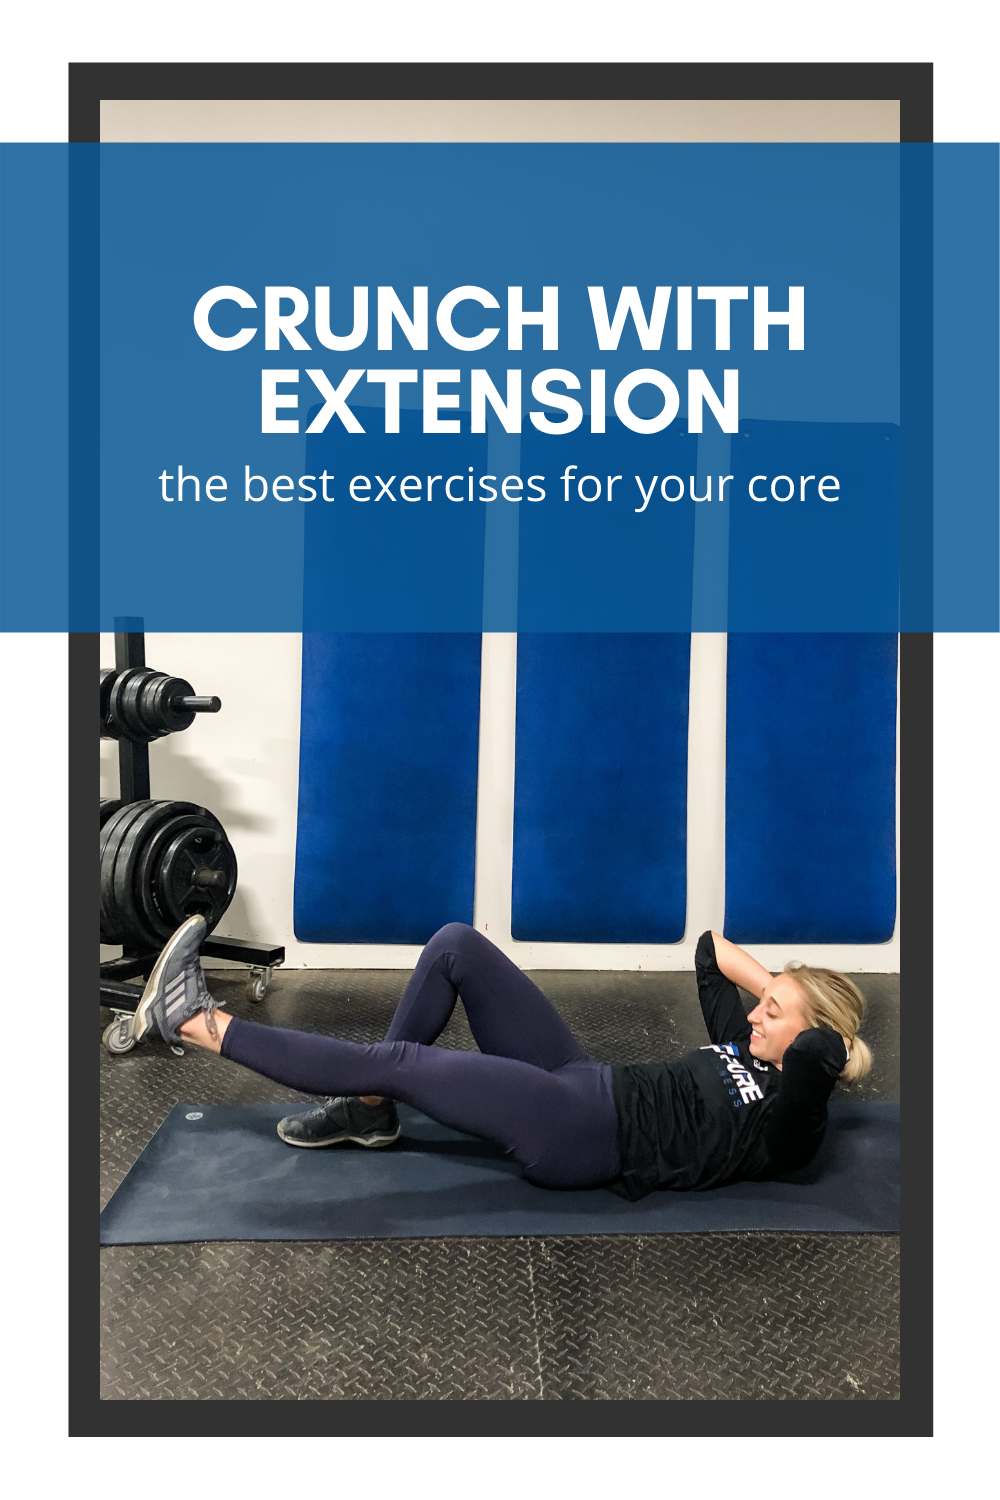
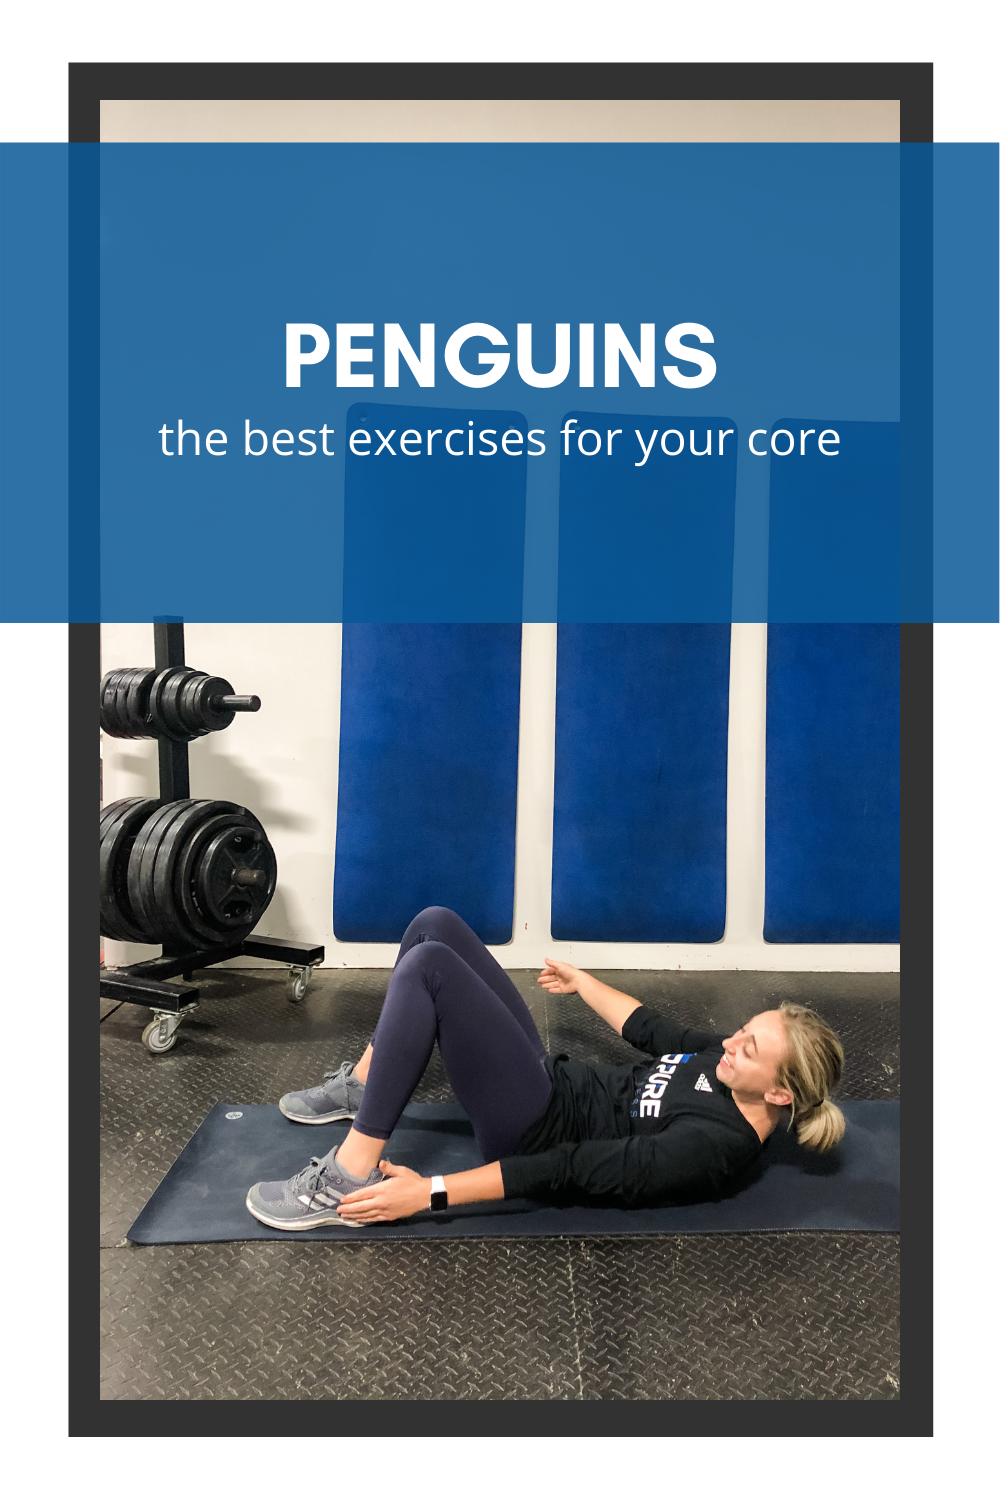
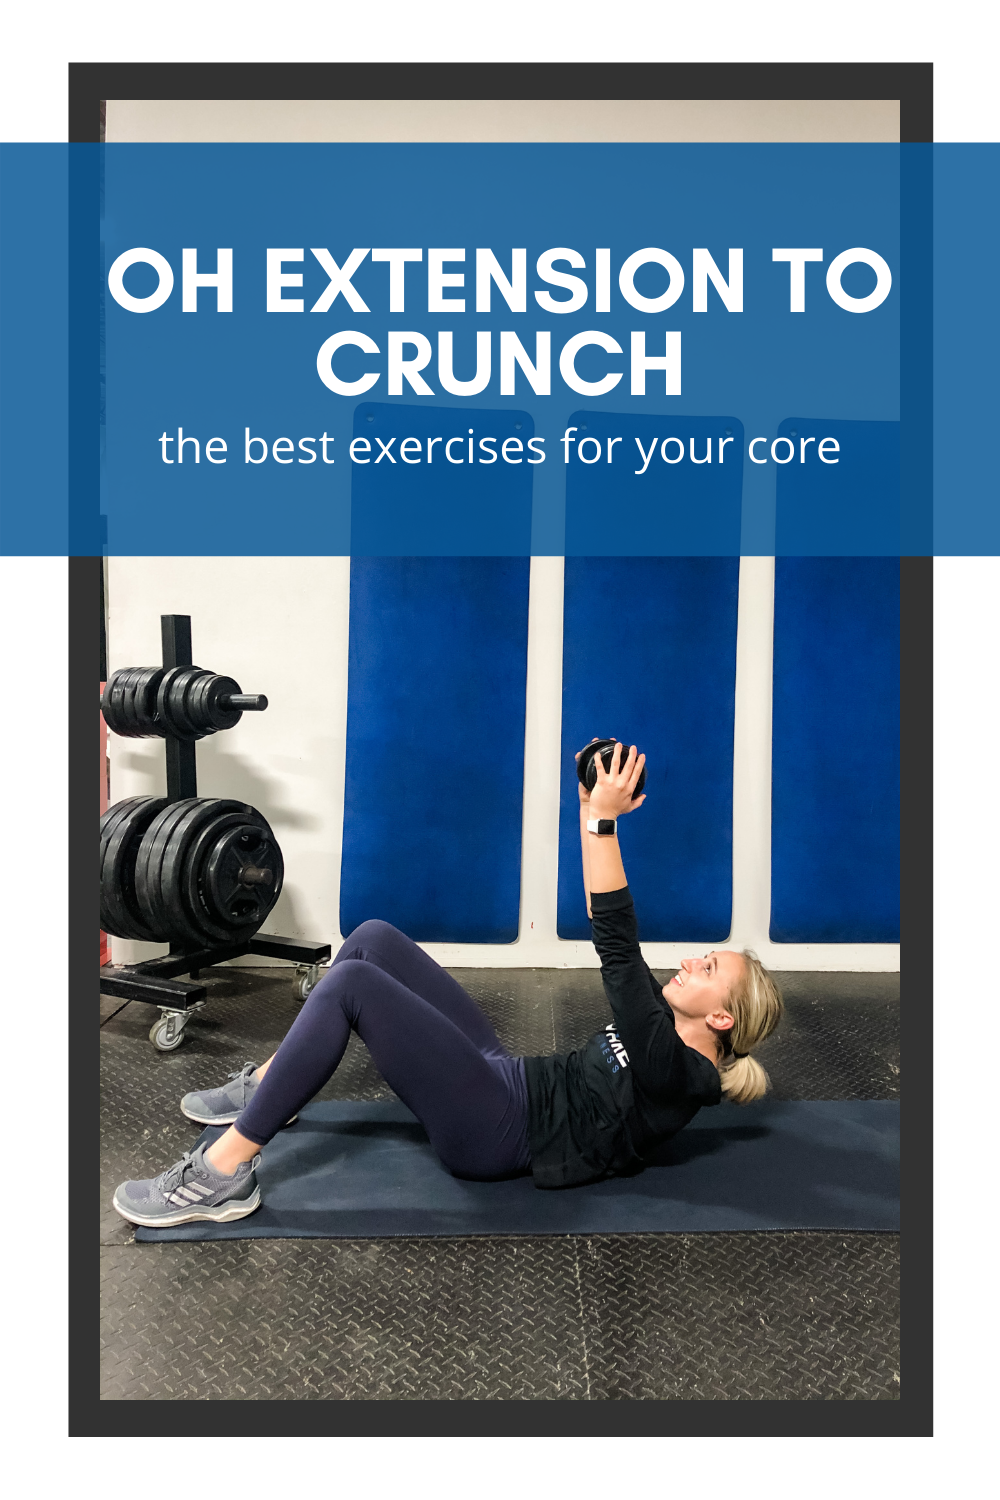
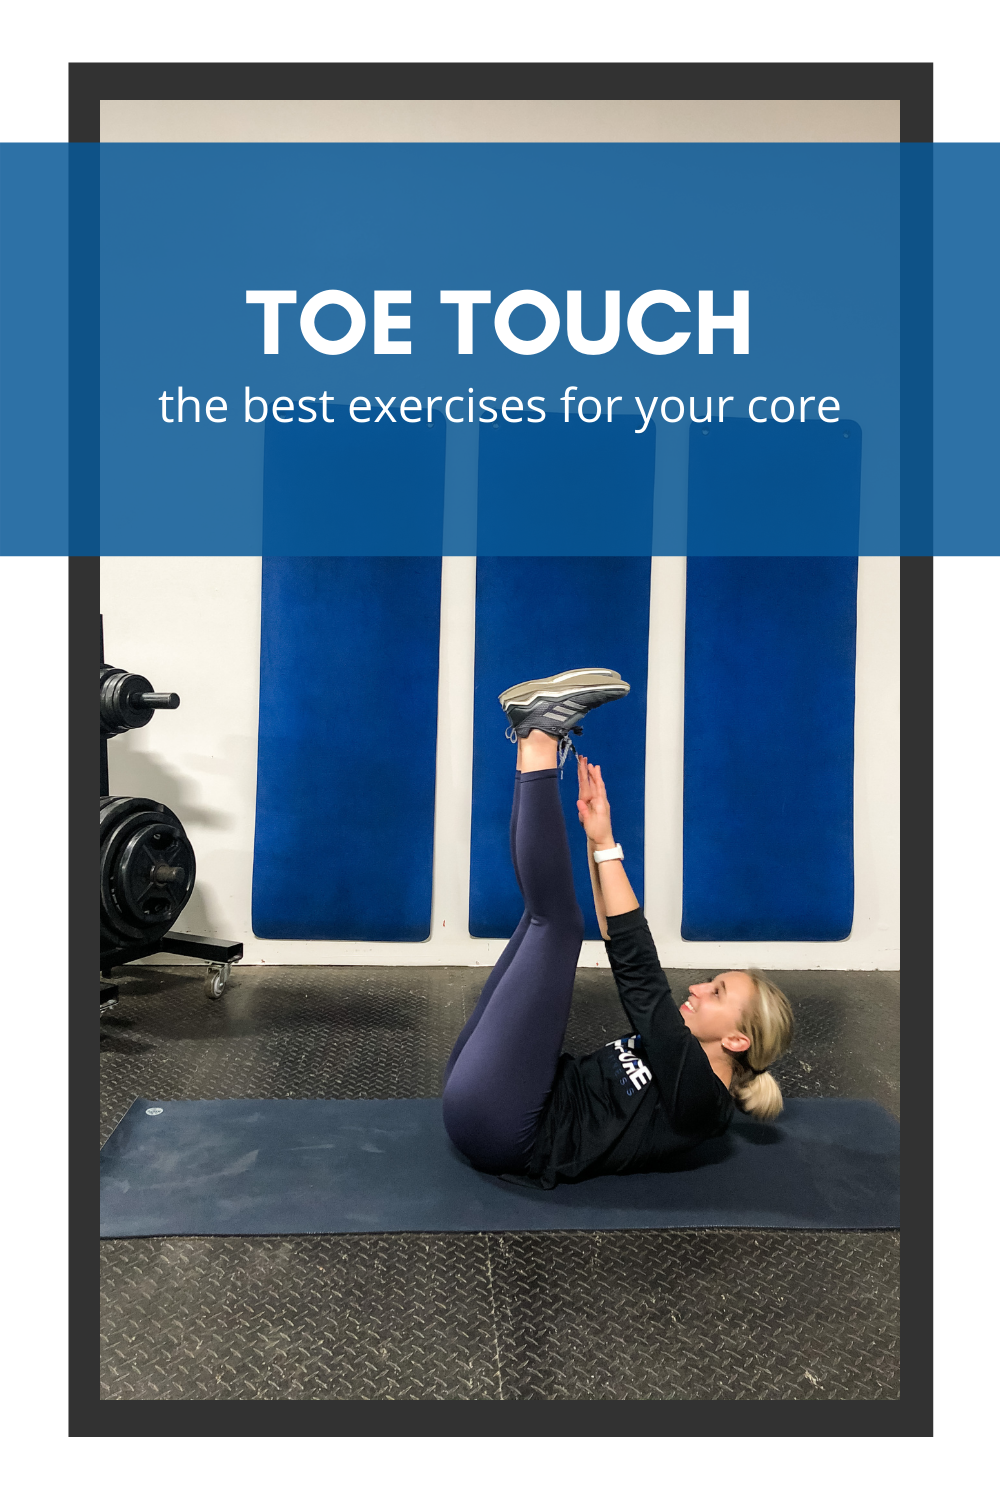
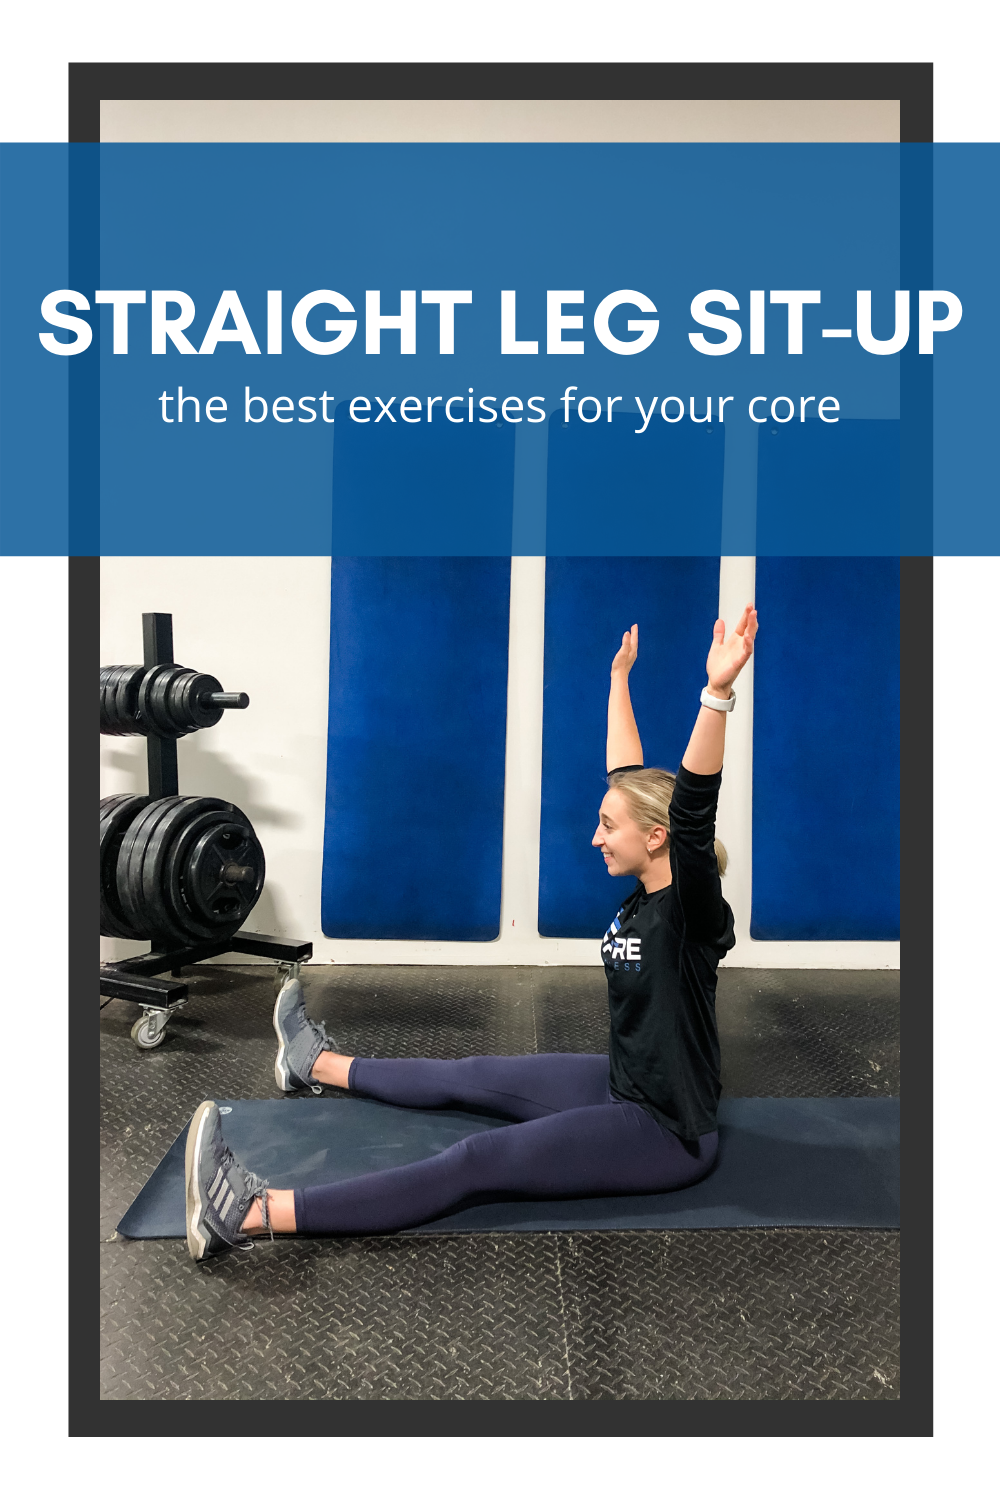
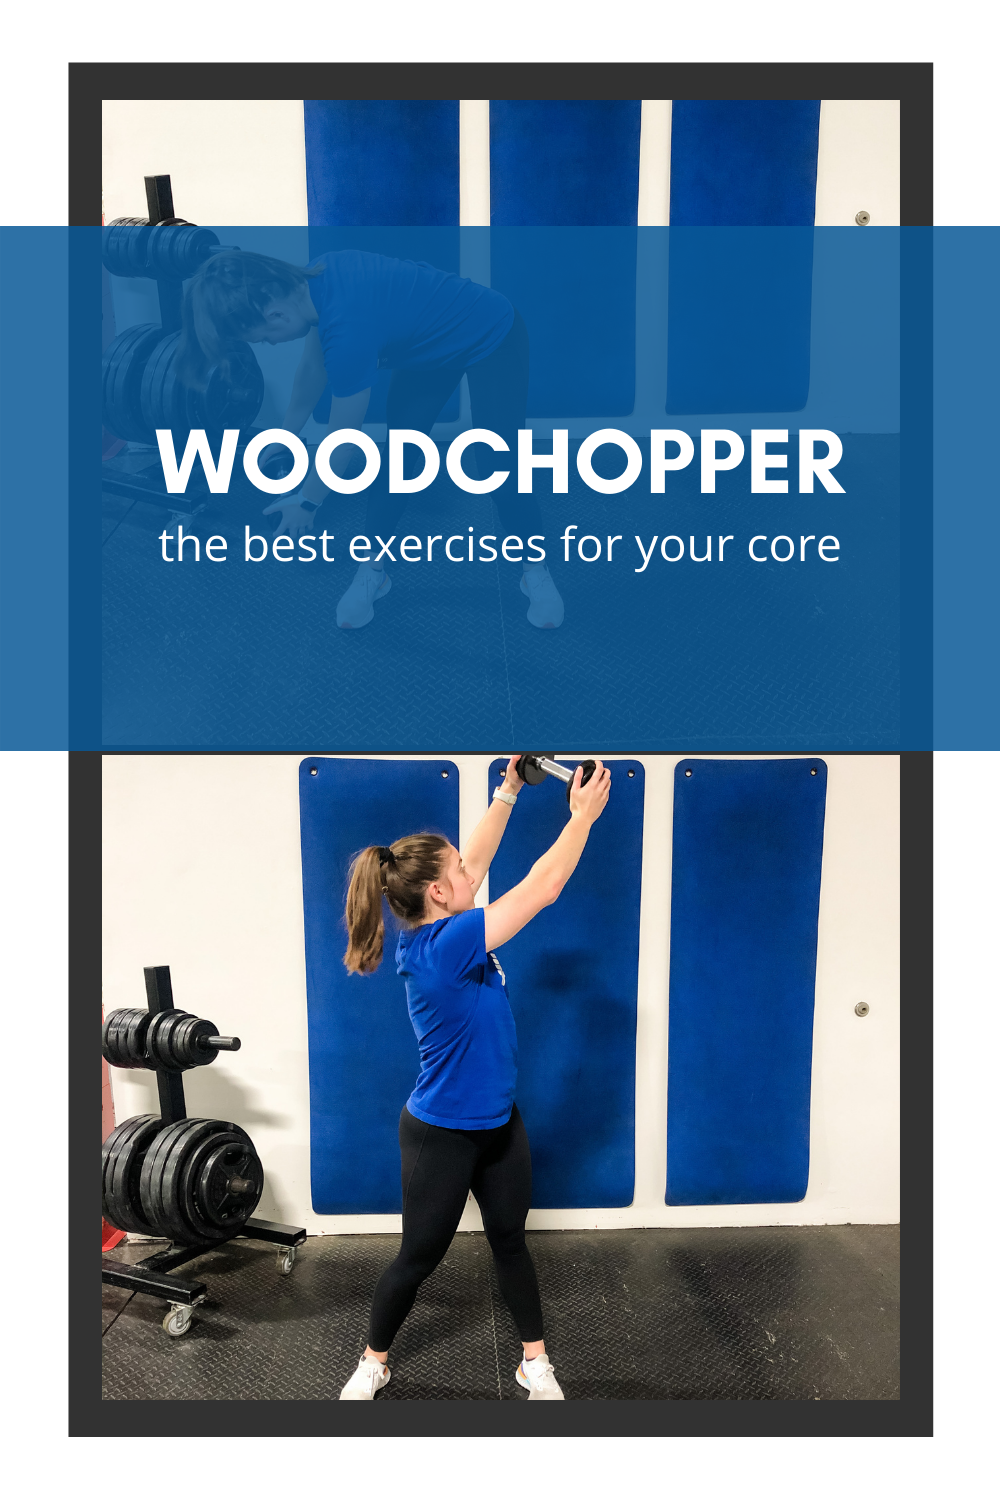
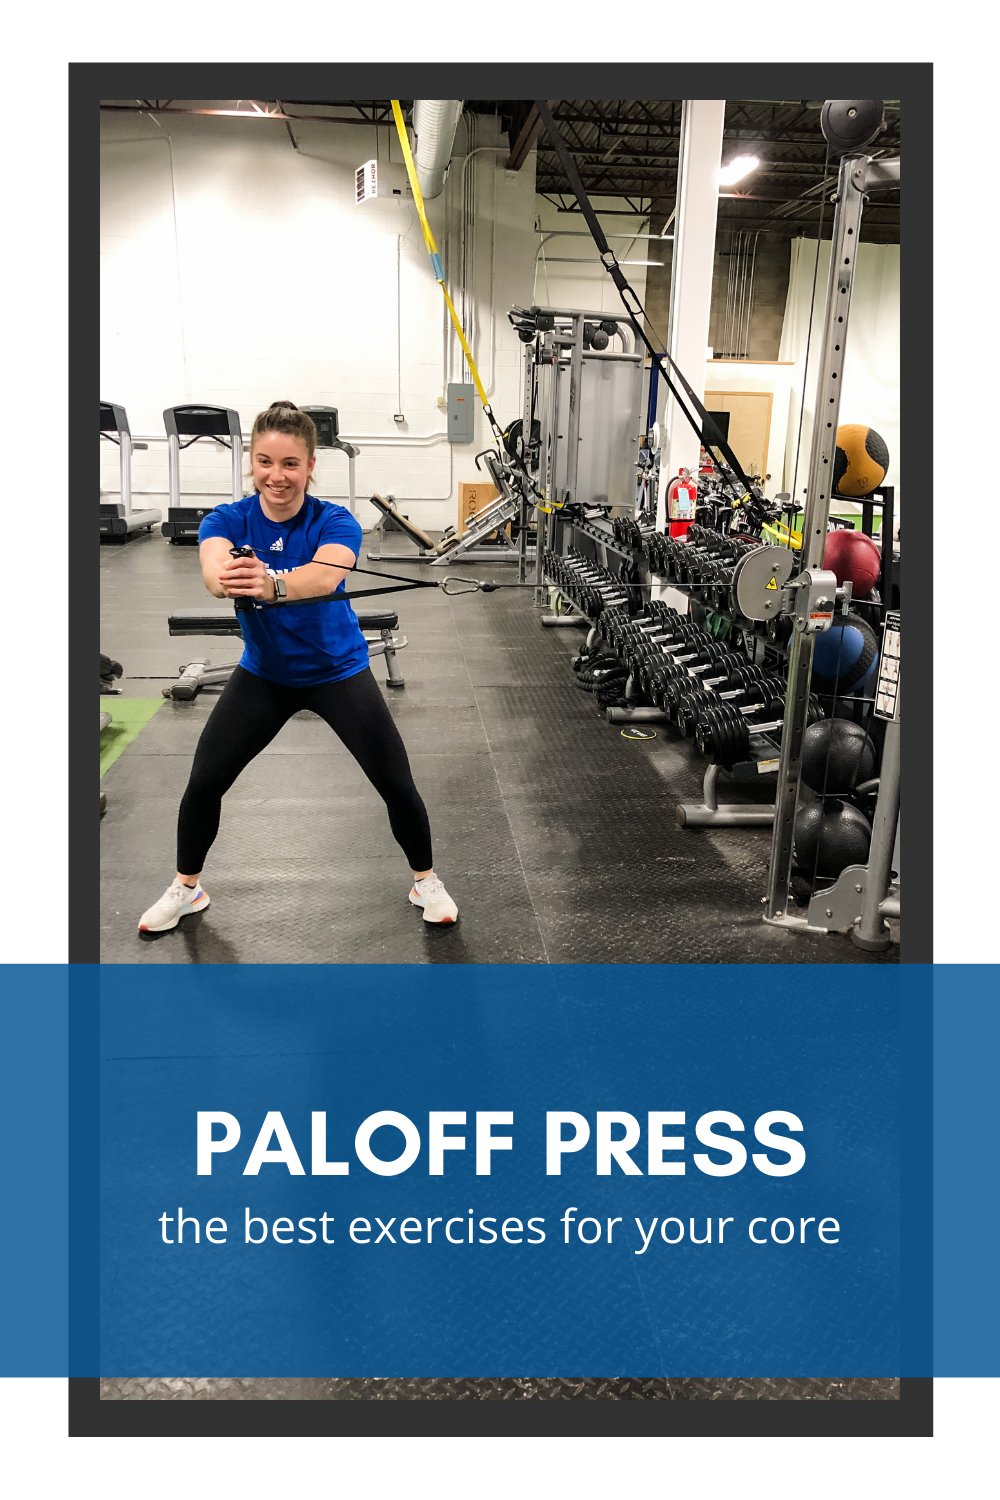
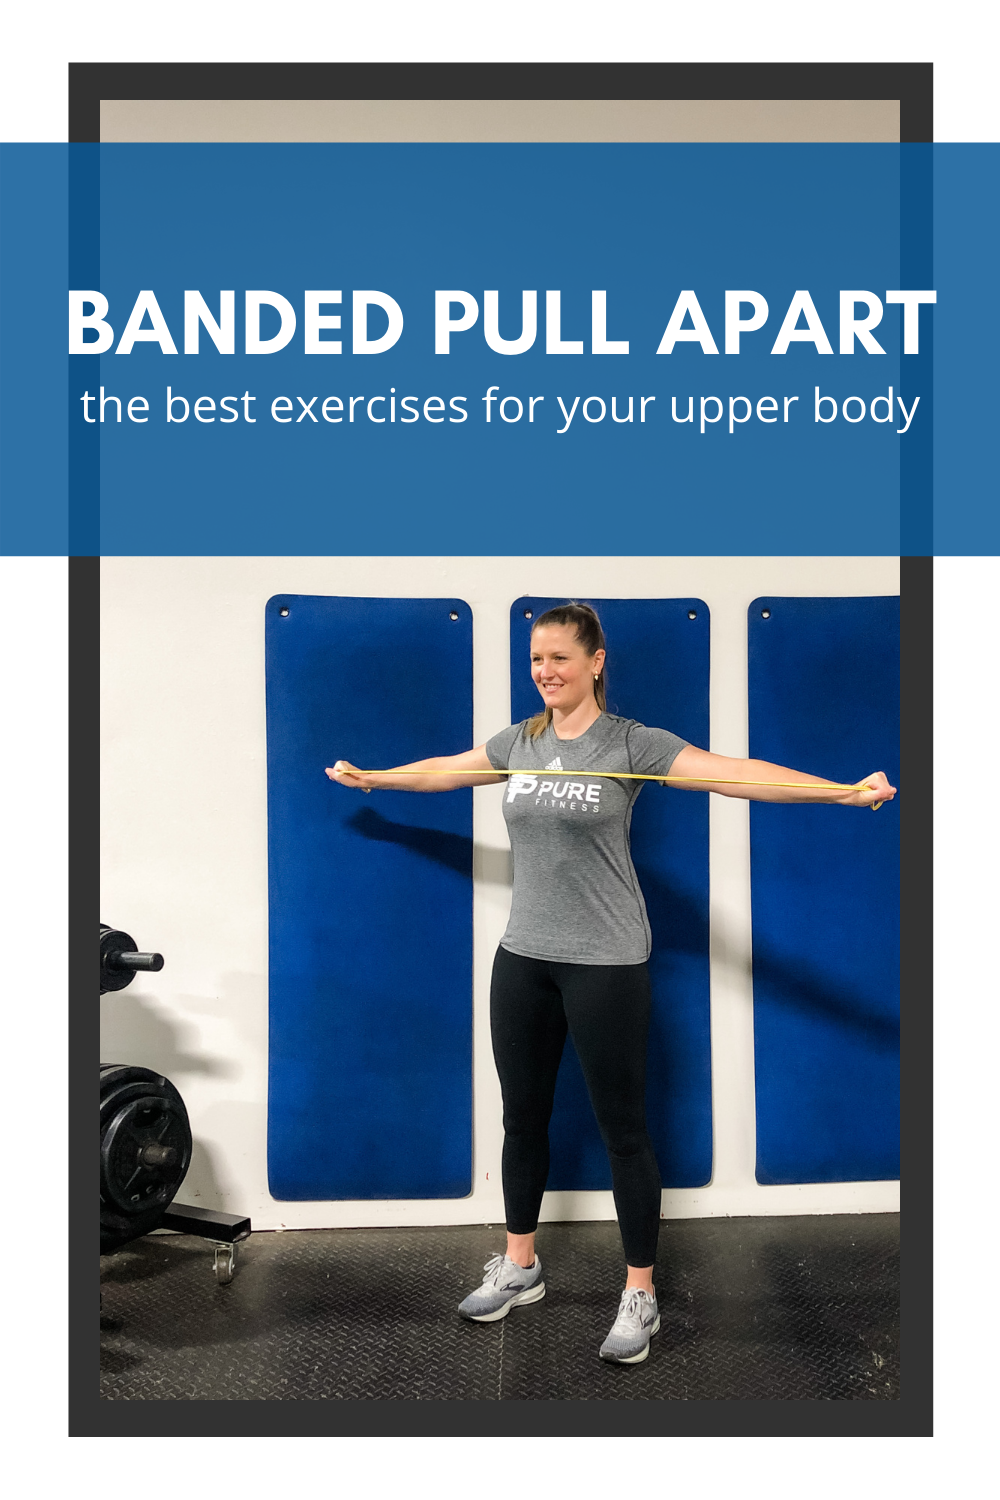
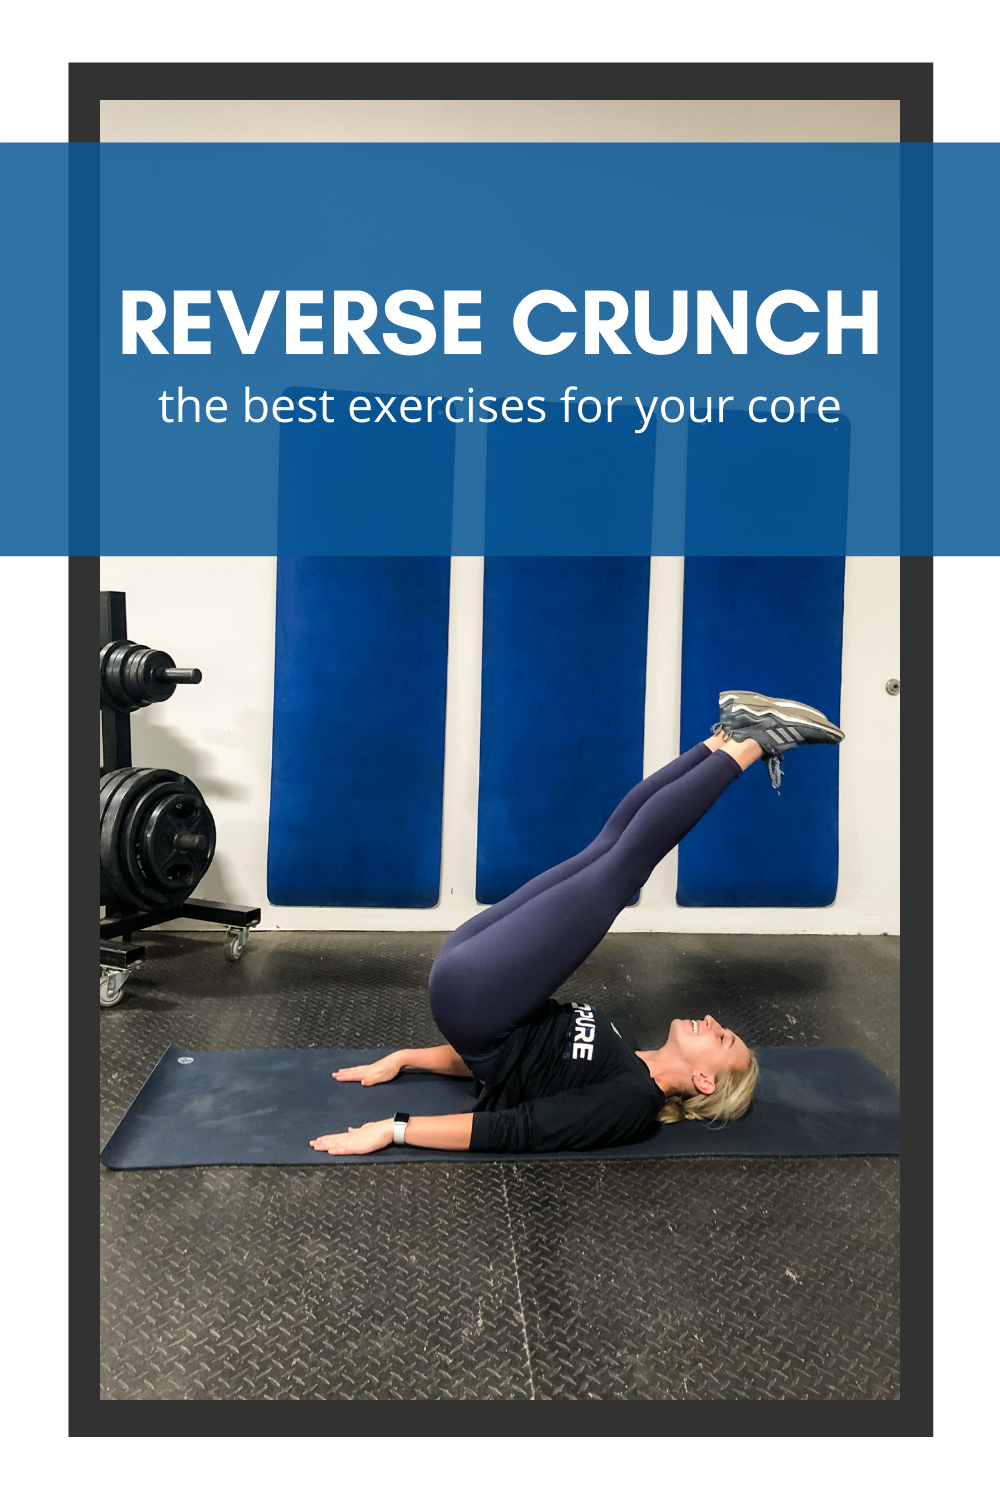
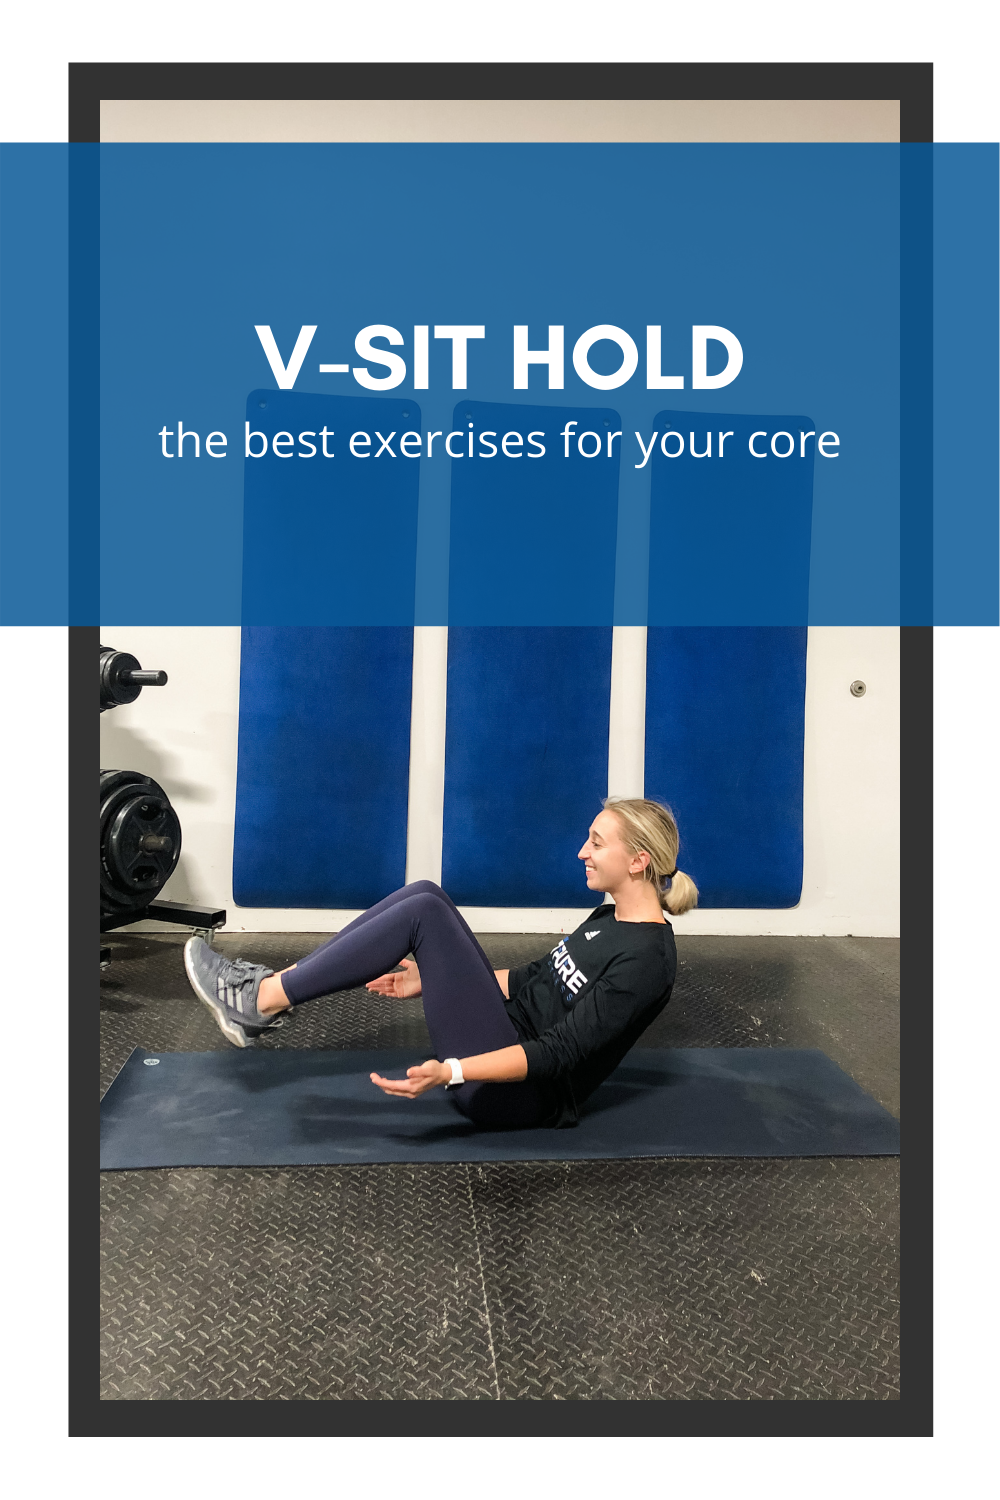
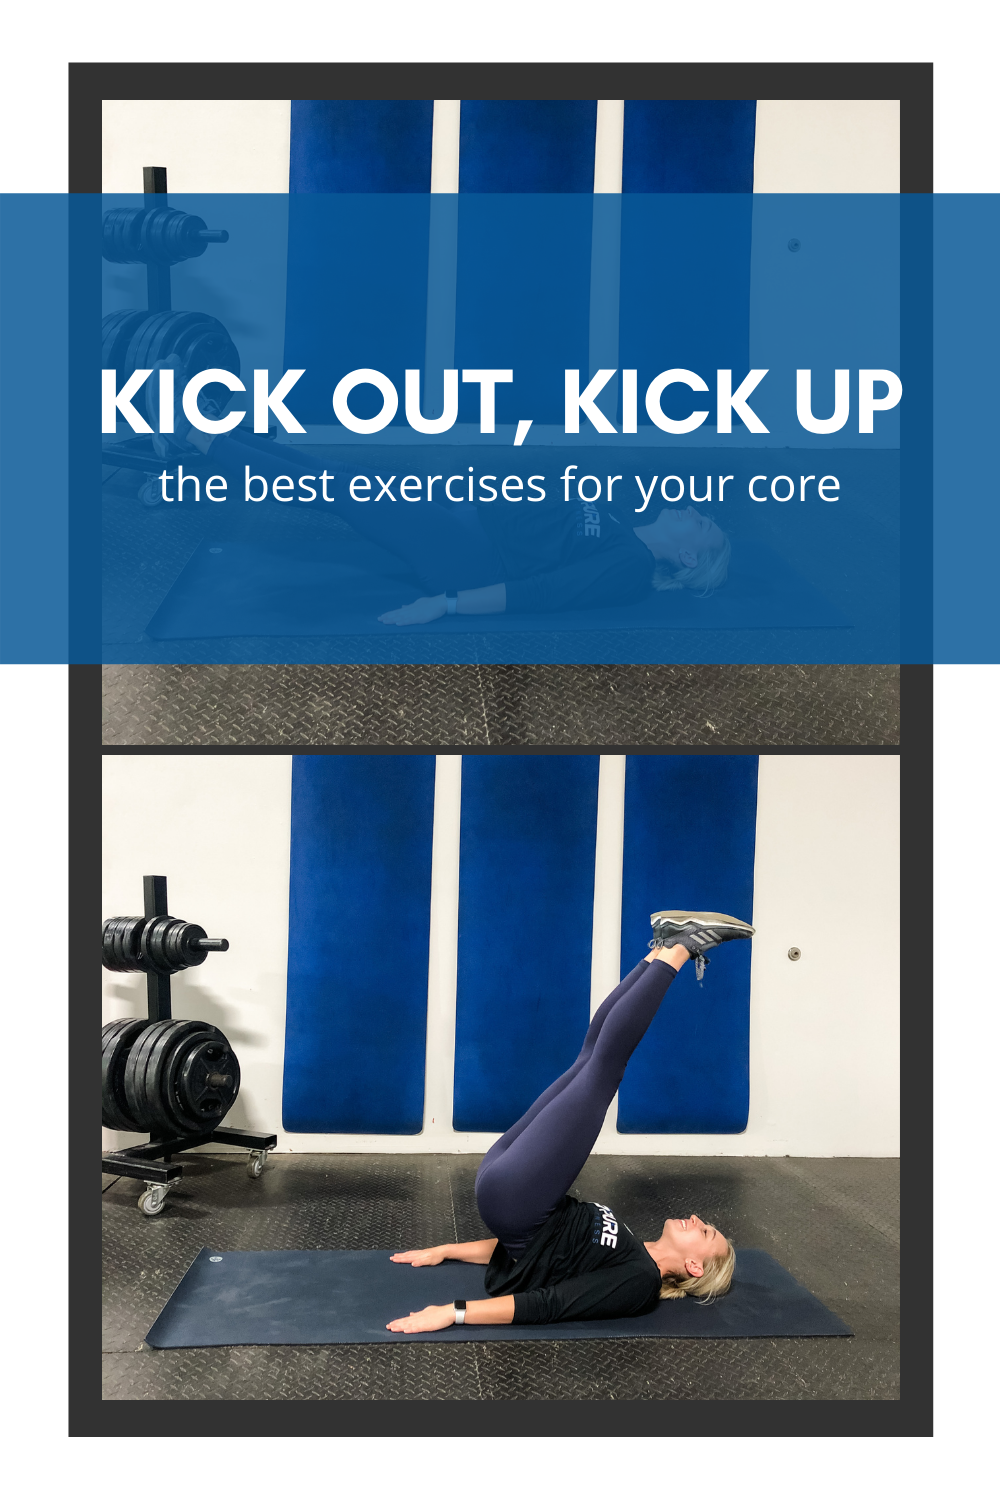
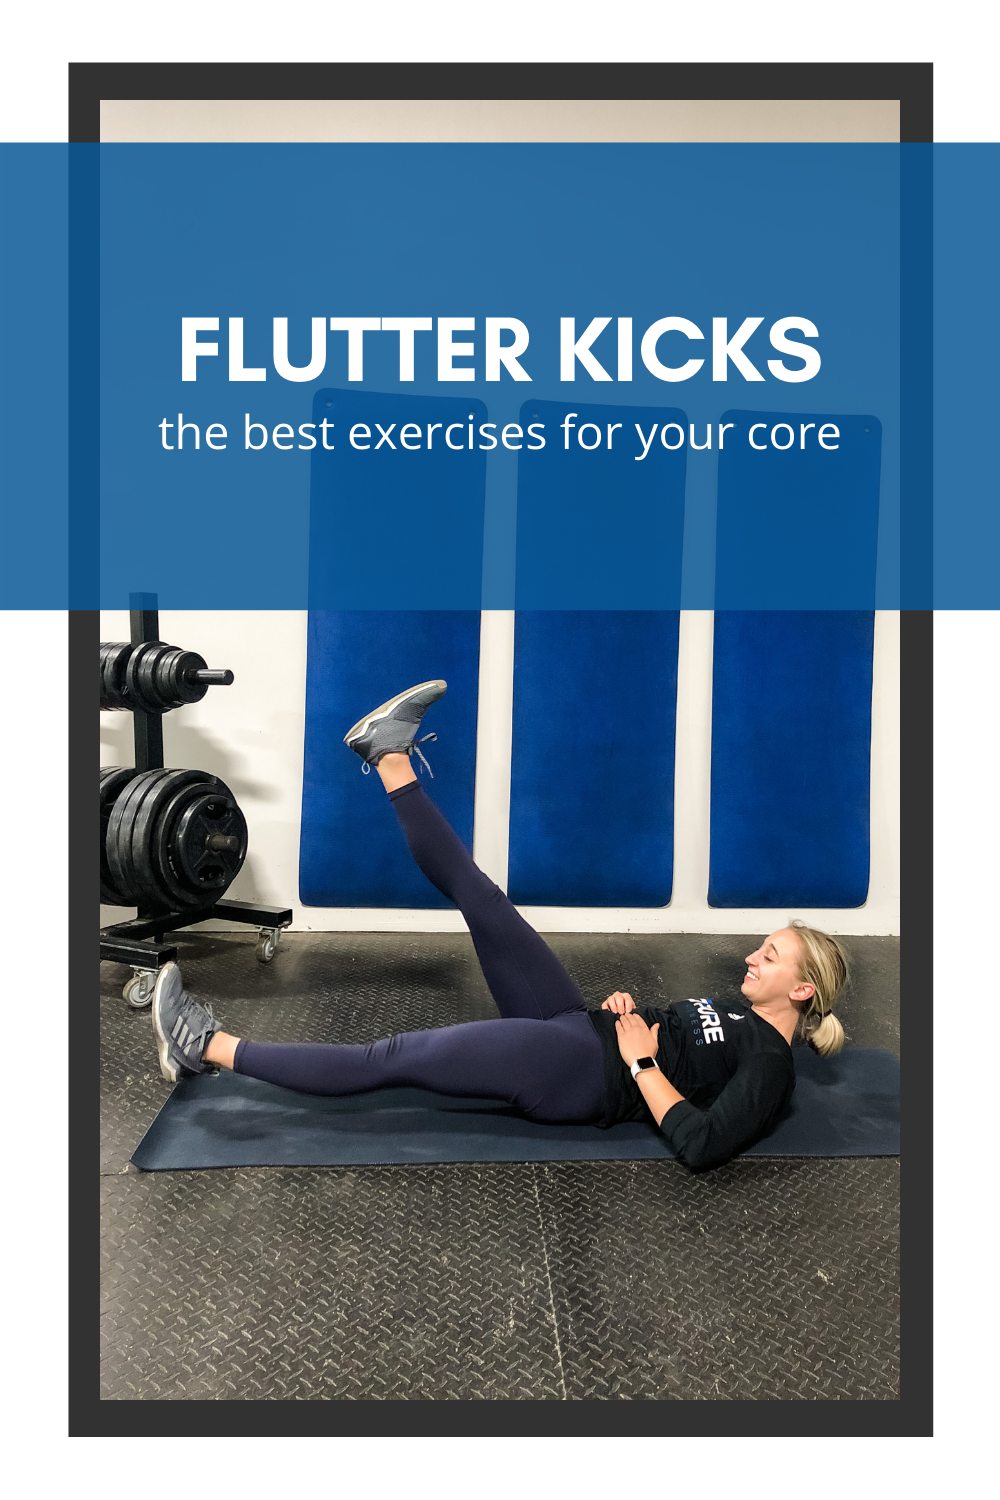
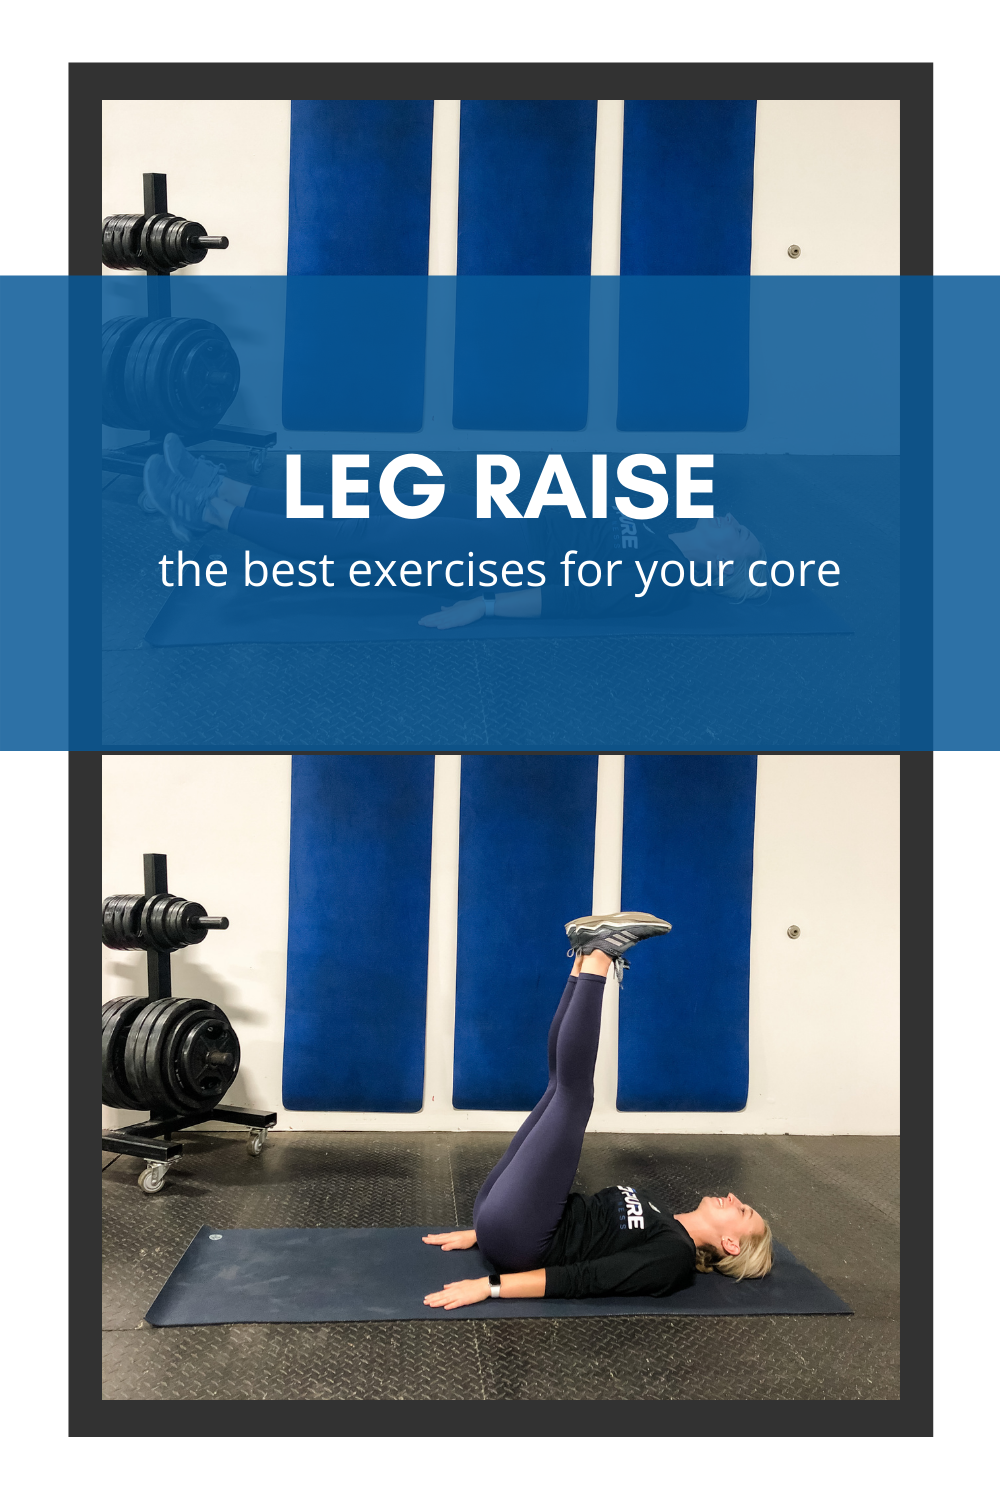
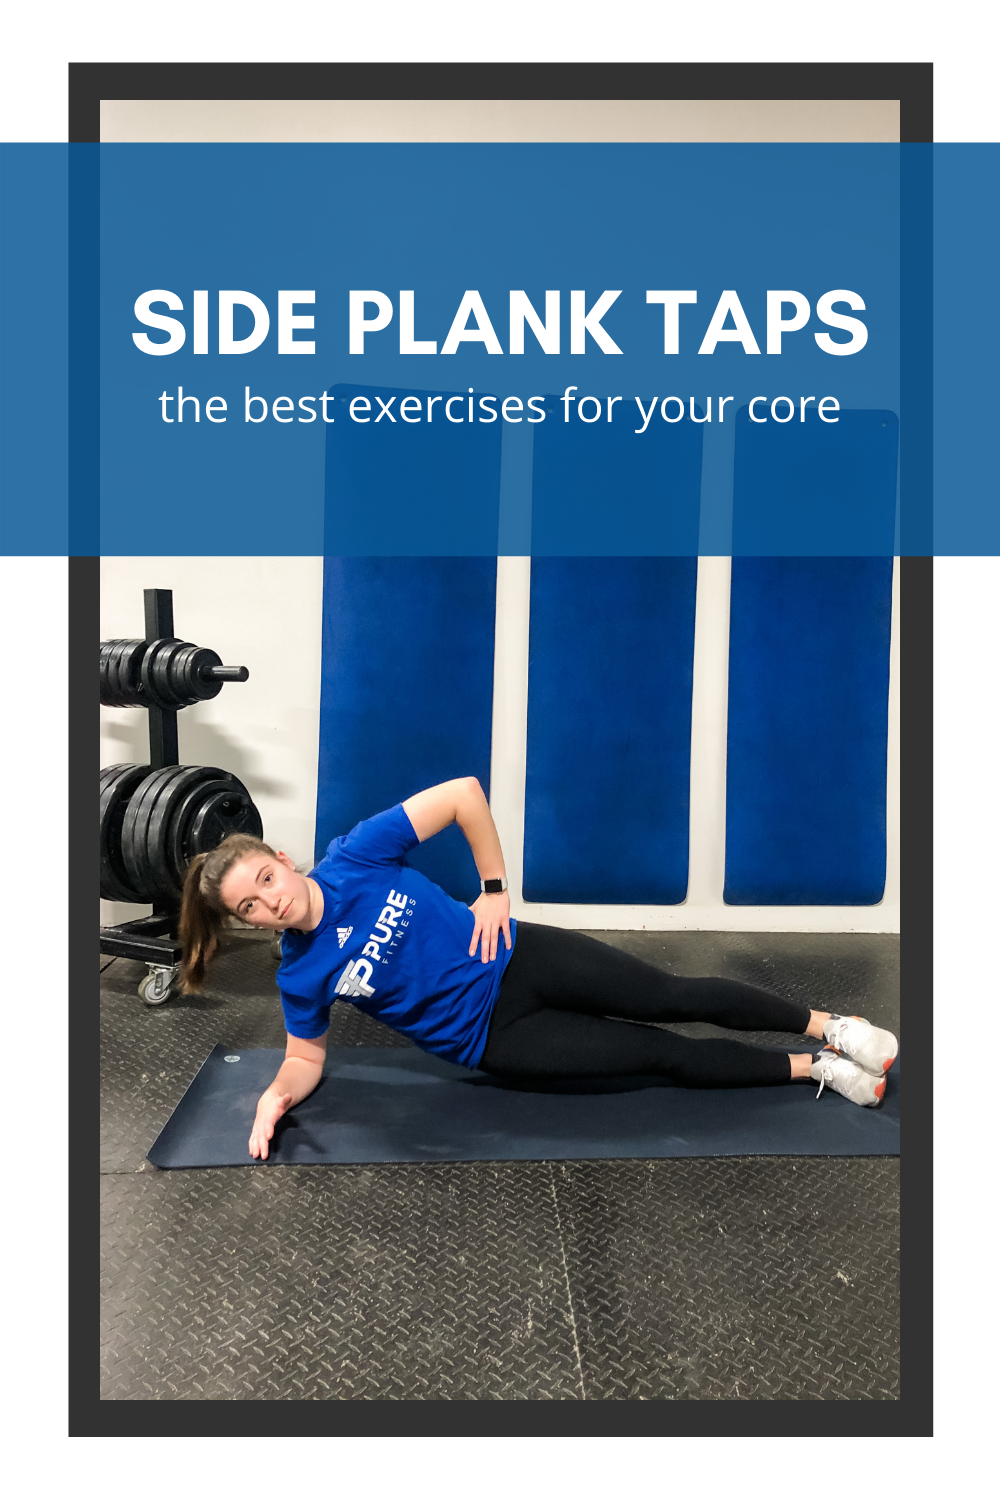
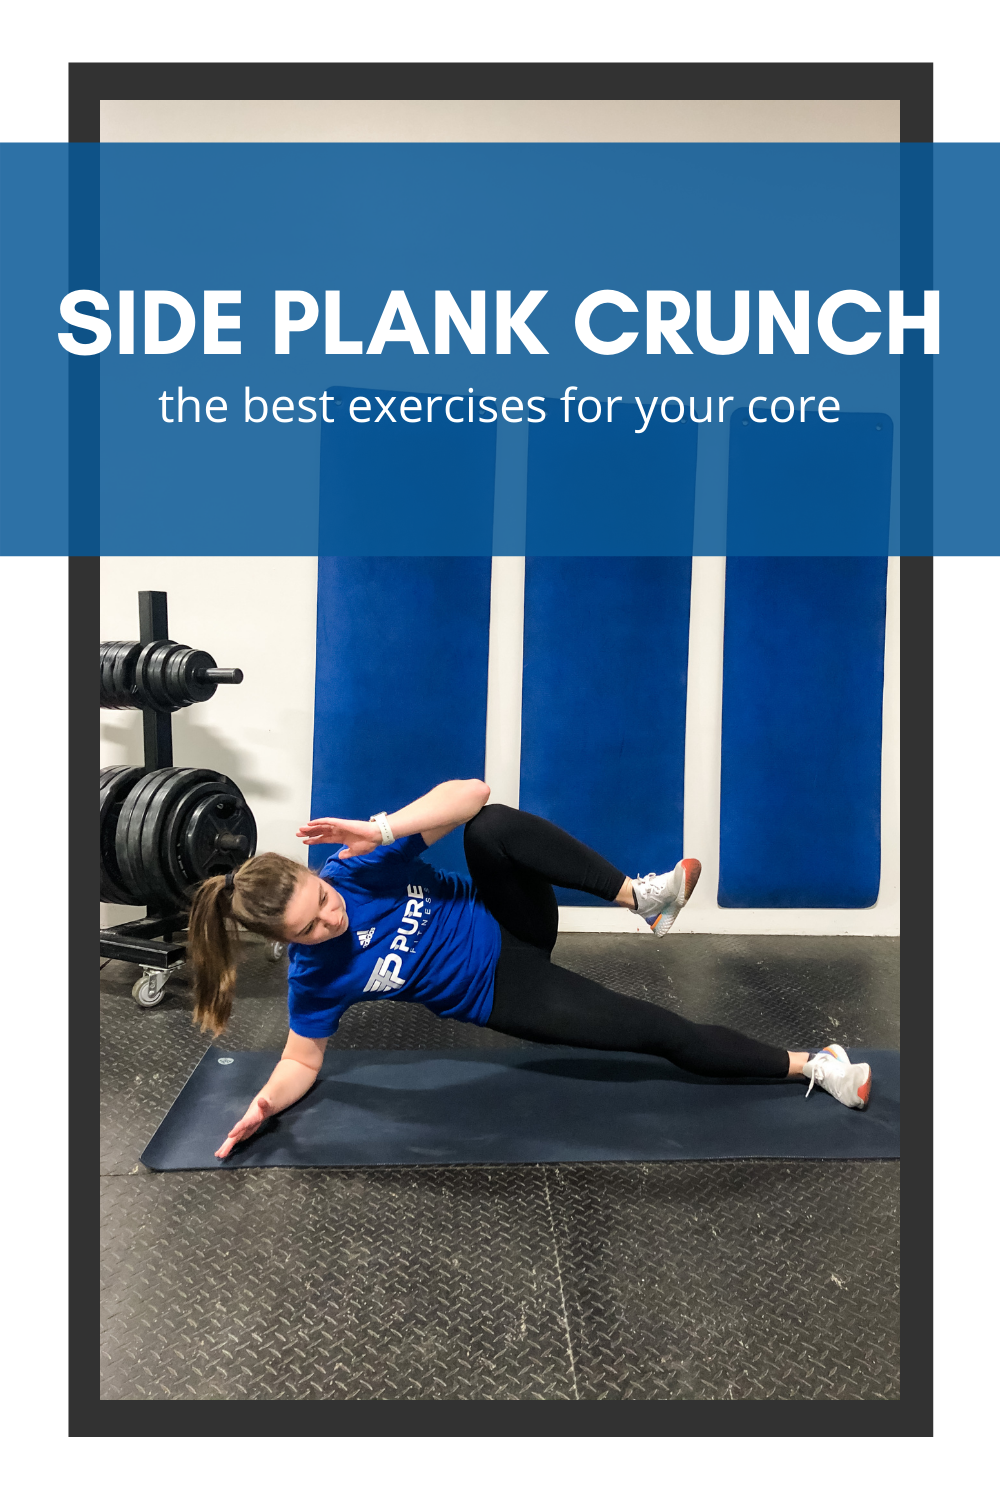
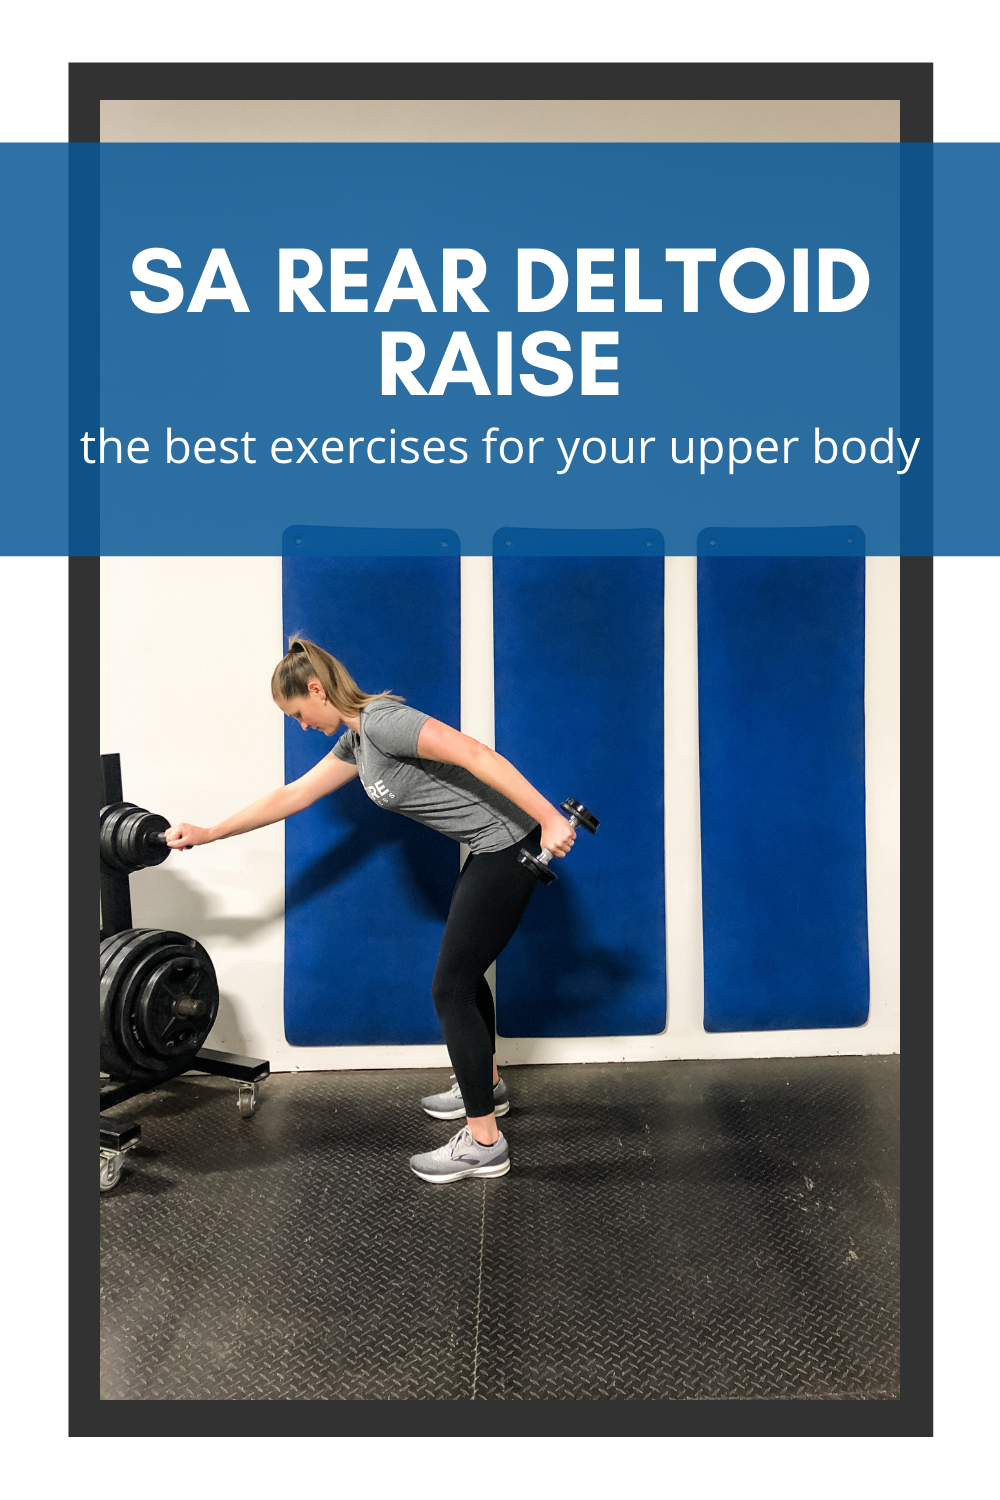
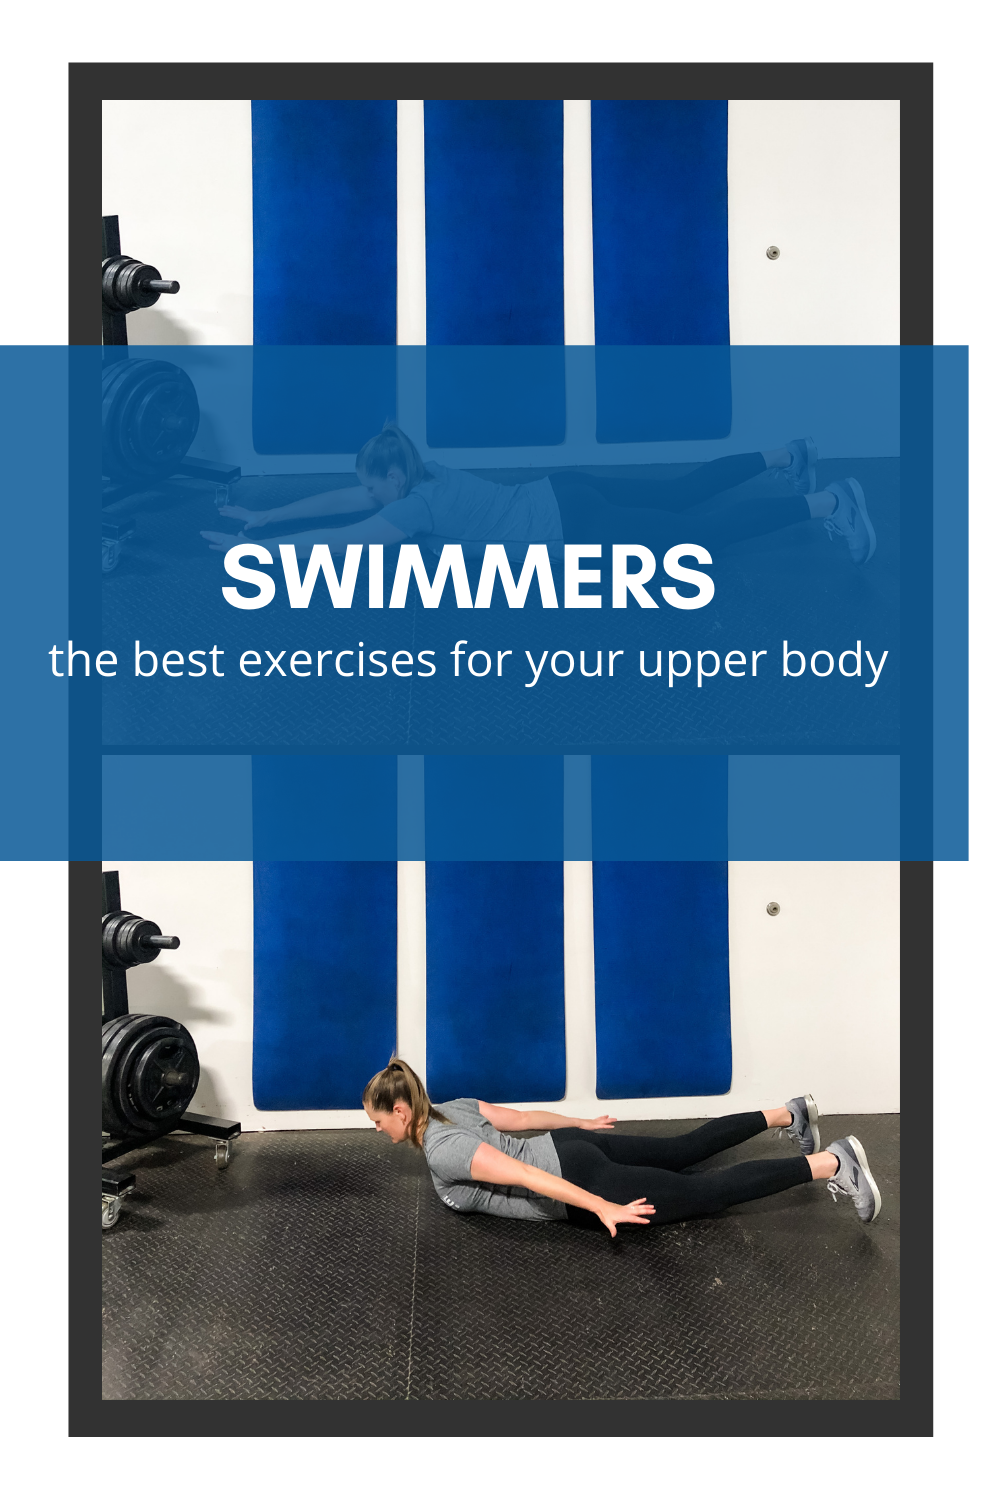
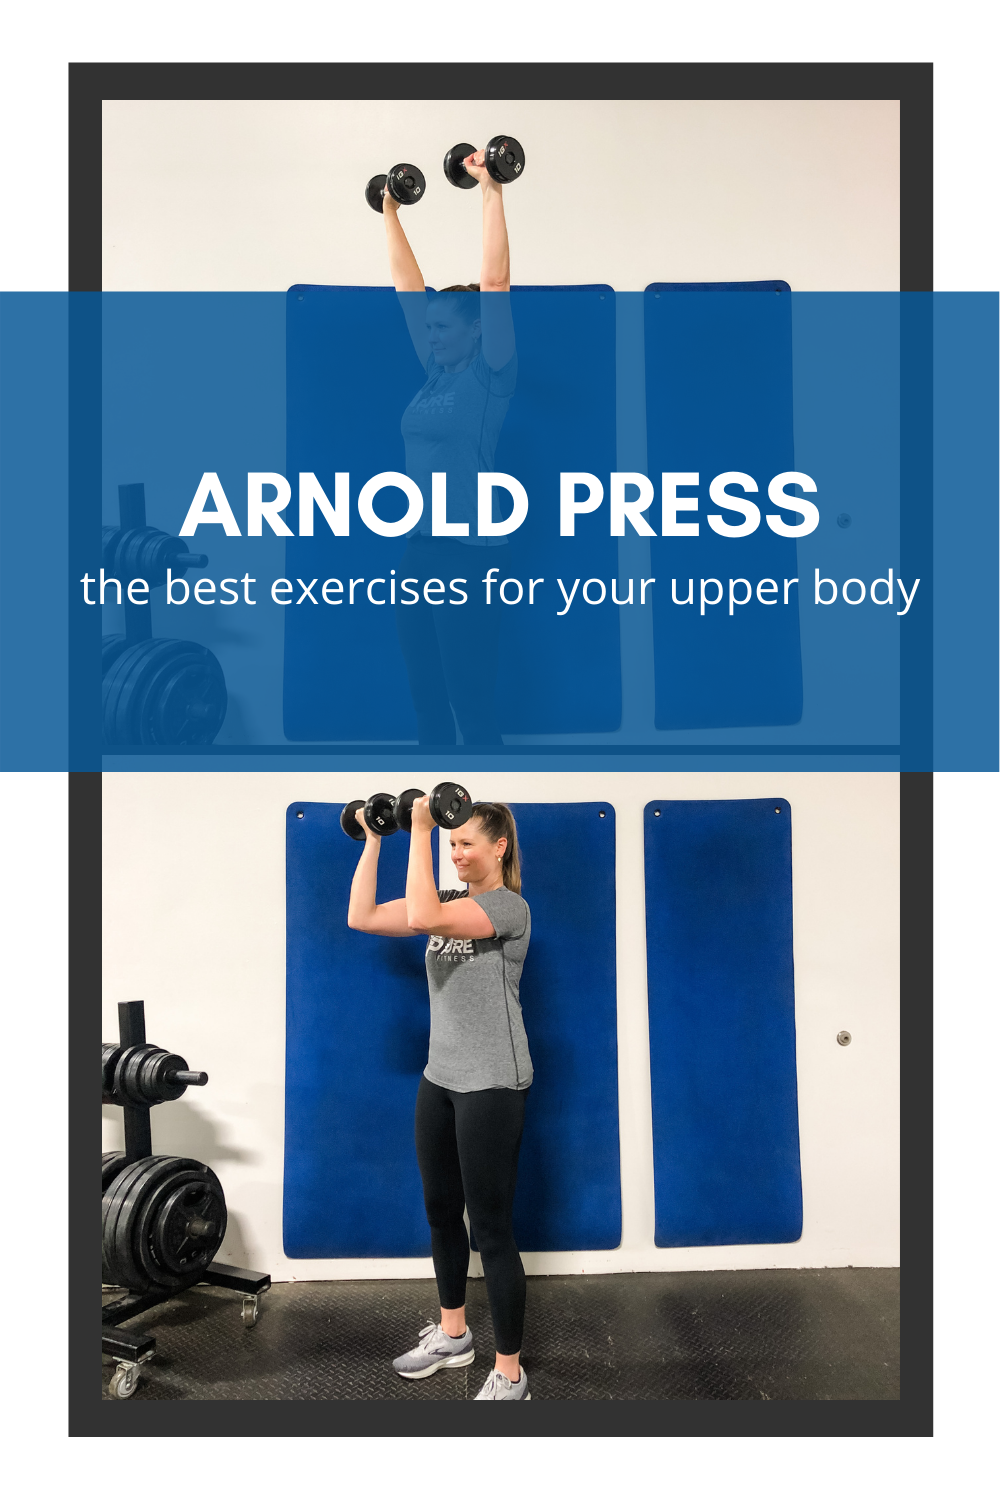
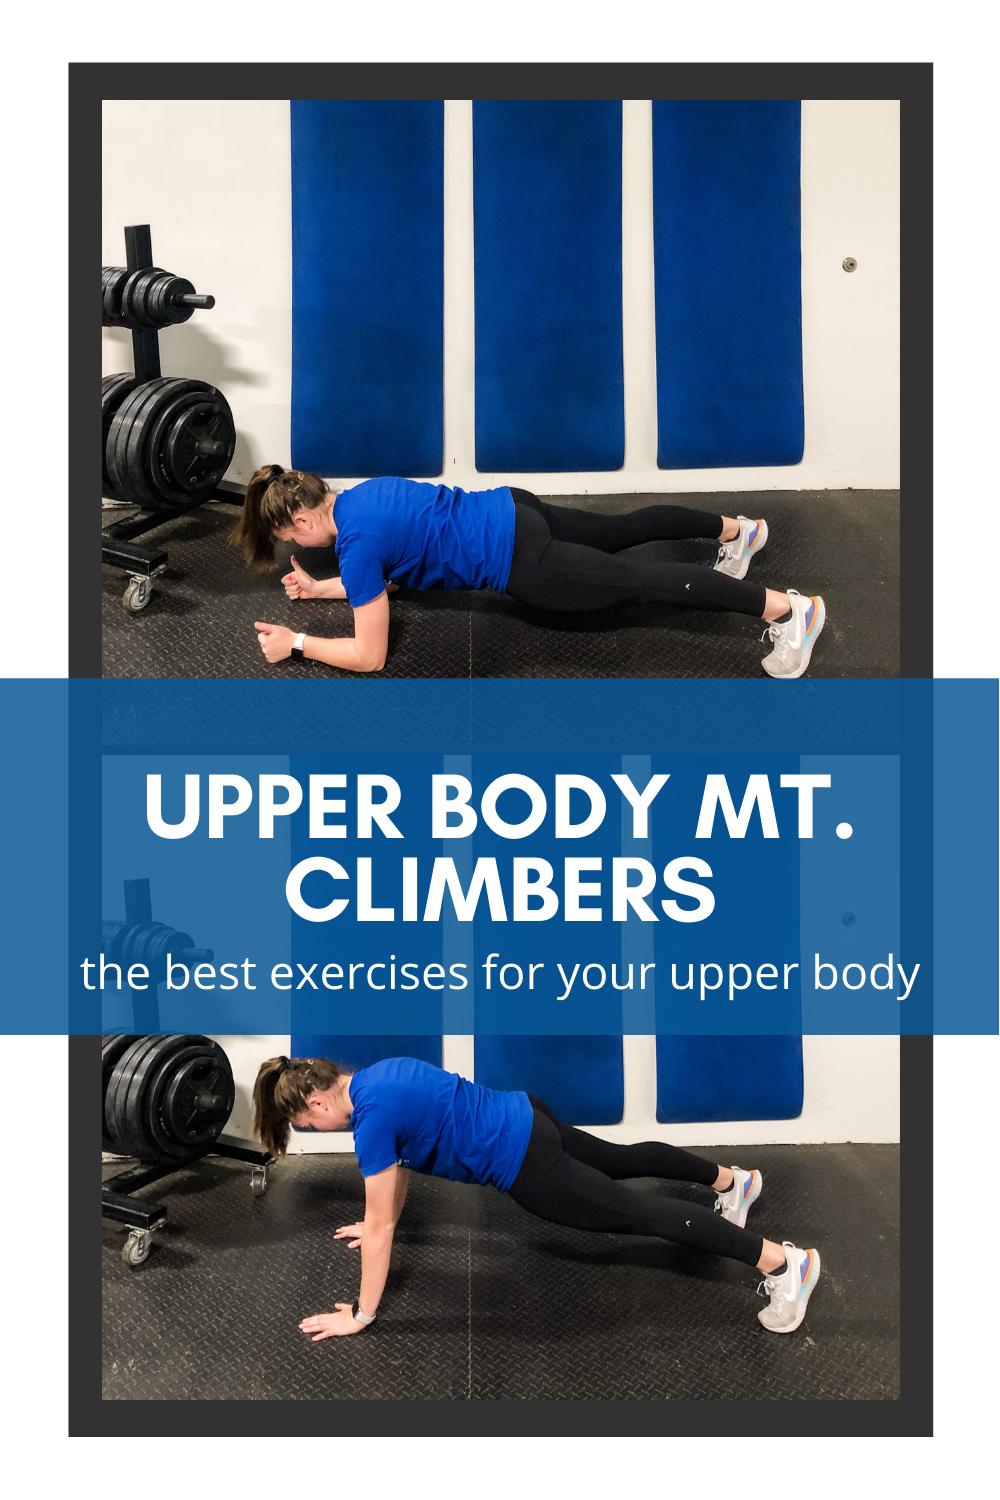
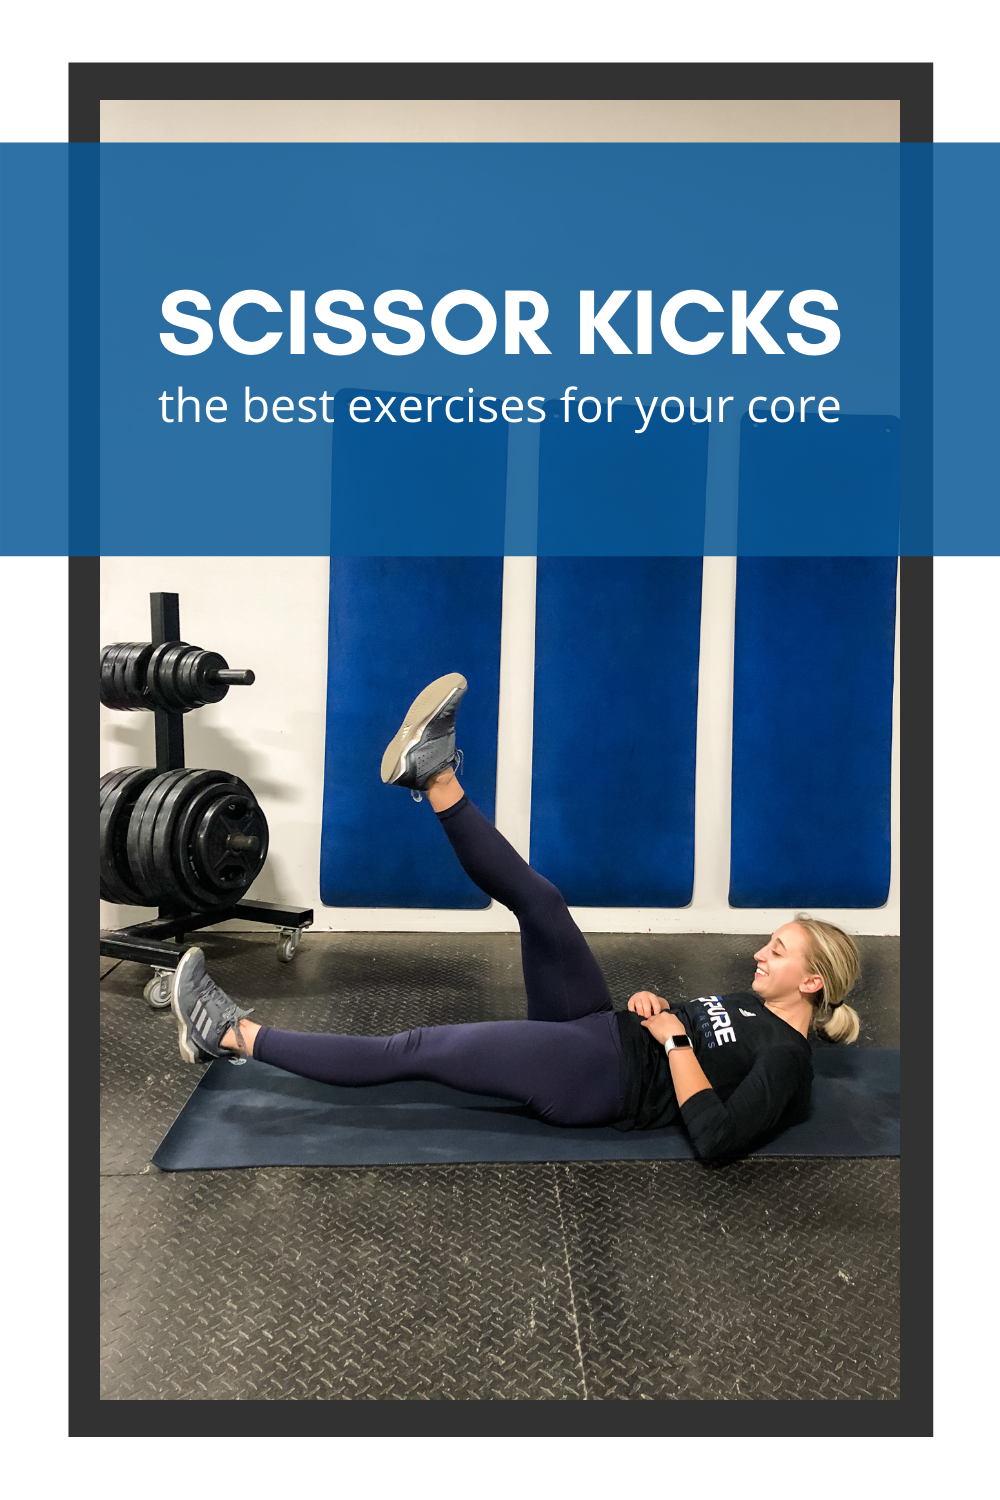
CYCLIST CORE WORKOUT
- Swimmers
- Prone Press
- Alternating Super Mans
- 4 Way Plank Extensions
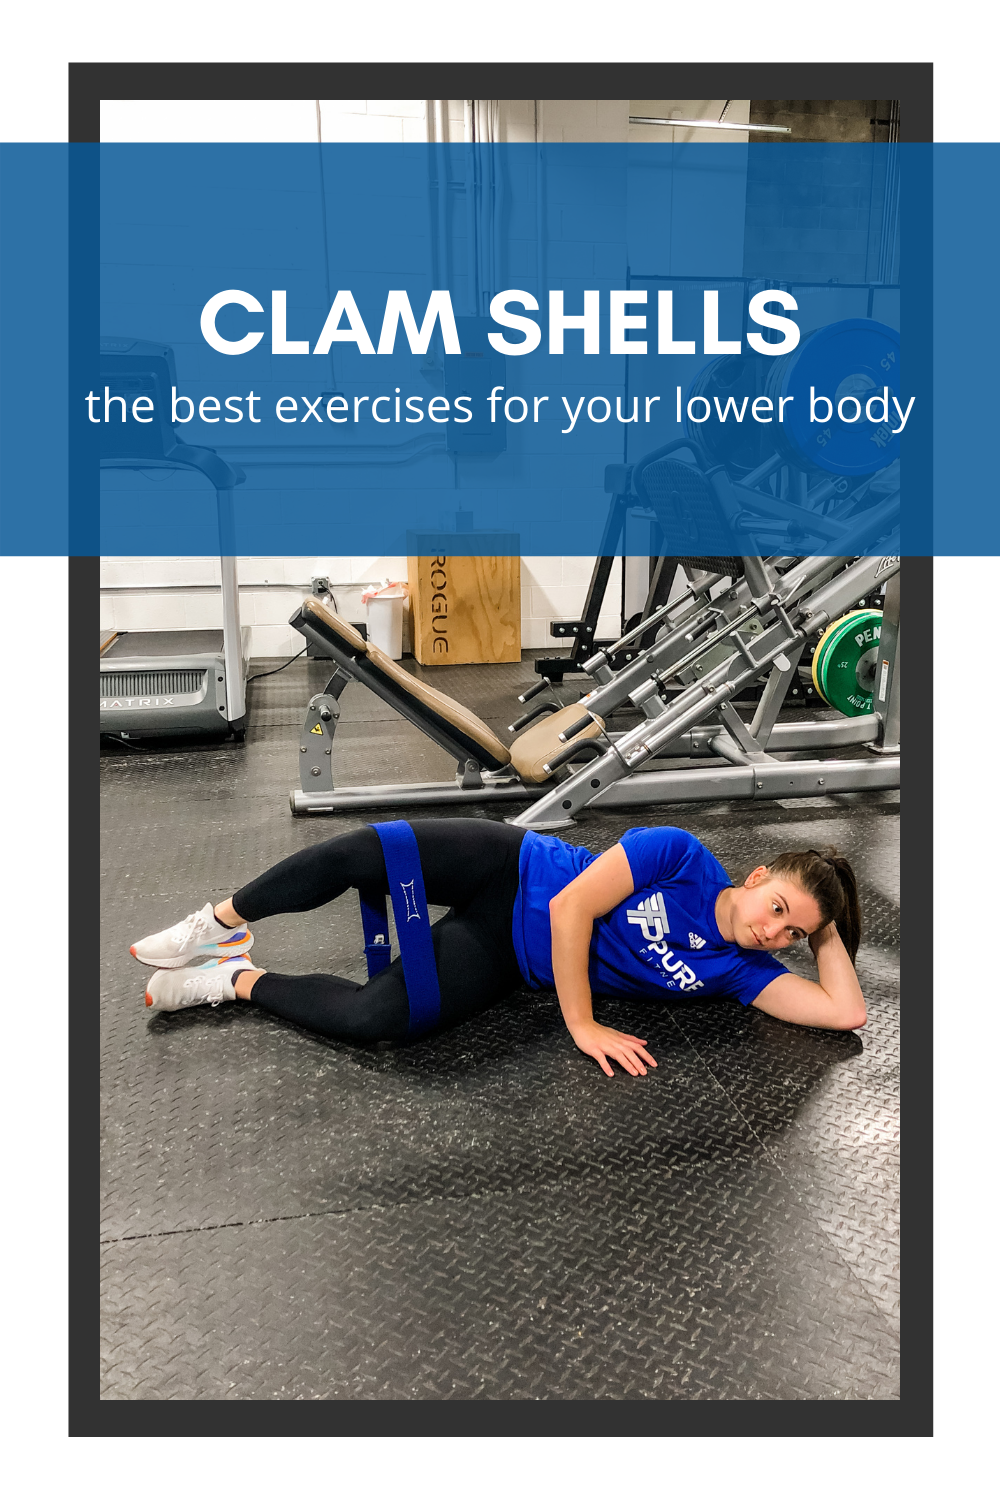
- Side Plank Clam Shell
BEST EXERCISES TO COOL DOWN FROM CYCLING
This is probably the second most skipped part of training. First being the warm-up. But I give this second place because we all know that often time the best feeling after a hard workout is to lay in out position and stretch.
So many injuries or set backs I see are completely avoidable. Part of avoiding them is cooling down. Give back to your body after you just demanded so much of it. You can hit all those muscles I talked about above (see warm-up) with a foam roller again or you can do static stretching.
Your goal here is to release muscular tension. Throughout your workout your muscles were contracting to produce the movement, now we want to lengthen them. Doing so will speed up your recovery between rides and workouts, decrease risk of injury and decrease your soreness.
We have a lot of information on our website about recovery. Here are just a few of my favorites: favorite cool down + 5 recovery tools to use.
WRAP IT UP
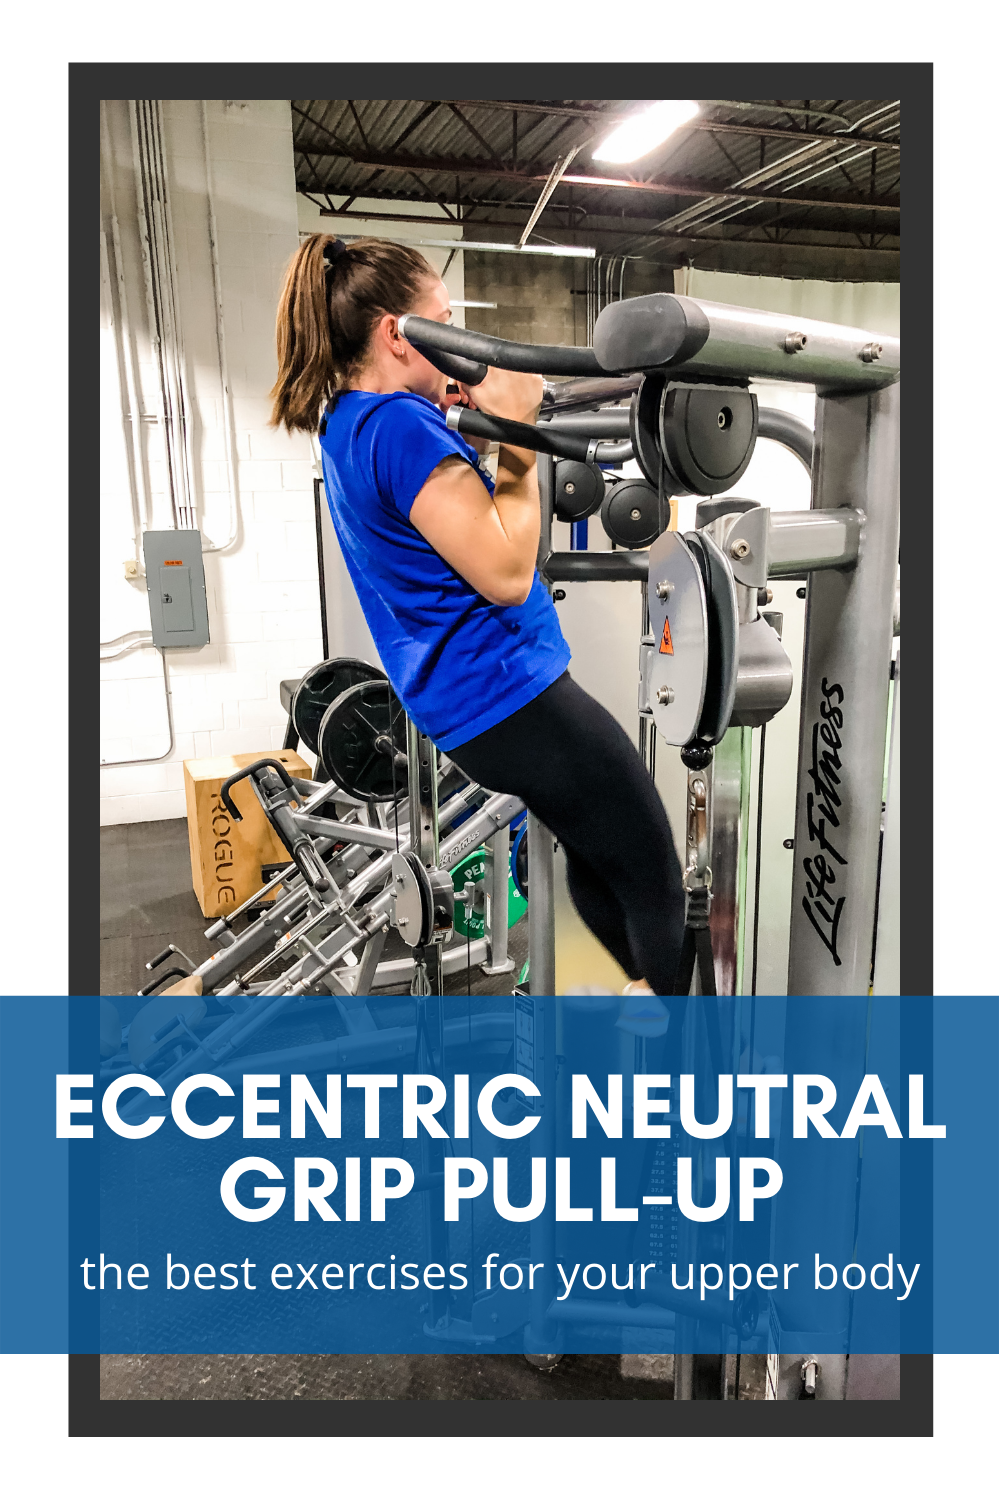
Keep in mind that the workouts I gave you are a starting point. Most of these exercises were focus on the concentric phase of muscle contraction. A well balanced program is going to include all three muscle contractions (concentric, eccentric and isometric). It will also work in all three planes of movement (sagittal, frontal and transverse) to ensure quality range of motion, stability and symmetry.
Hopefully you can start implementing some of the exercises or principals in your training program. If you need any help in getting started or taking your training to the next level contact me below 😃.


Grinder Salad Recipe
read more

How Personal Trainers Can Achieve Financial Independence
Achieving financial independence as a personal trainer isn’t just about working harder—it’s about working smarter. A well-structured business model can be the difference between financial instability and consistent income growth. In this blog, we’ll explore how to...

5 Hacks to Grow Your Fitness Business
For personal trainers, time is often the most valuable yet limited resource. Balancing client sessions, marketing tasks, and business growth can feel overwhelming, leaving little room to focus on growing your reputation and scaling your business. The good news? With...


 There are many reasons why runners and “non-runner” runners should be strength training weekly. But here are my top three: