I think this recipe exploded the internet last summer and since then my girl friend and I have been tweaking and perfecting the recipe that we now consider the source of truth for all Grinder Salad to come.. Some of it might be the exact ingredients or maybe it is the...
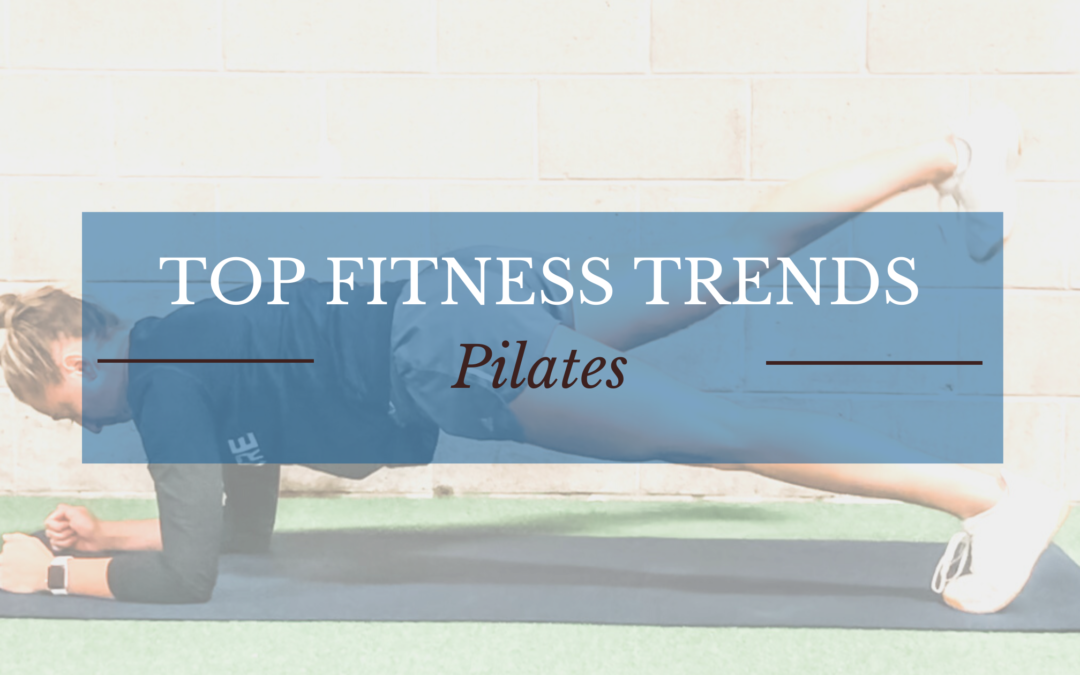
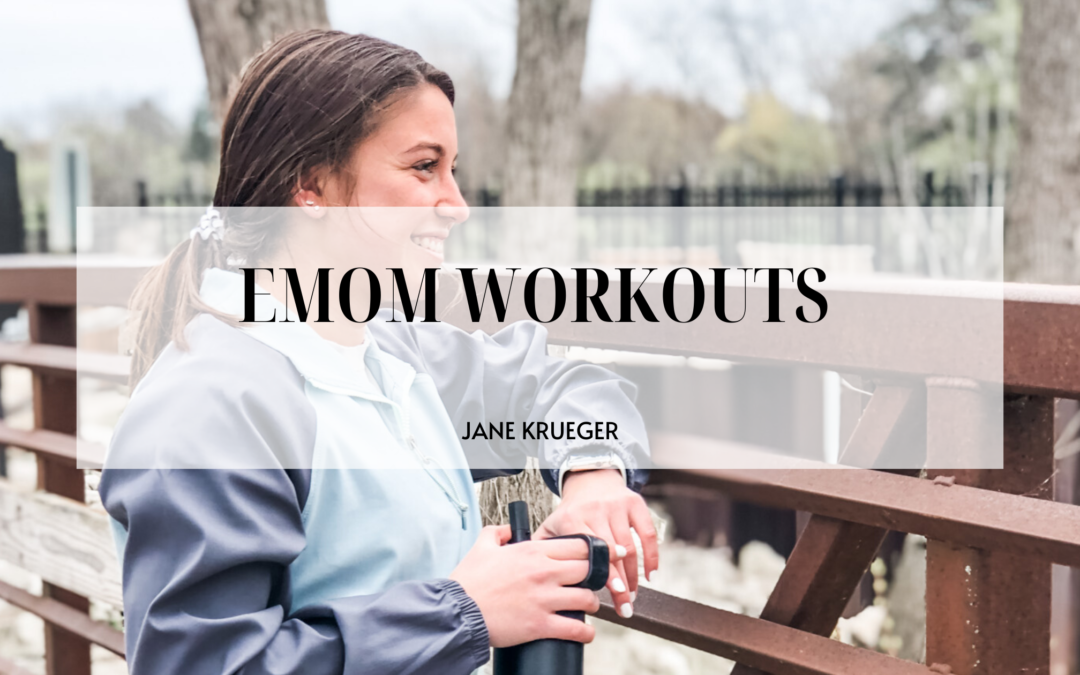
PILATES: WHAT IS IT? SHOULD I BE DOING IT?
Just like finding the perfect outfit to wear, picking out the right exercise method to fit your lifestyle and goals is tailored to the individual. Due to people’s different goals and a wide range of interests there are a plethora of fitness classes, trends, and workouts available to the public. HIIT workouts, circuit training, pilates and more.
Exercising is for you and your body to make you feel your best. Just like putting on the perfect outfit! Not only does the exercise method have to match what you want to achieve, but you also have to enjoy it. If you loathe your workout it just gives you an excuse to skip it. It can be tough to find this perfect fit when it comes to exercising. Did you know that your personality plays a huge role is this?
Pilates has been one of the most popular fitness trends not only because of physical benefits, but because of the mental relaxation as well. The question is, is this just a craze? Or is it what you are missing in your workout routine? Let’s dive in and discover a bit more about Pilates.
WHAT IS PILATES?
Although Pilates has really become popular amongst celebrities and gyms everywhere, it has been around since the 1920s. Named after Joseph Pilates who founded the practice, Pilates focuses on specific exercises and movements coupled with a focus on breathing. It also puts emphasis on stretching while developing strength, stability, and balance.
We often talk about how important these factors are in your workout routine. And they become increasingly important as you age. Read more on exercising as you get older.
In fact, “Contrology” was the original name of the practice because of this focus on how you must control your body through breathing and throughout the movements. Many have compared Pilates to yoga, but with more fluidity through each pose or exercise. The biggest focus here is on technique and doing the movements precisely.
Classes usually range from about 45 minutes to an hour and go through a sequence of poses without holding as yoga does. This offers more of a challenge to the body with breathing techniques and engaging almost all of your muscles as you go through many of the poses.
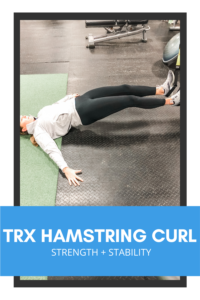
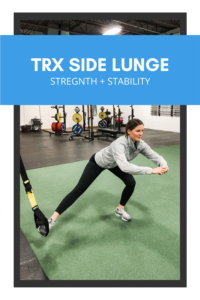
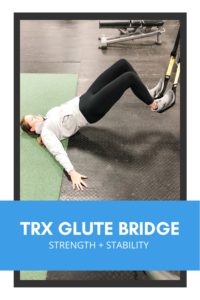
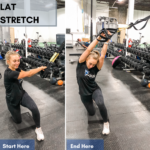
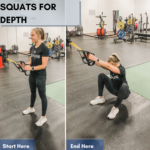
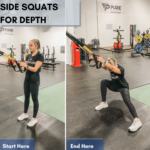
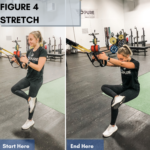
There are different forms of Pilates of which the two most common are Reformer and Mat. Reformer uses equipment such as resistance bands, foot pads, a moving carriage, and straps all on one apparatus. Mat is simply that. It is done on a yoga mat with just your body as you are guided through the exercises. This is generally more accessible to people through video services or at-home Pilates.
BENEFITS OF PILATES
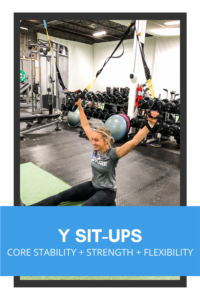
Pilates has a big following because of its’ emphasis on core strength and using body and mind in alignment through the class. Many have seen this as a great transition into the exercise realm when coming from classes like yoga. There is a large draw to it for these reasons.
Other benefits include the focus on improving posture and flexibility and a big one is that it is a form of low impact training.
As discussed earlier, it is important to find an exercise mode that is suited for your needs and your desires to get active. You should not just focus on why you like it, but why it is beneficial for your body. Evaluate adding Pilates to your workout by deciding if these benefits match your goals. It is also important to look to see if the pros outweigh the cons.
DOWNFALLS OF PILATES
When you look at just the benefits of something it is easy to get a cloudy judgement. On paper, Pilates seems like an amazing way to get active. And it is! But we have to come back to the goals here. If your goal is to drop that number on the scale or see large muscular gains, Pilates may not be for you.
After all, in Pilates you are doing bodyweight exercises. You will not be able to get extreme muscle definition or strength from bodyweight. Even if you add in resistance bands or other equipment seen in reformer type Pilates, you still have a cap as to where your gains can go.
In addition, if weight loss is your goal, Pilates will most likely get you to where you want to be. Incorporating aerobic activity along with strength training will create a more well-rounded workout program. Pilates is a great supplement but doing it as your only form of exercising may not be what your need.
Pilates is a very technical and precise workout. It is not so easy to just jump into an advanced workout without proper knowledge of the exercises and order. This is not uncommon when it comes to different forms of exercises. But when you think of something like a cycling class you can understand the simplicity of hopping on a bike to join a class.
This is not to discredit Pilates, but to ensure that when you are finding the right fit for your workout you consider all the angles!
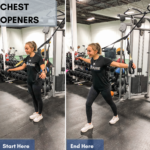
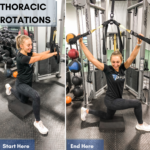
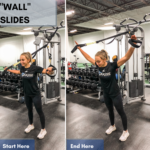
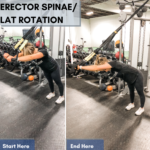
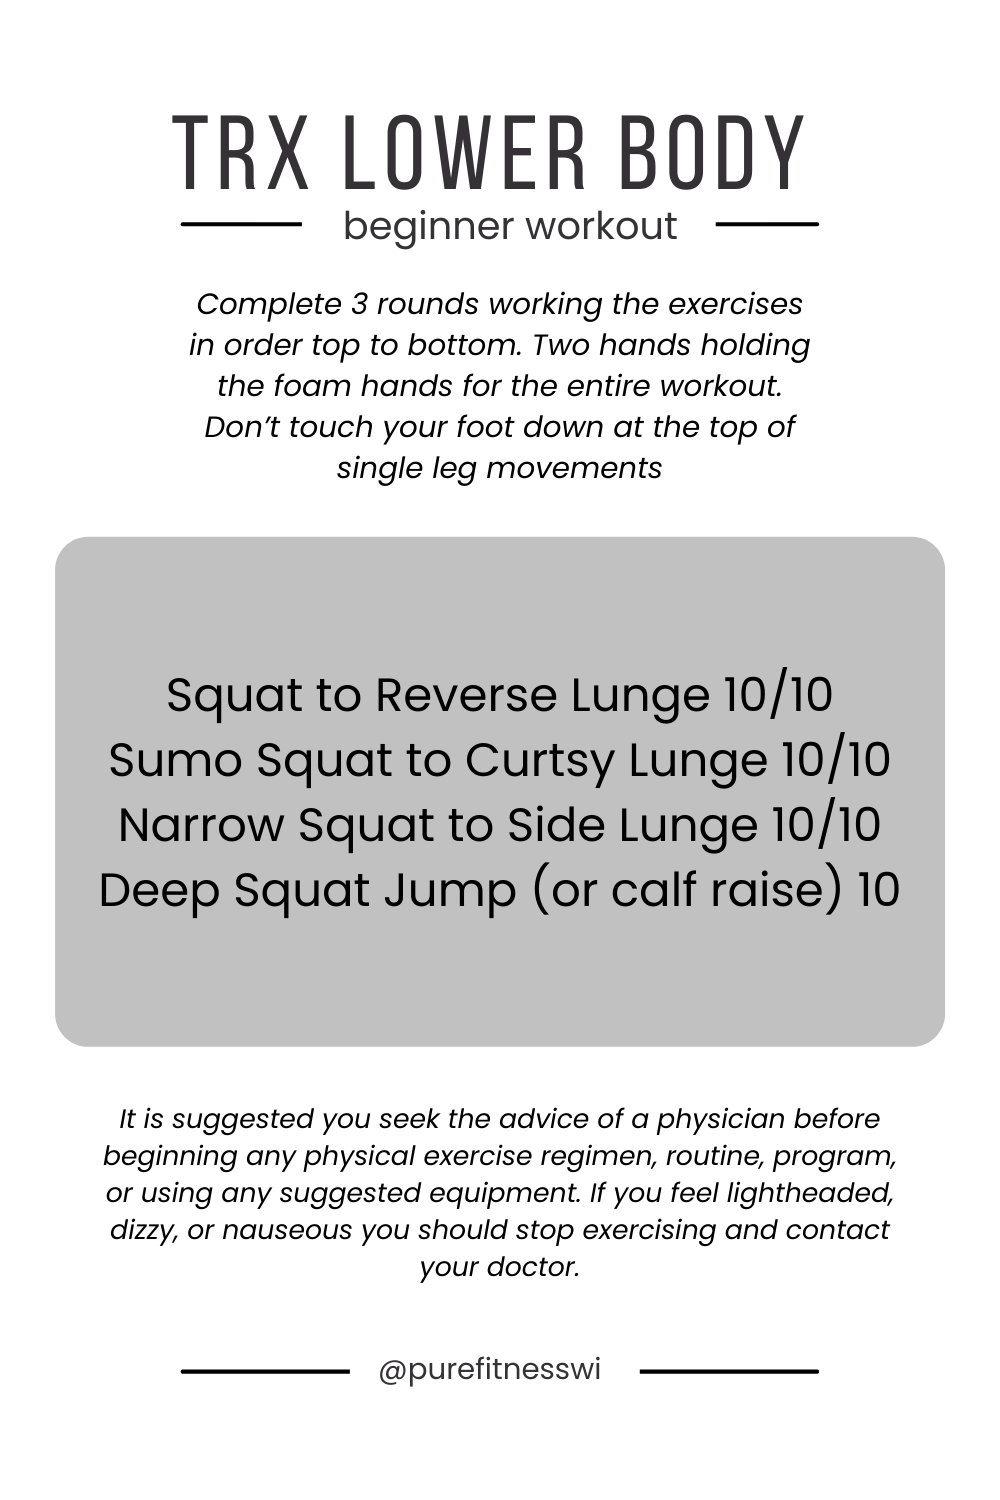
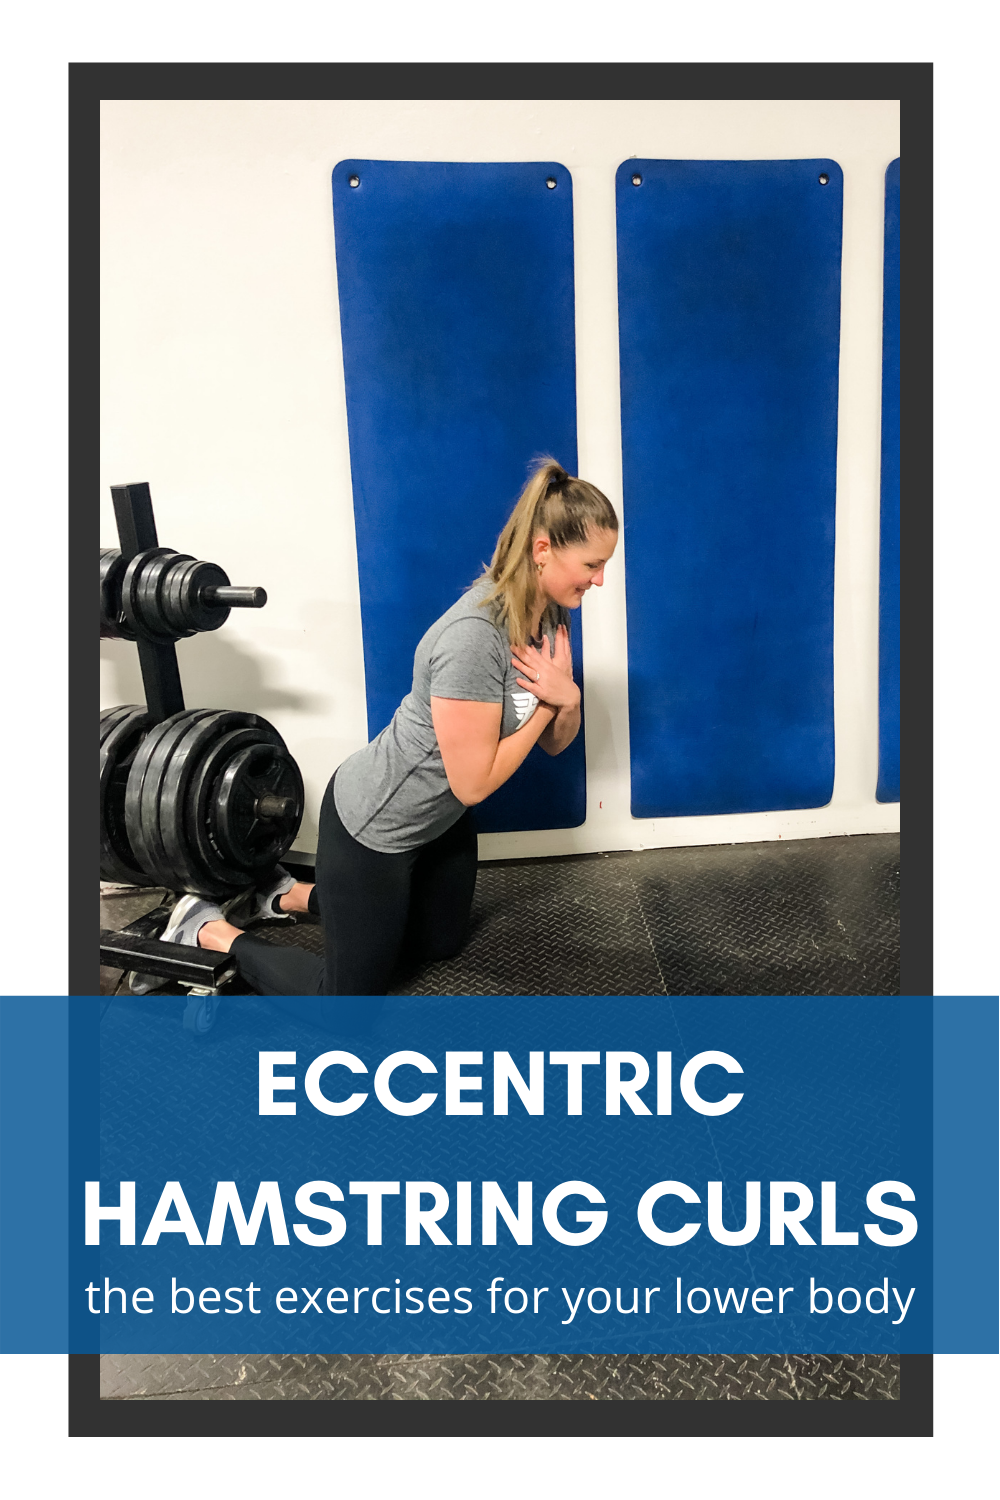
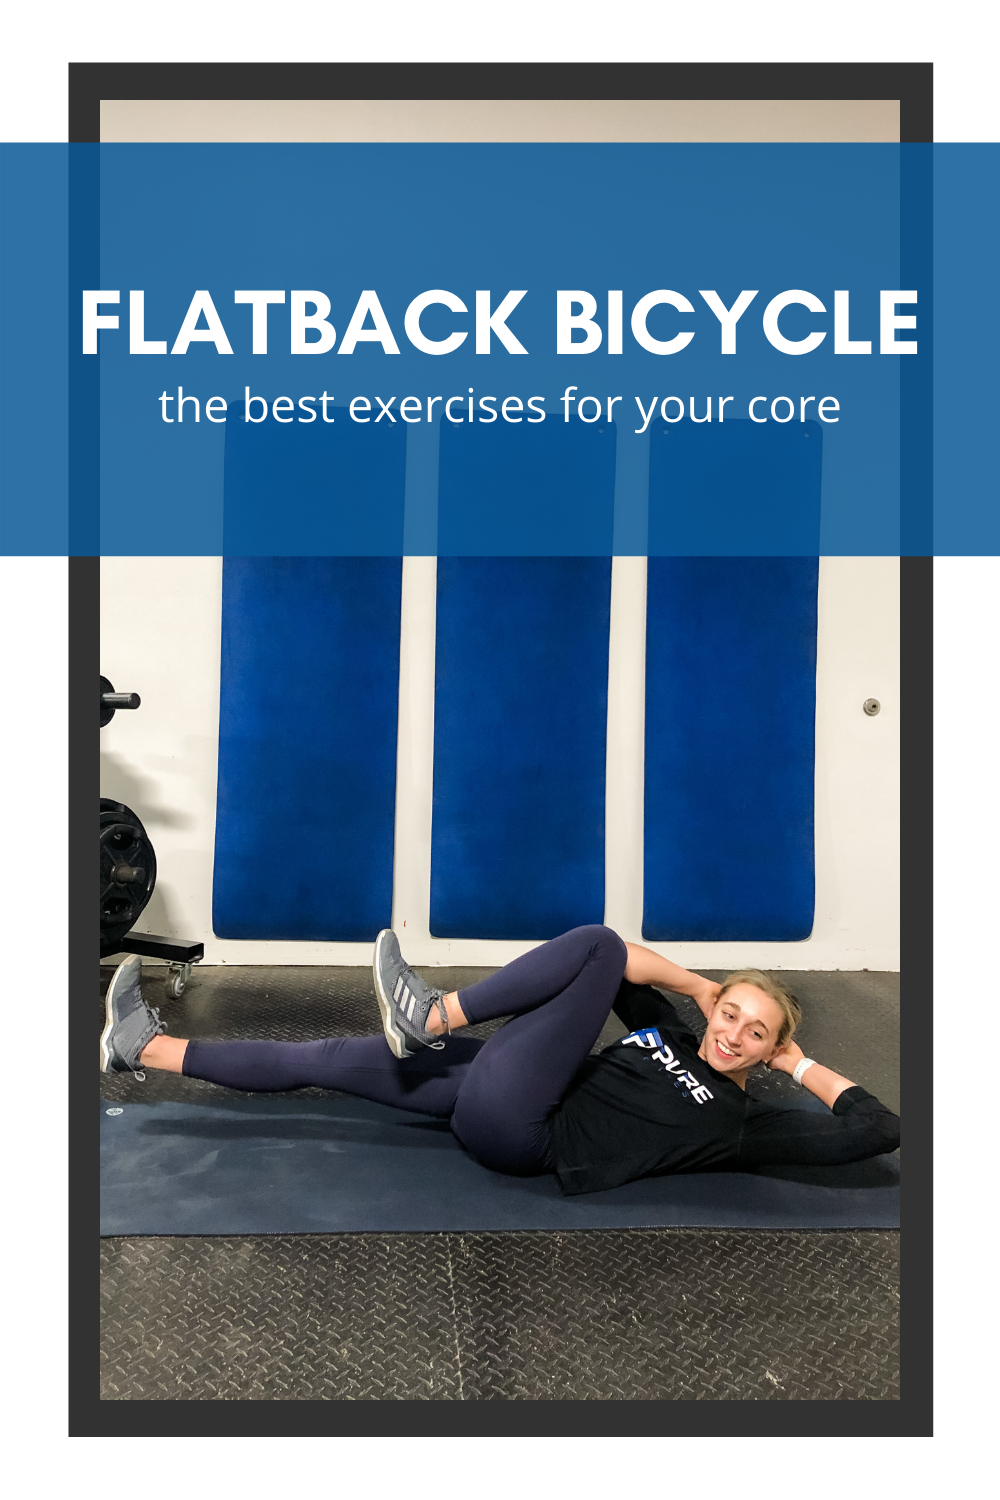
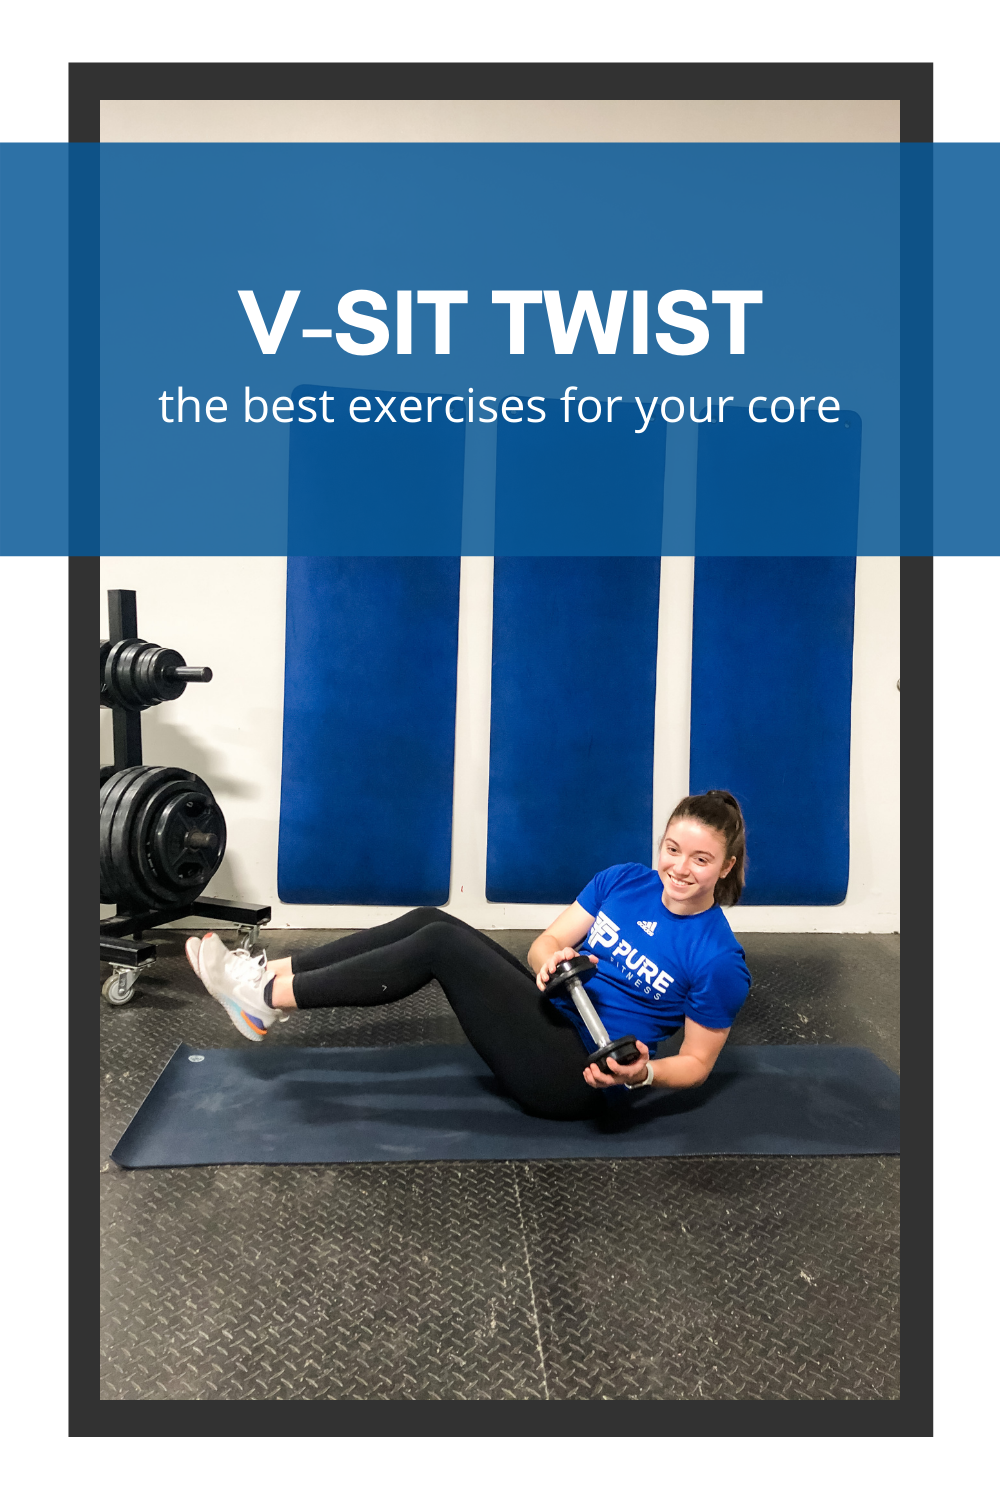
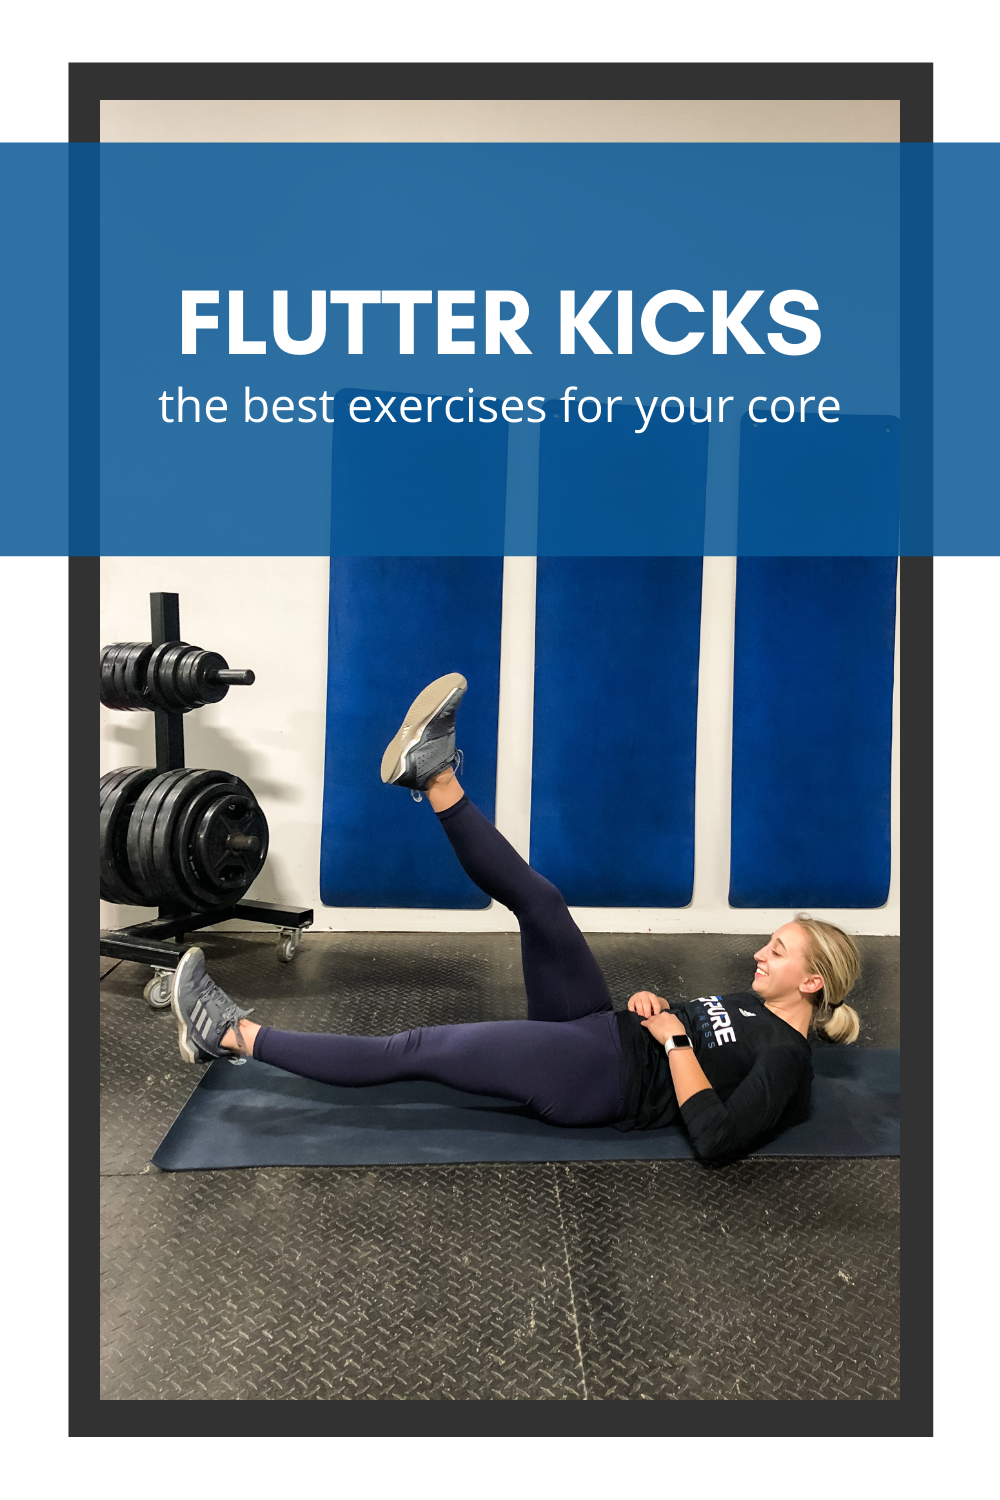
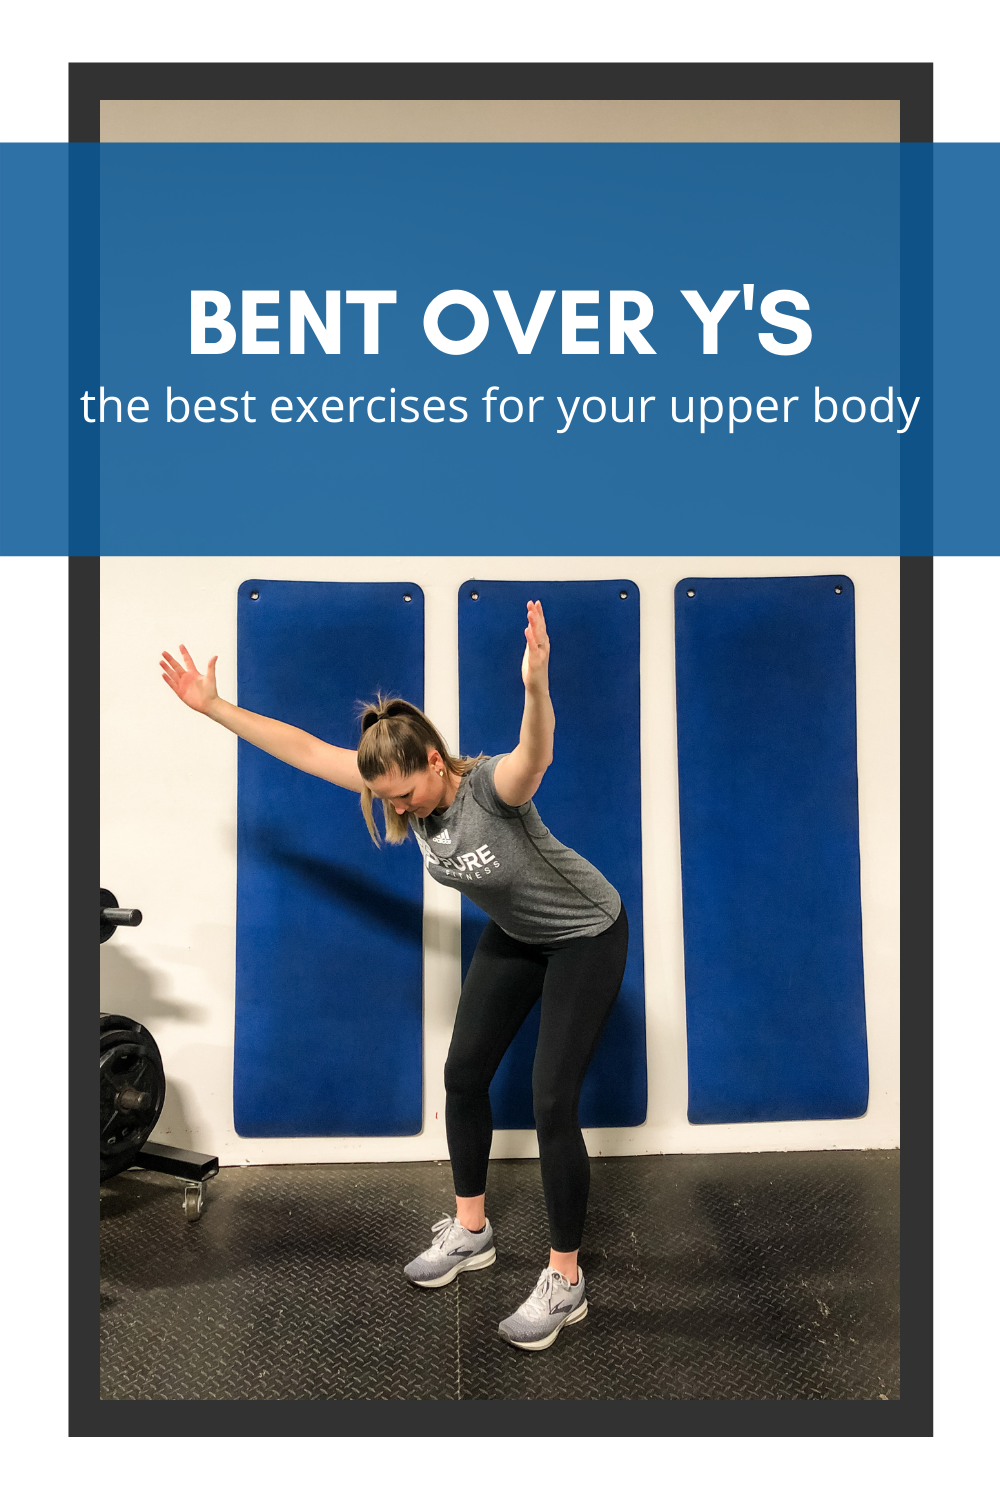
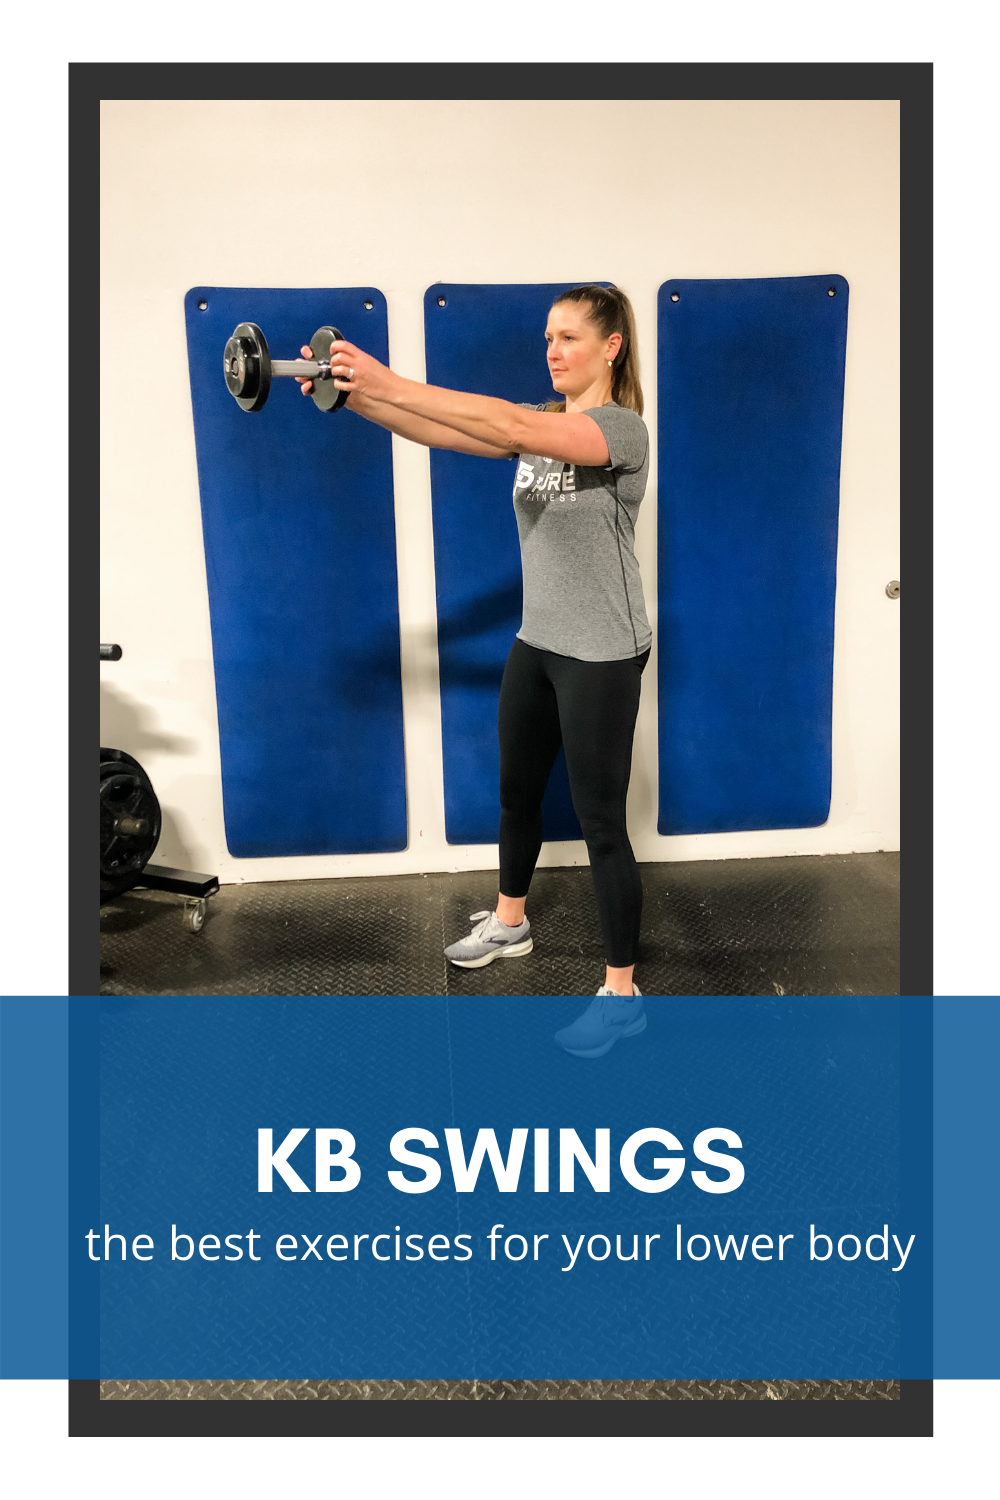
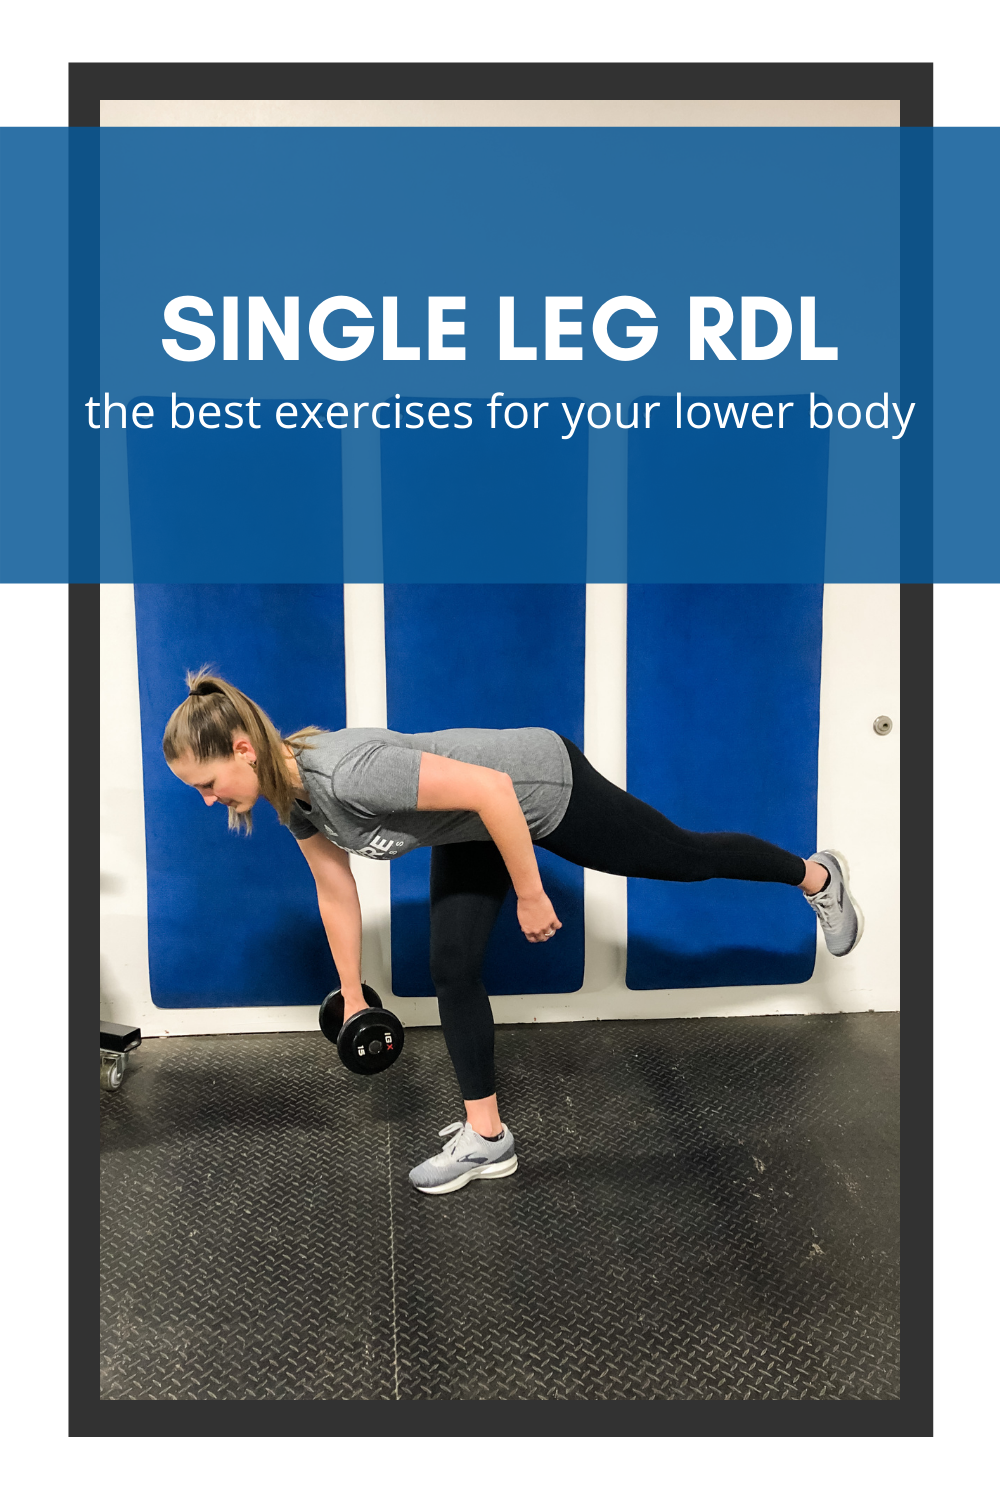
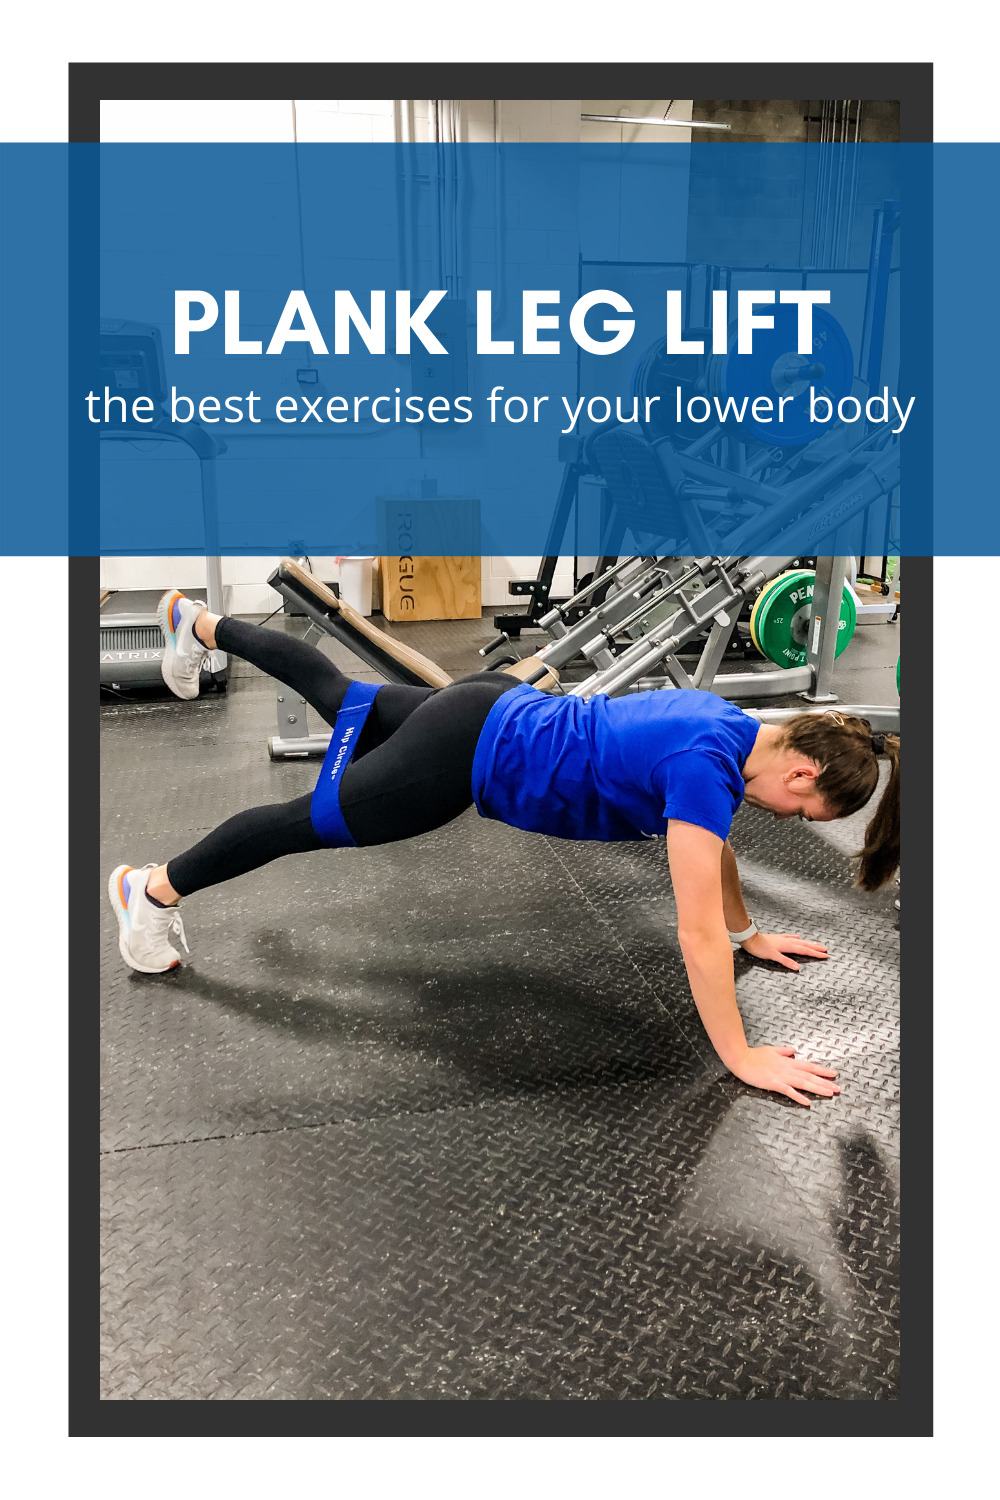
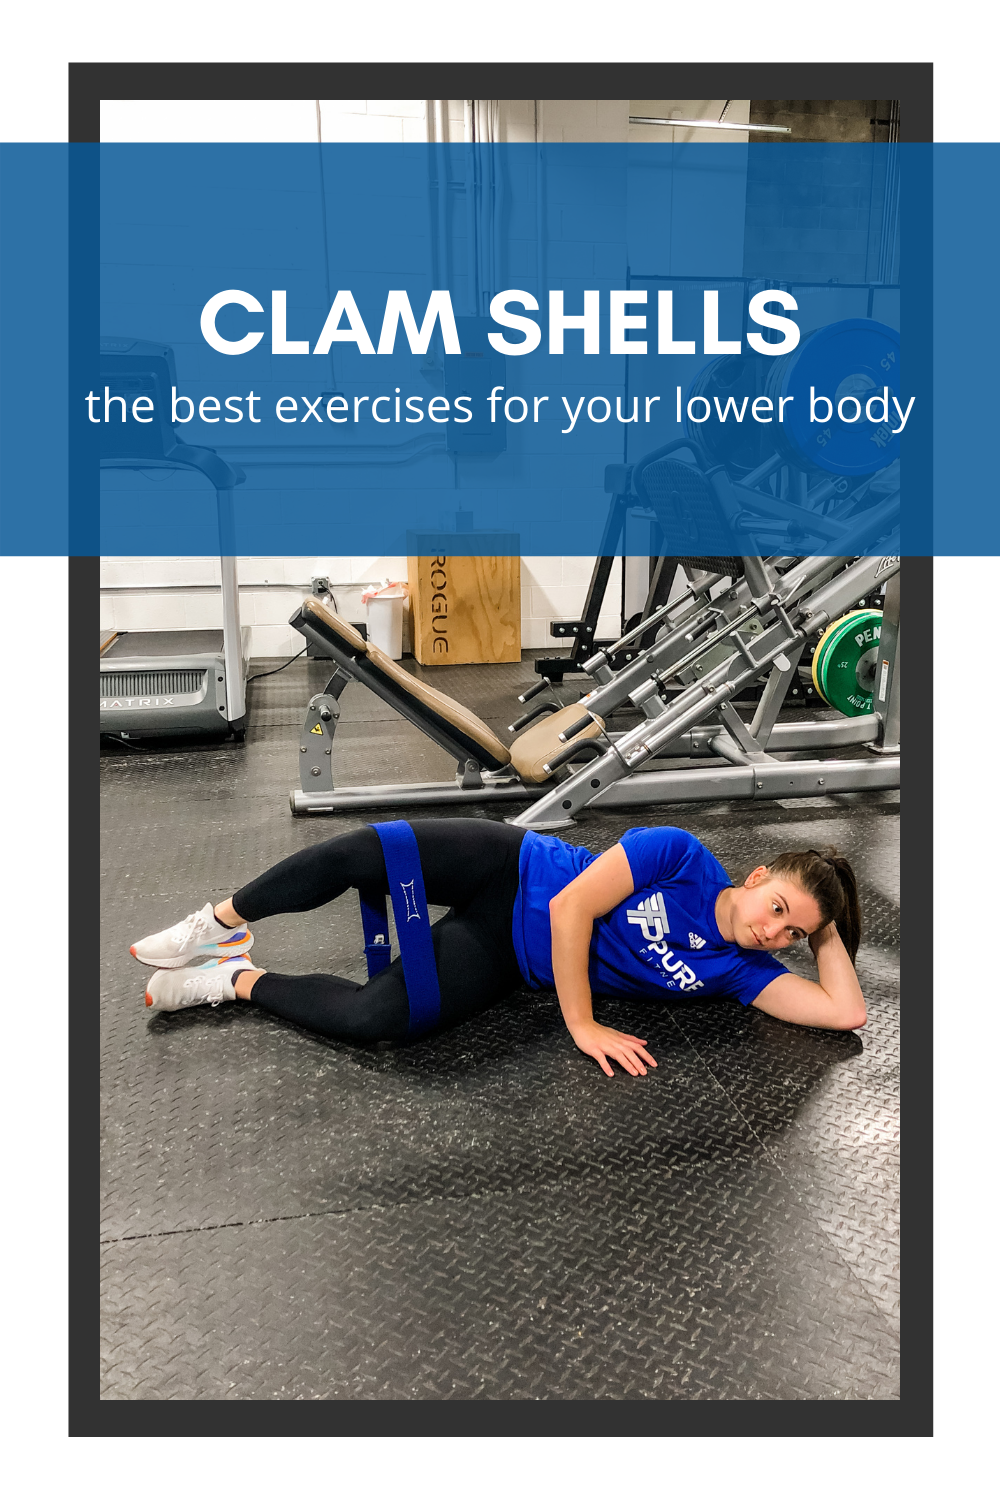
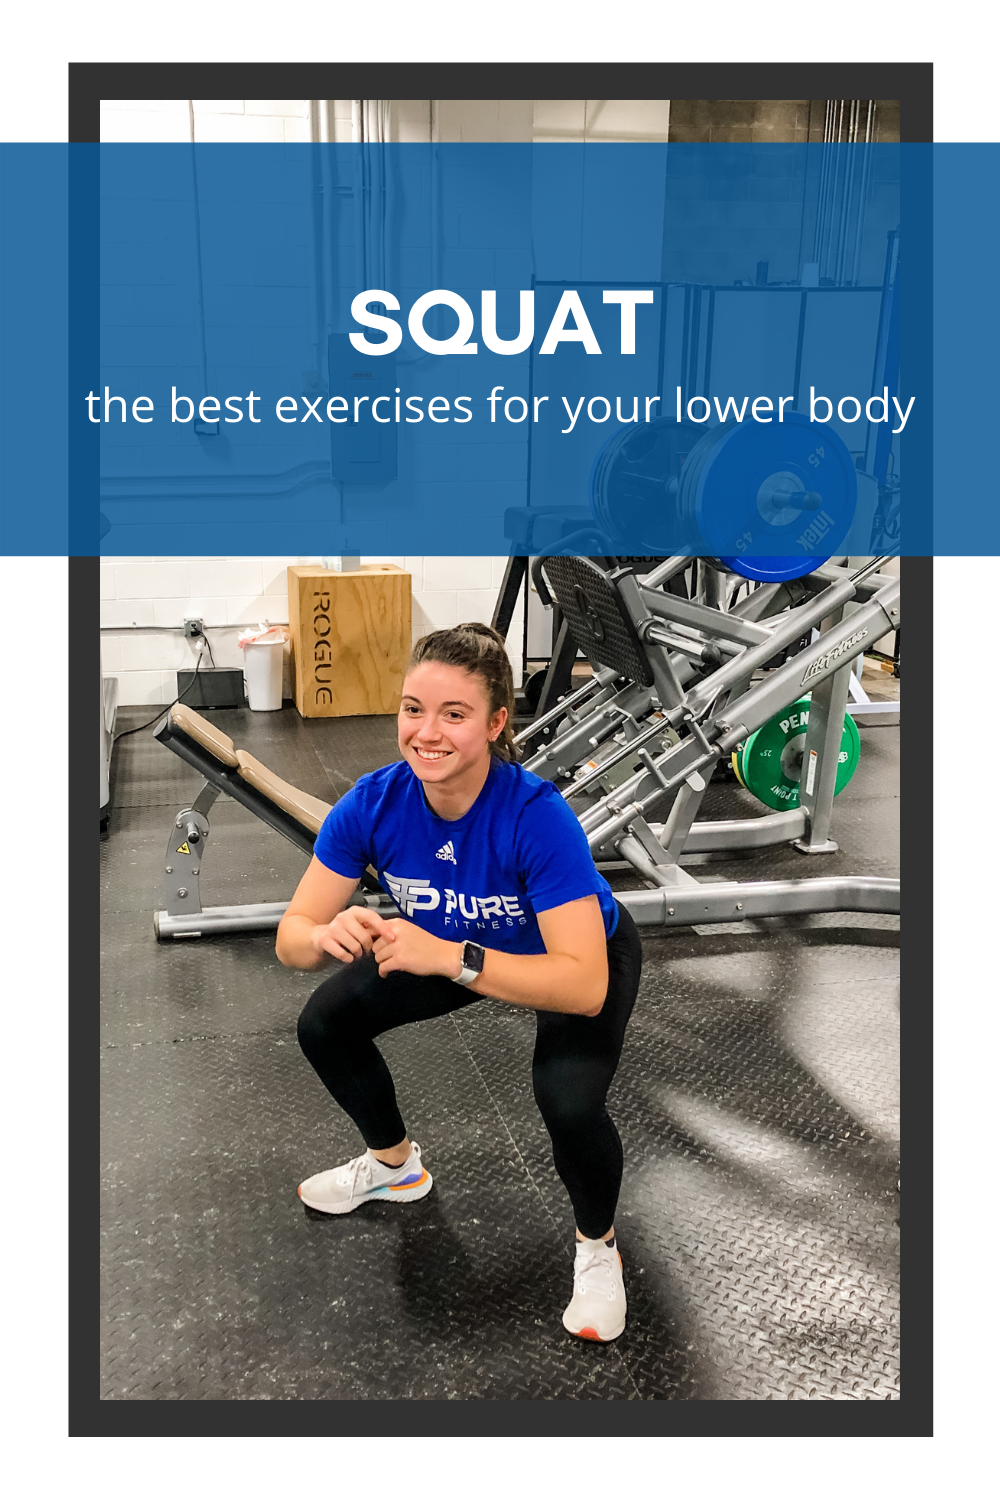
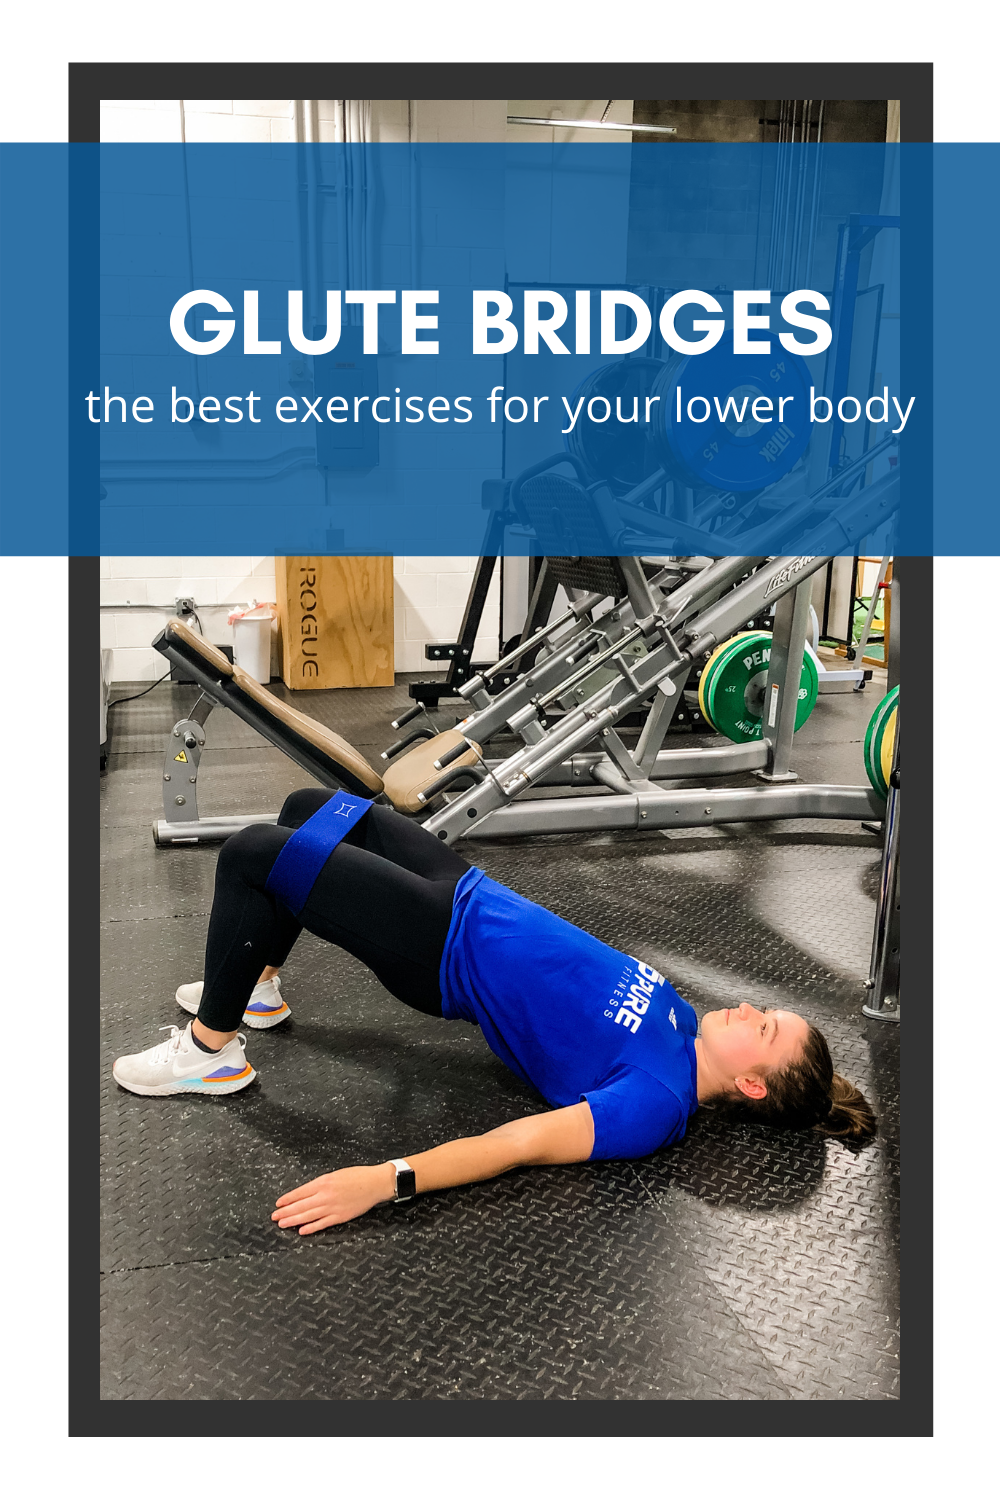
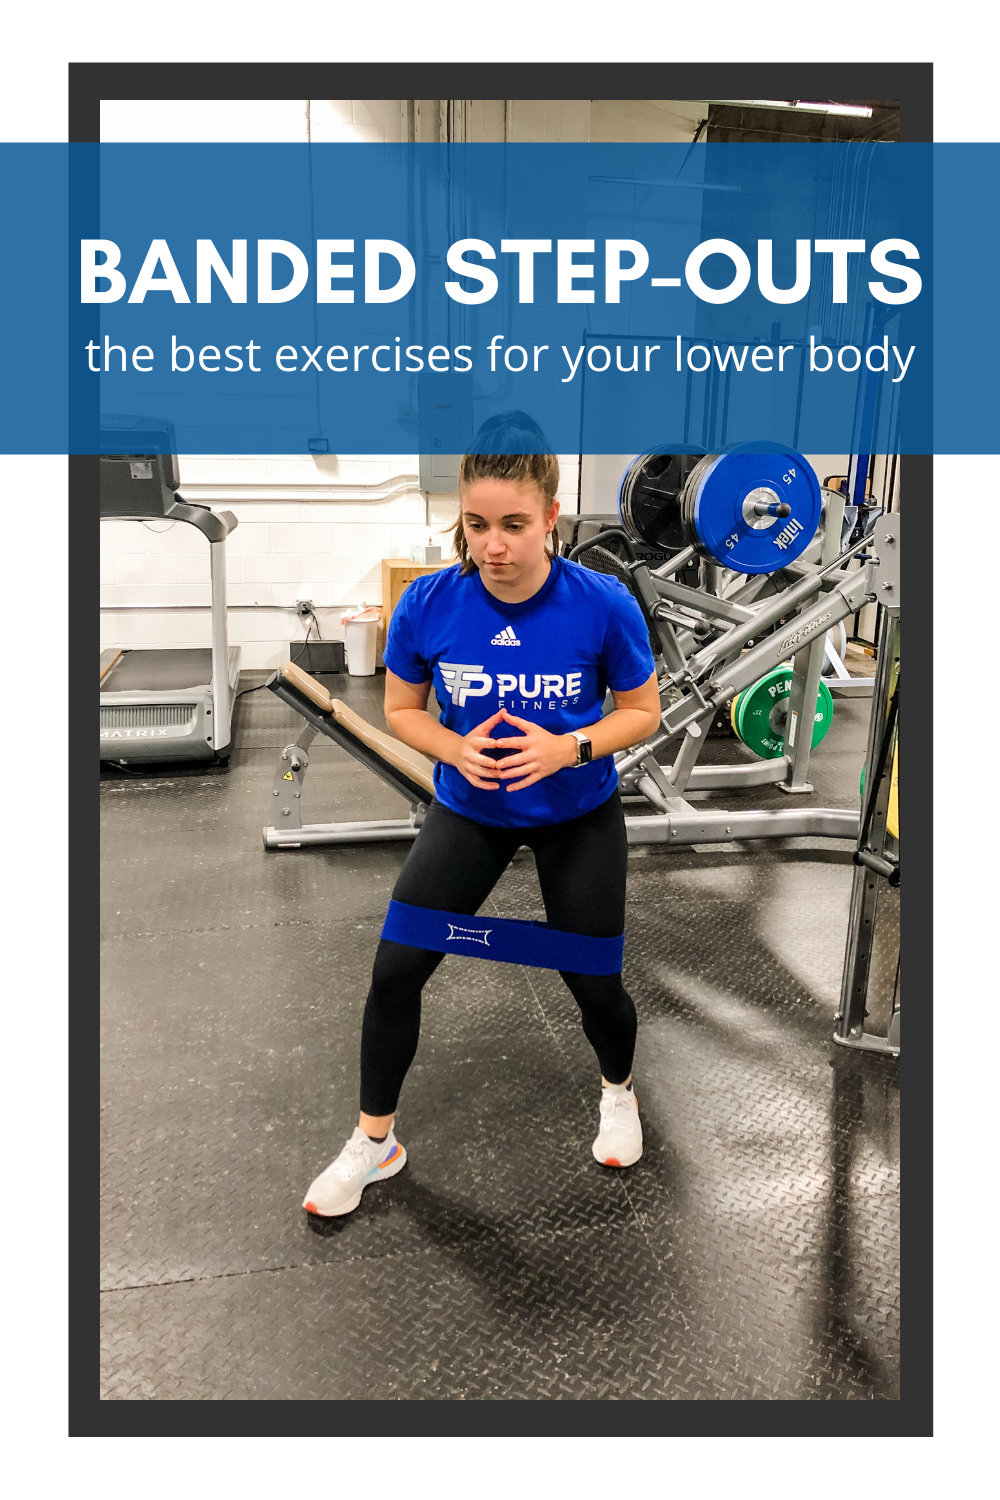
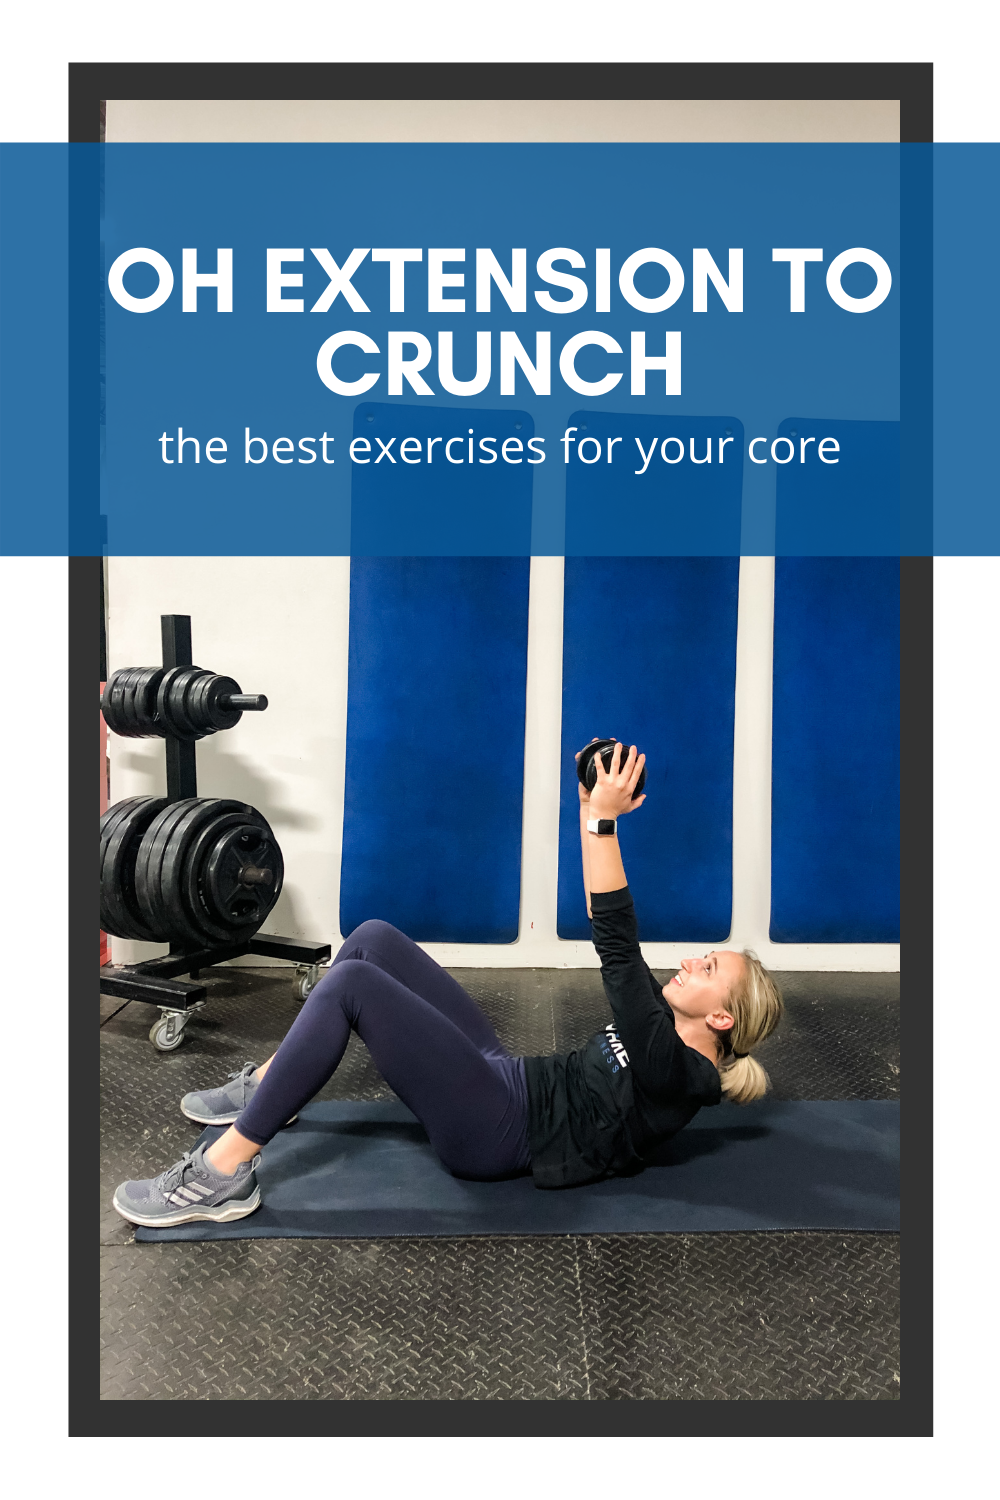
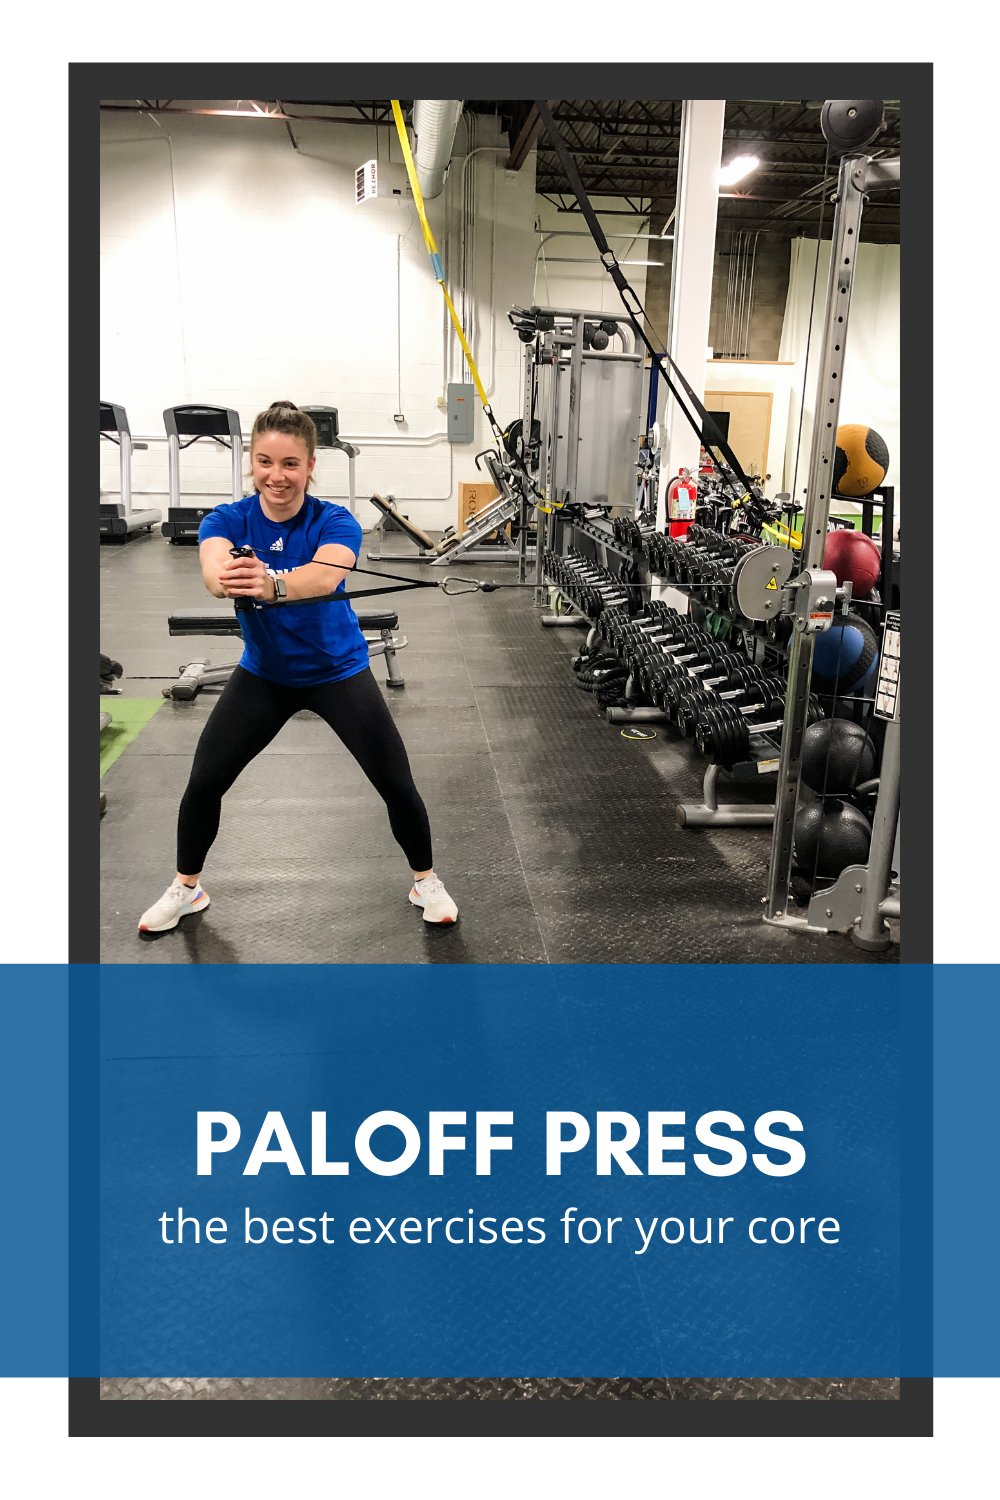
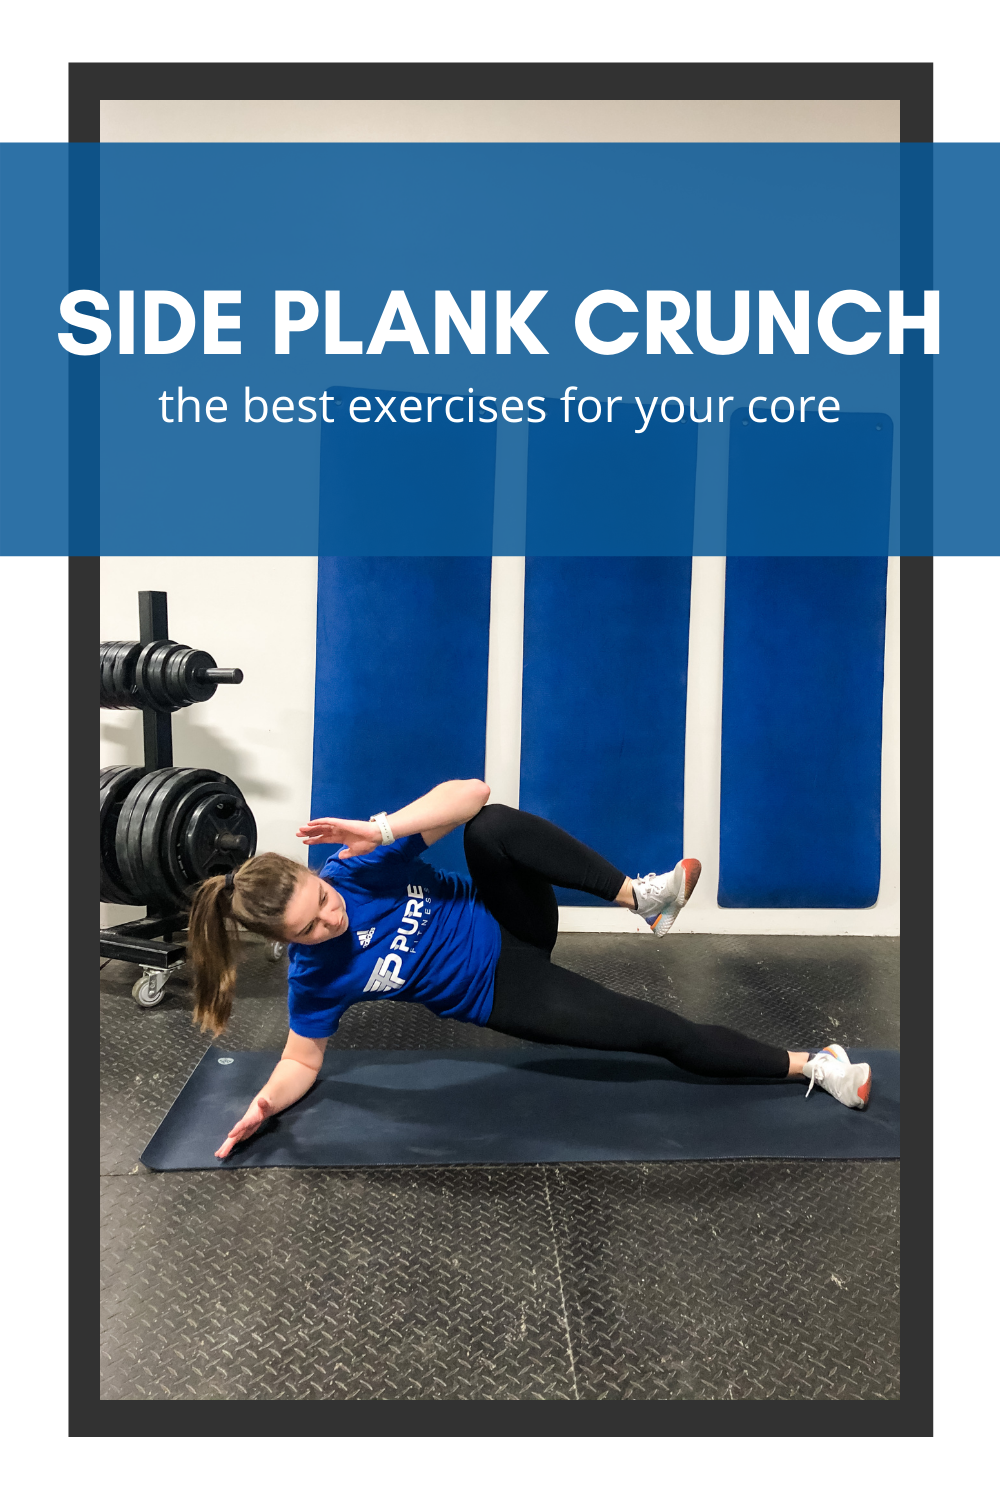
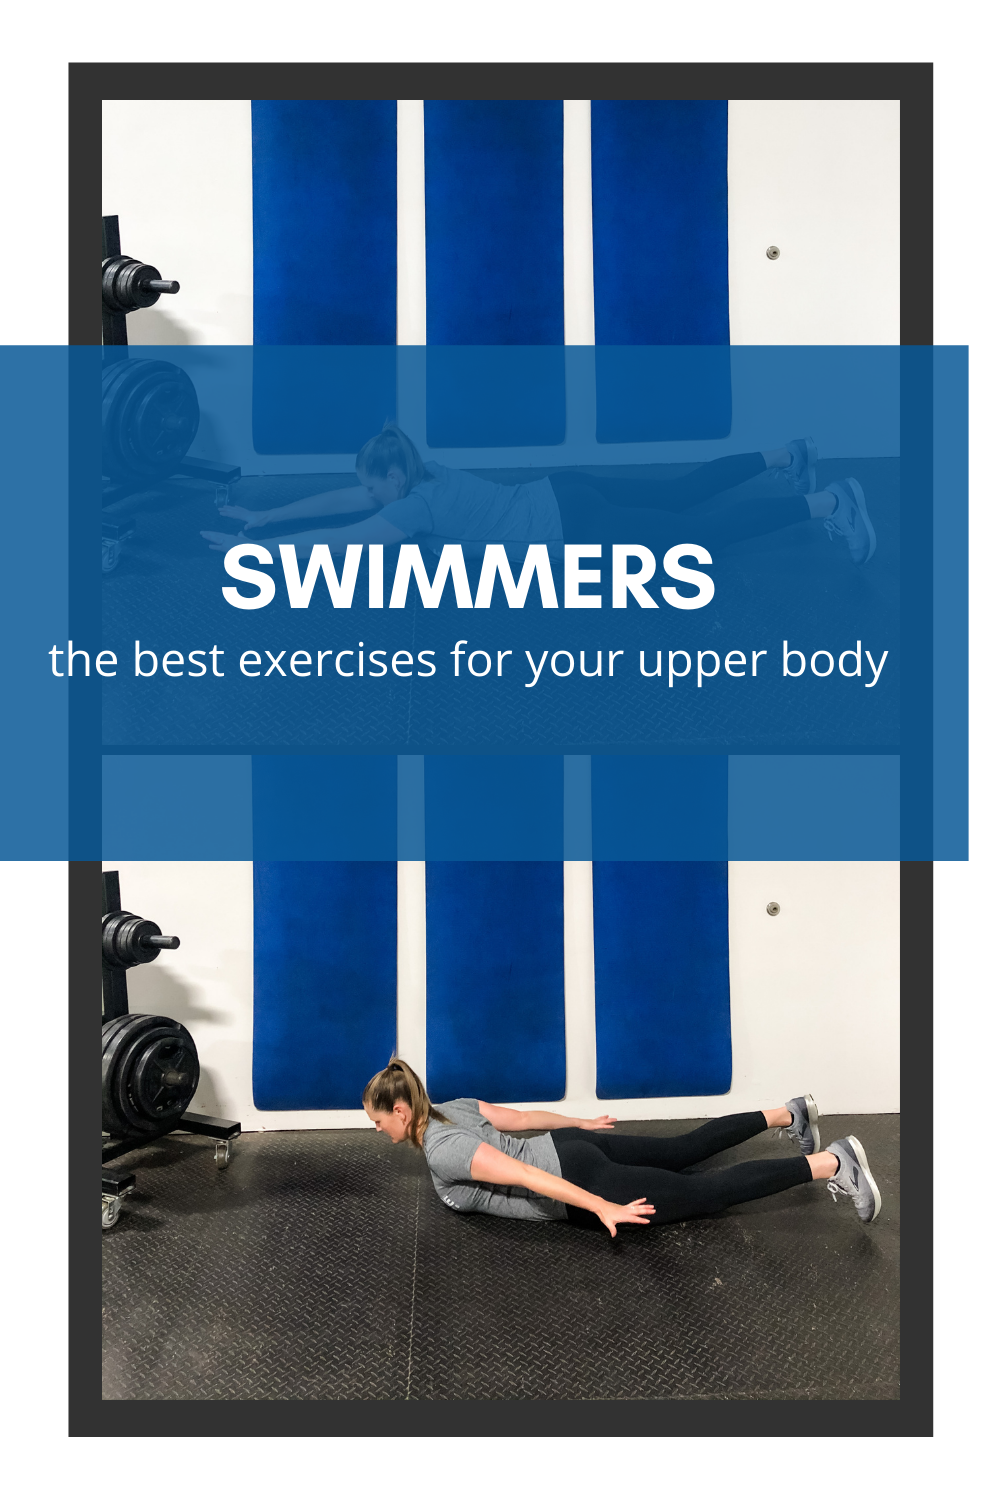
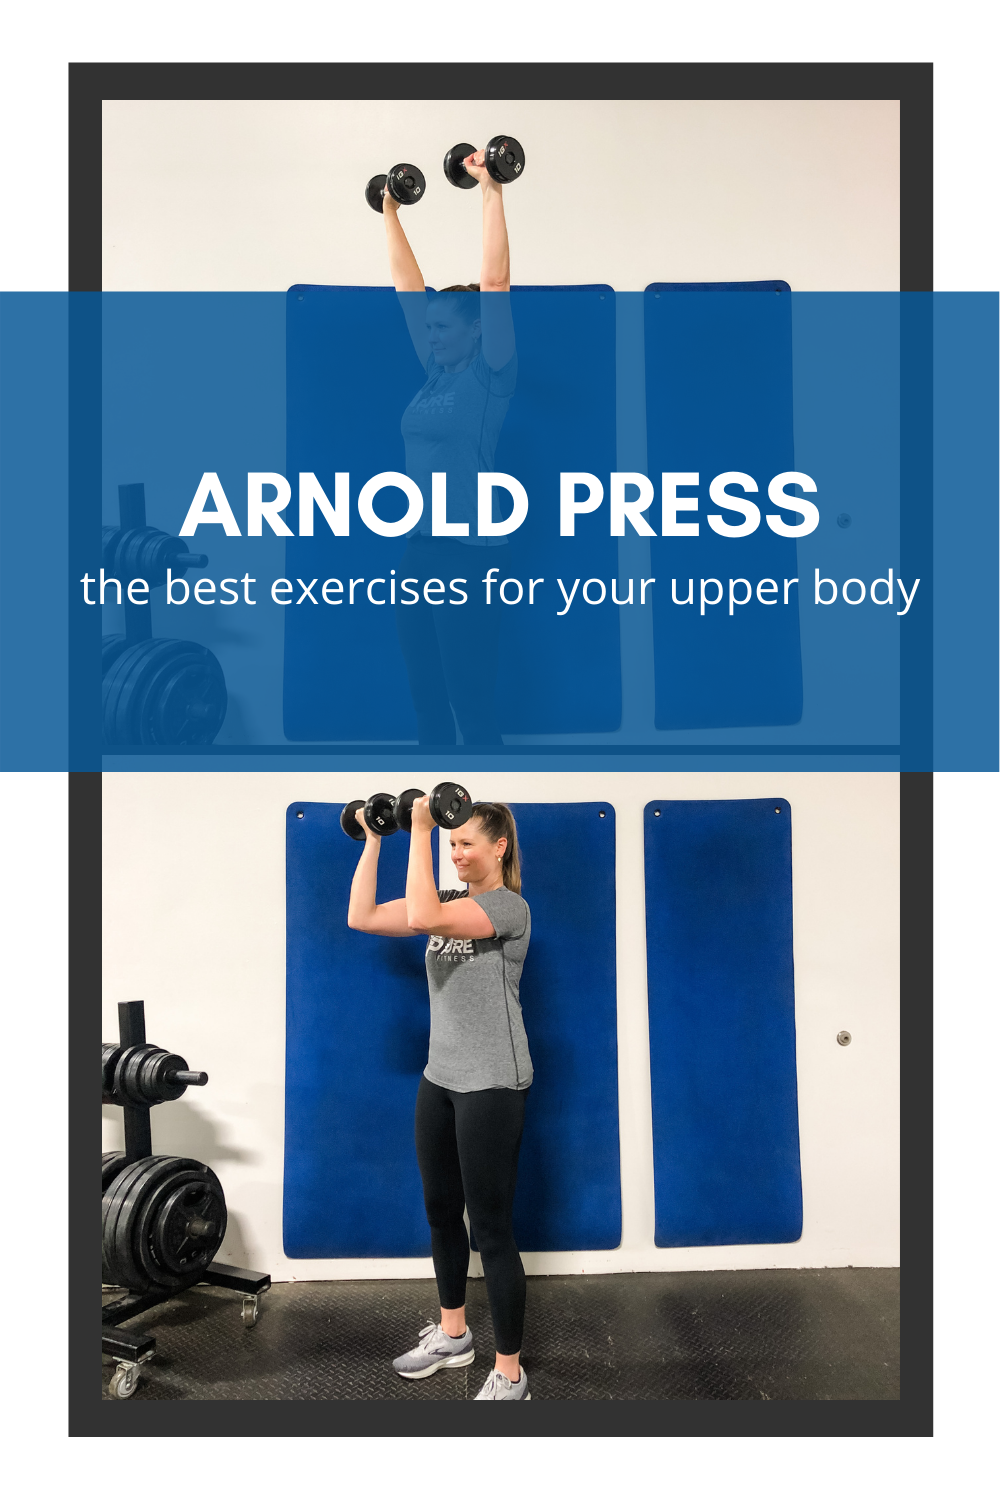
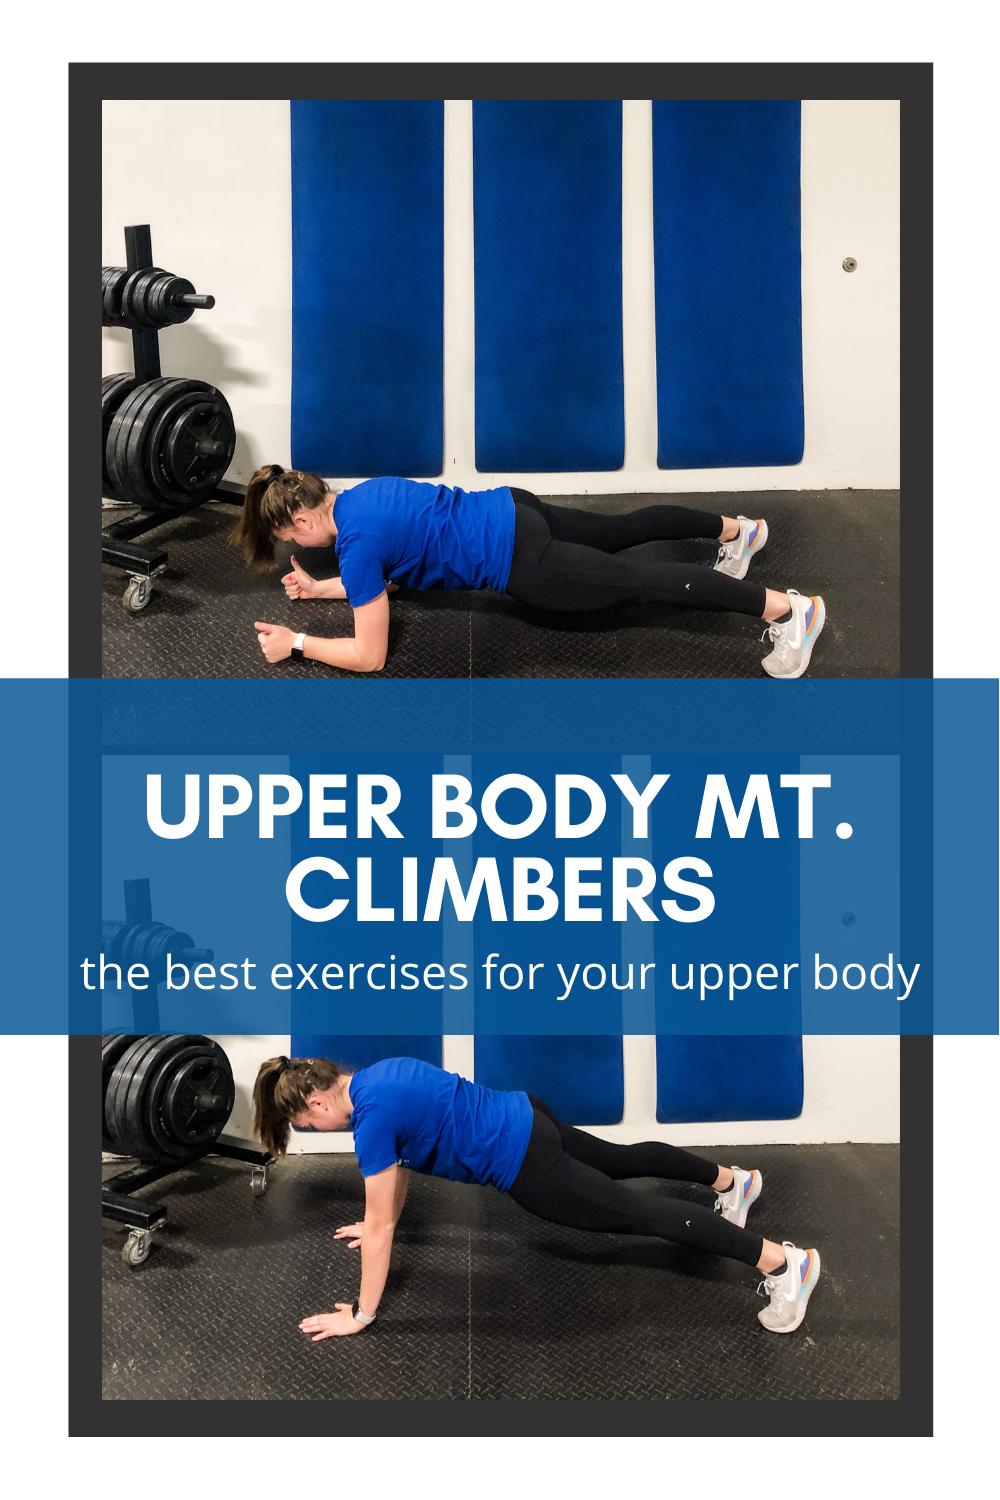
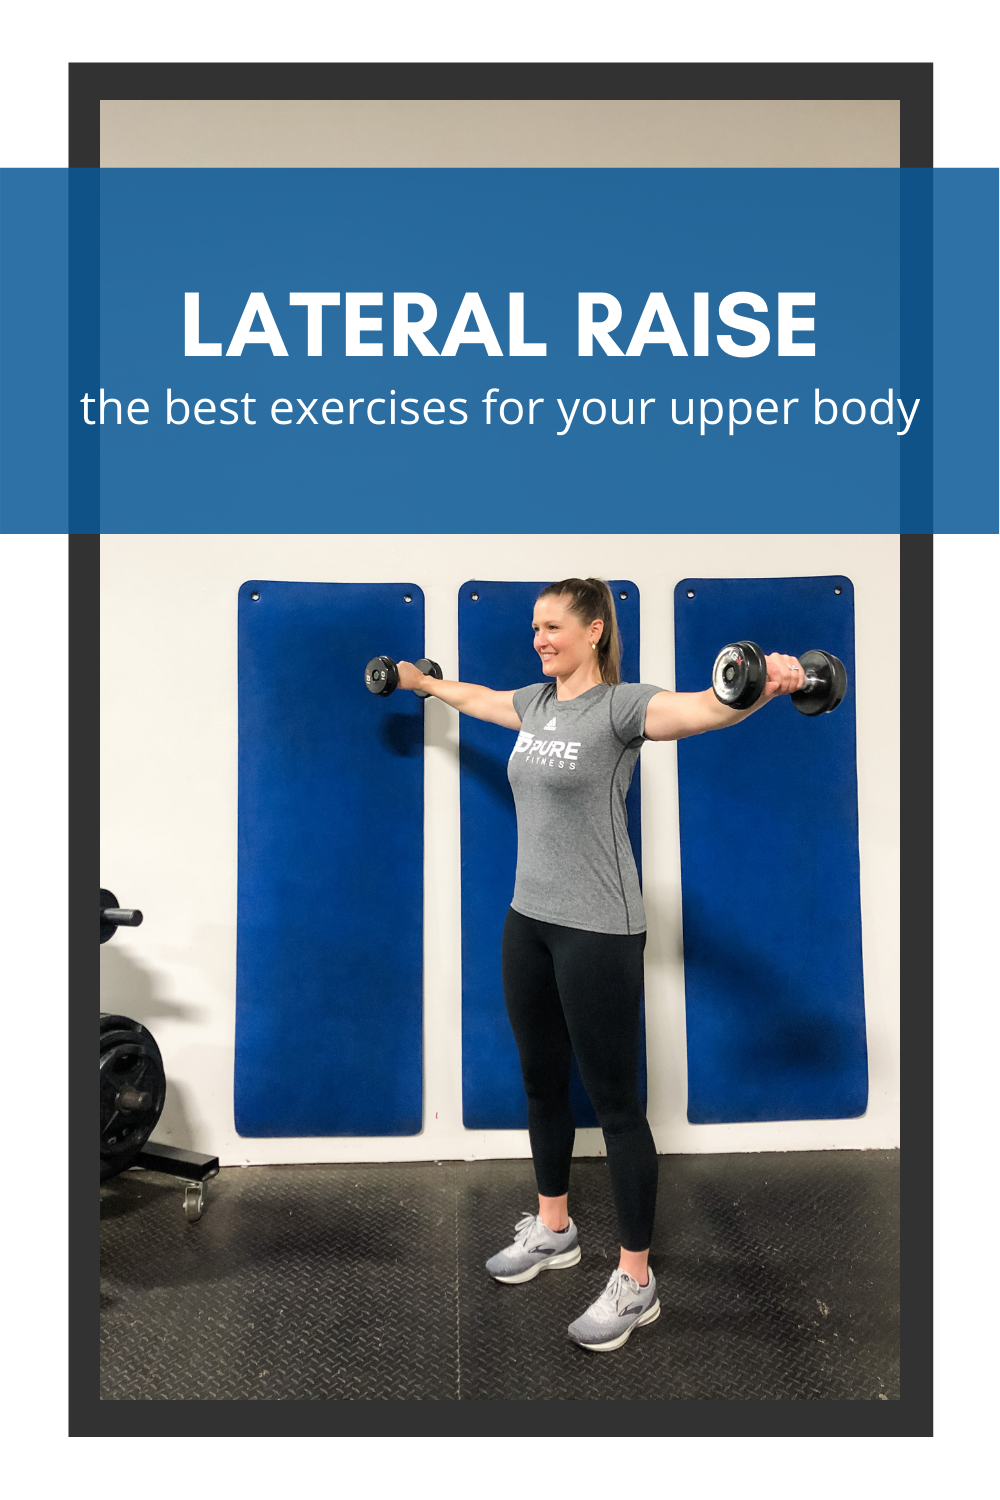
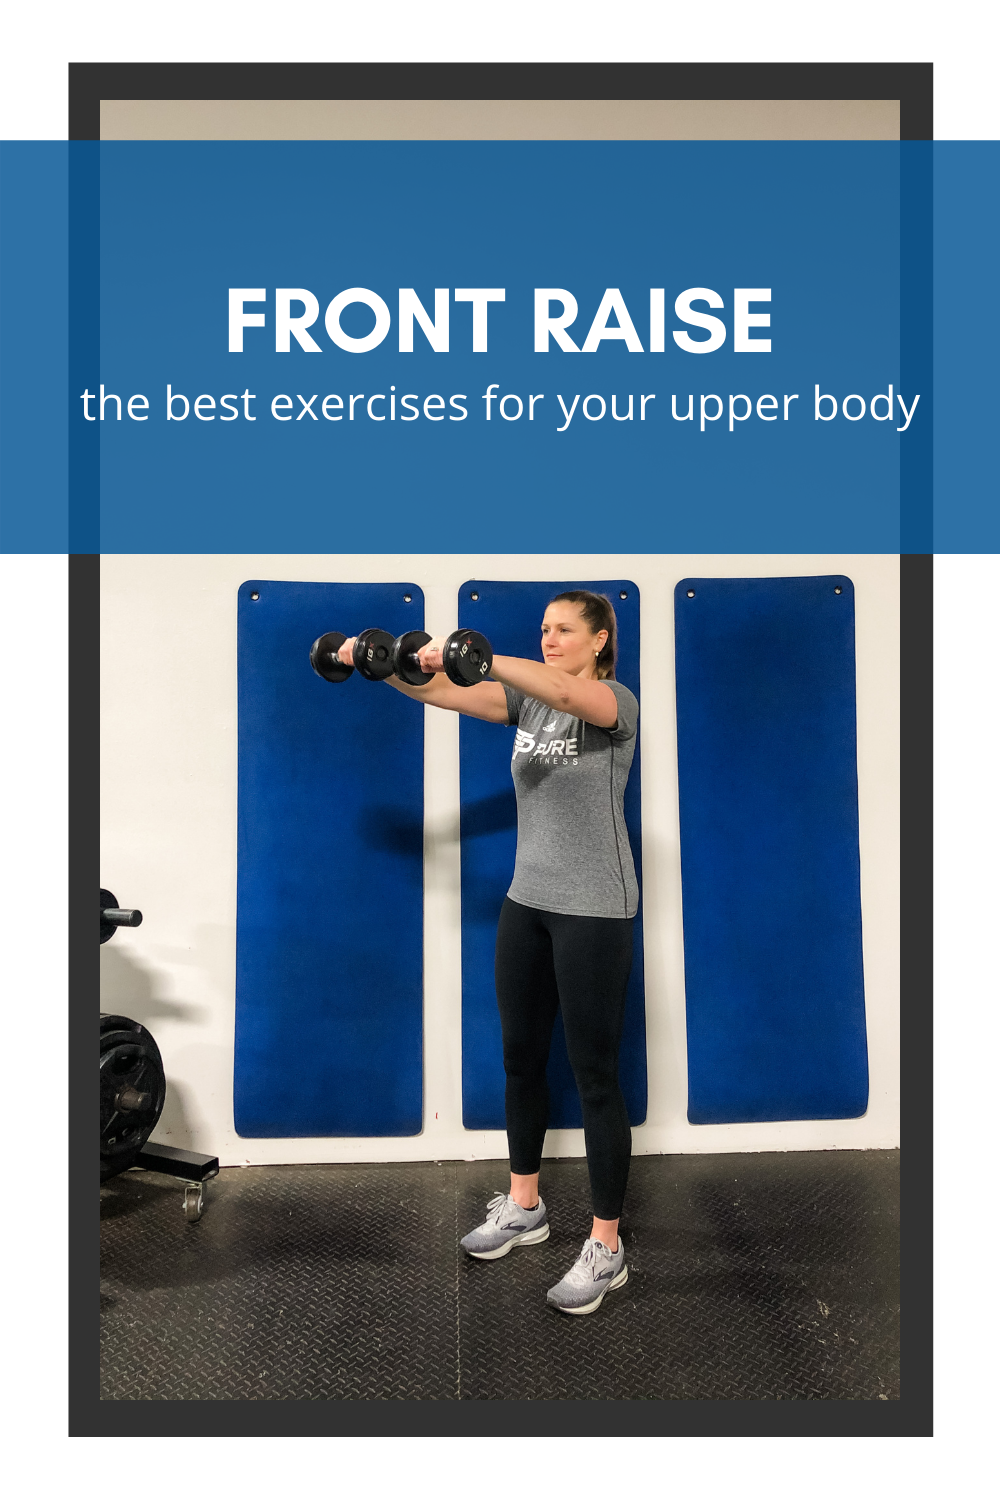
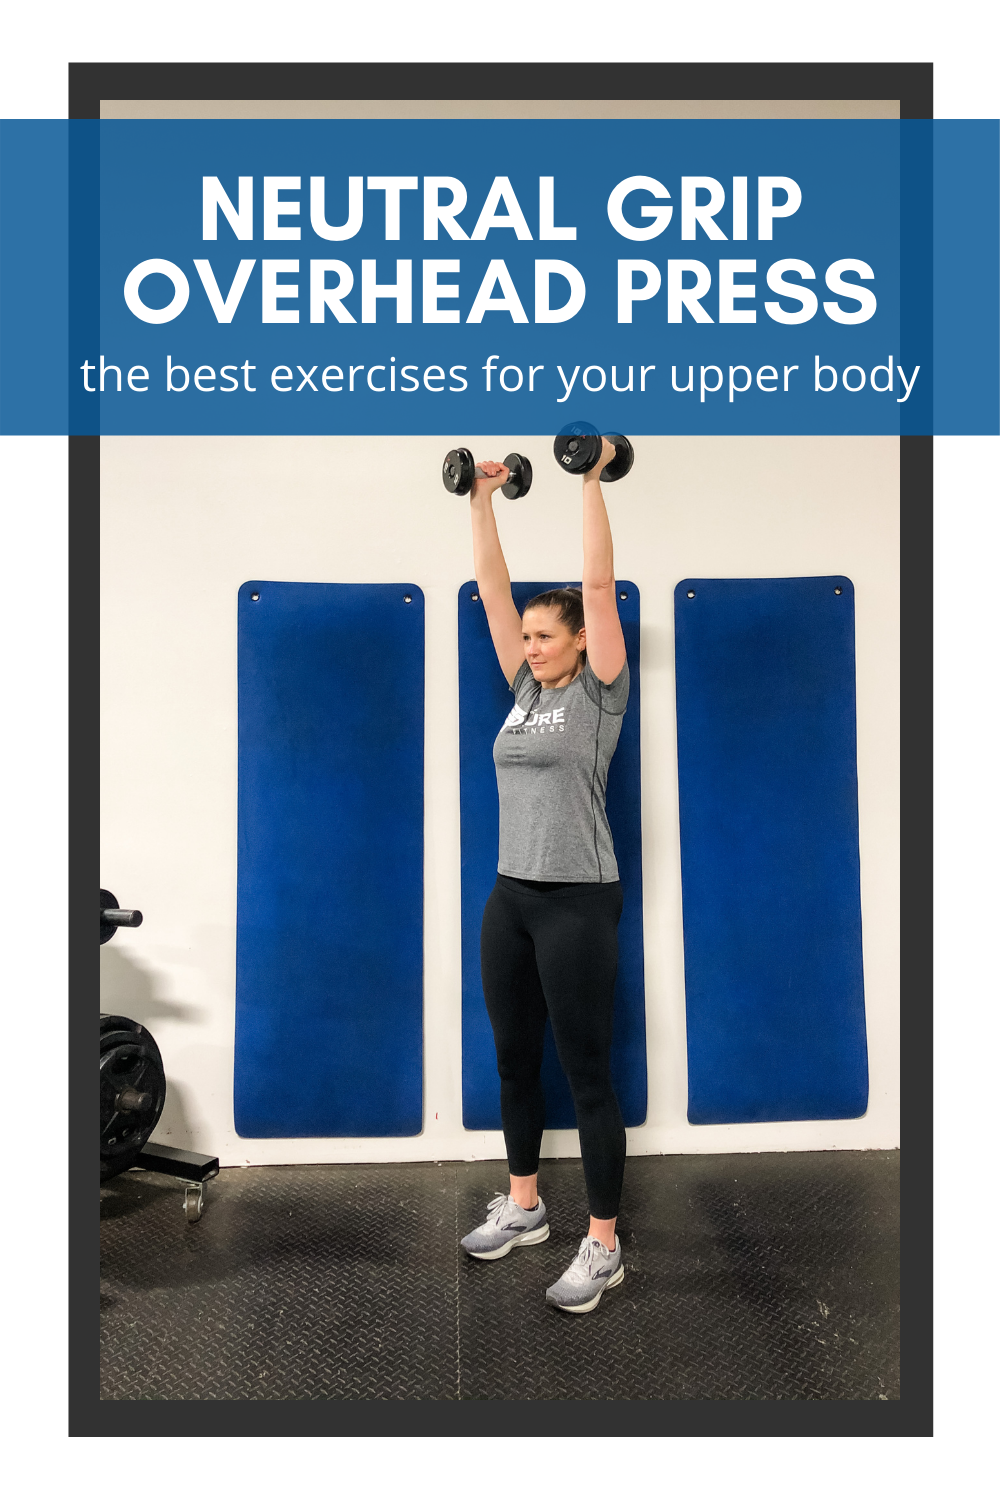
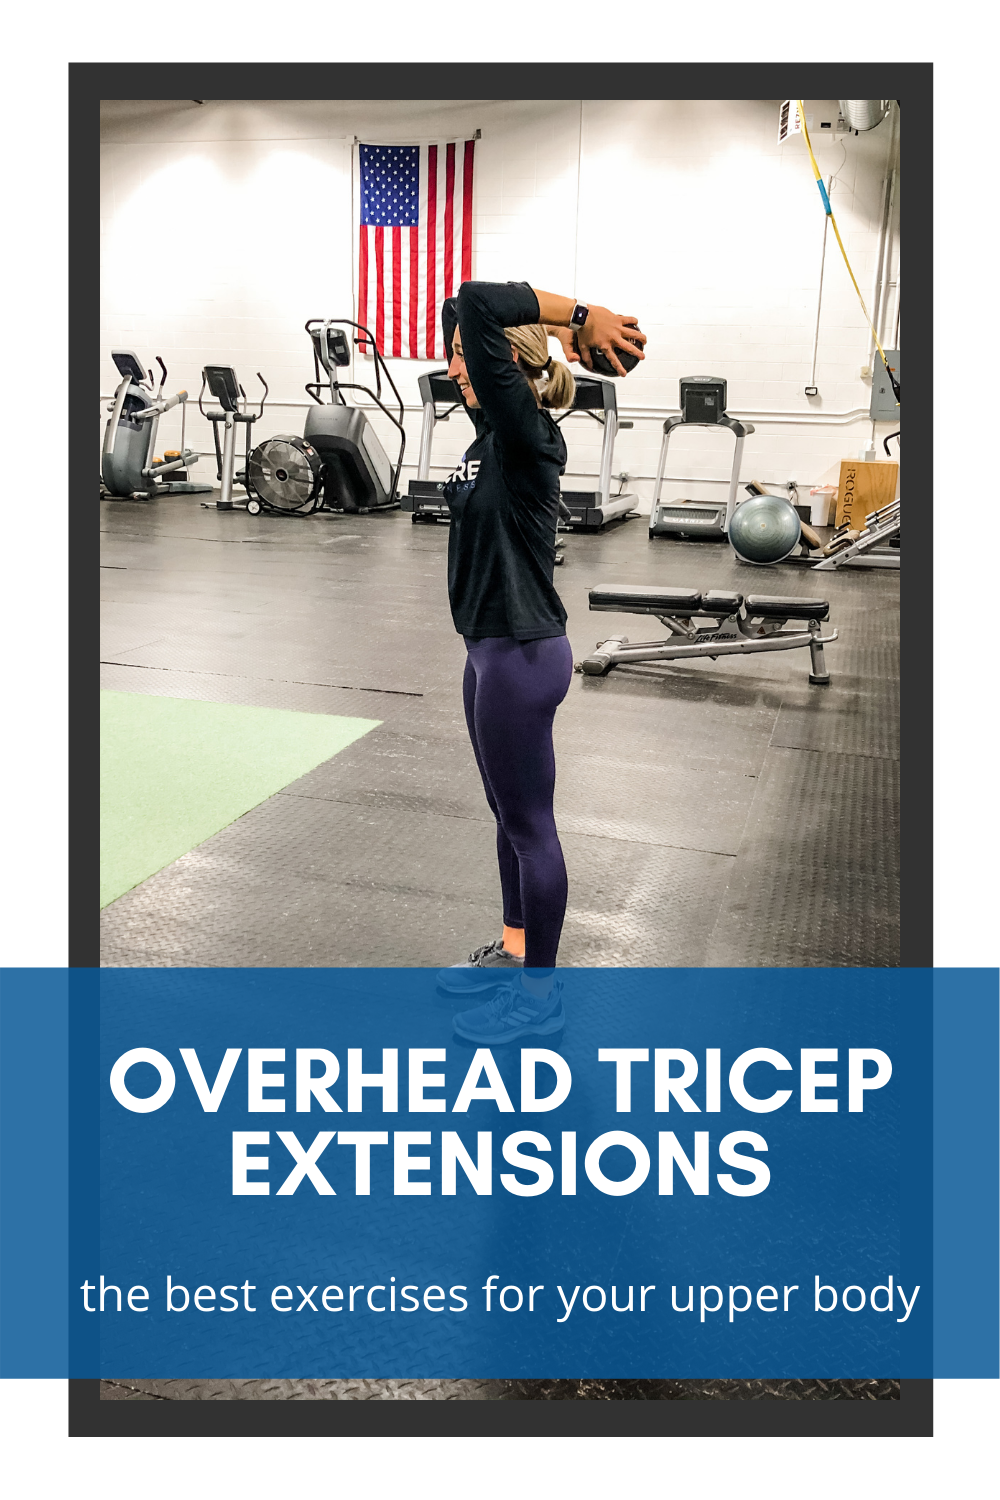
If Pilates isn’t your thing and you want a more intense form of exercise, maybe circuit training is more your speed. Go at your own pace and pick a couple of exercises to tailor to your time frame.
WHAT NOW?
I would like to emphasize that Pilates has its place in the world and the importance it puts on core and flexibility is spot on. The important things I wanted to bring to light here is that you consider your why when doing a workout. Whatever your reason for working out make sure that is in line with the workout itself, that your are enjoying it, and ultimately it is doing the RIGHT things for your body in the end.


Grinder Salad Recipe
read more

How Personal Trainers Can Achieve Financial Independence
Achieving financial independence as a personal trainer isn’t just about working harder—it’s about working smarter. A well-structured business model can be the difference between financial instability and consistent income growth. In this blog, we’ll explore how to...

5 Hacks to Grow Your Fitness Business
For personal trainers, time is often the most valuable yet limited resource. Balancing client sessions, marketing tasks, and business growth can feel overwhelming, leaving little room to focus on growing your reputation and scaling your business. The good news? With...