


Building a thriving personal training business is no small feat, and for many trainers, the fear of not attracting enough clients is all too real. Consistently bringing in new clients while keeping current ones loyal is the key to growing your fitness business and...
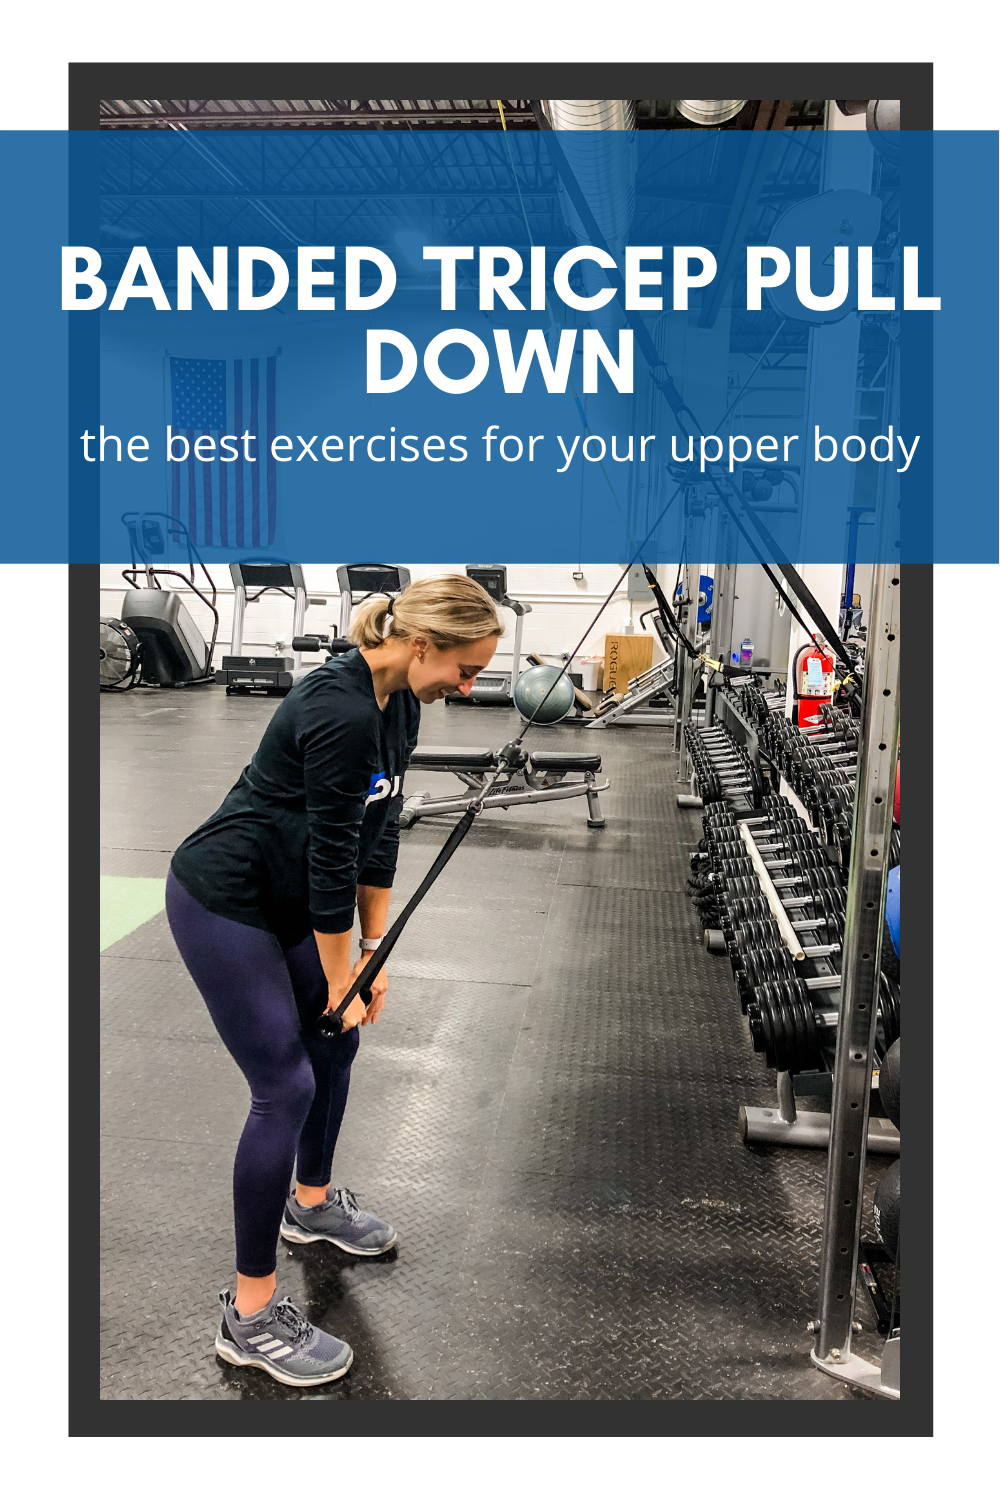
TRAINING WITH A TRX
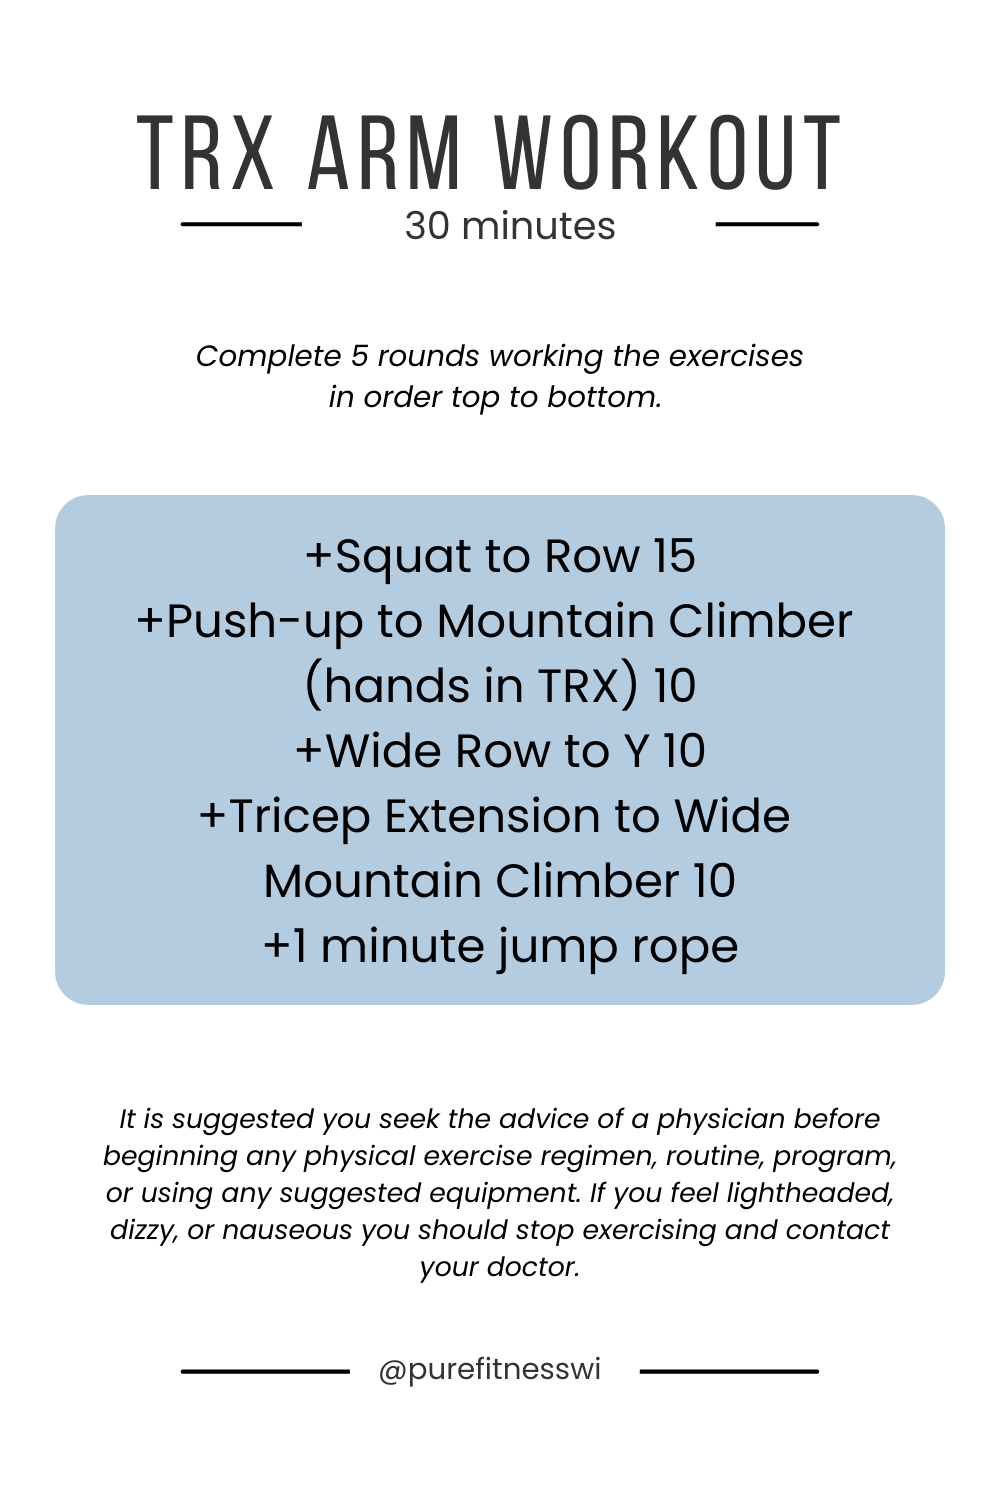
Let’s do a simple breakdown on training with a TRX. I want to offer some perspective on how you can use the TRX for range of motion, stability and strength. Making it a great addition to any home gym or workout program. And I also want to give you a place to start. So I have a few workouts for you to try at the end.
TABLE OF CONTENTS
HOW A TRX WORKS
In my mind, I put the TRX into two categories. One, is that you use the TRX to increase the intensity of an exercise by making it more challenging. Two, is that you use the TRX to de-load an exercise to successfully achieve proper muscle activation and/or range of motion. The results are improved flexibility/range of motion, increased stability/balance and growth in strength/power.
This is not to say that 1 and 2 can’t happen at the same time. They work synergistically. A great example would be a plyometric exercise like a squat jump. With the TRX we can increase range of motion in the squat portion which can allow us to develop more strength. You can also ensure that you can perform a quality explosive rep within that full range of motion by having the assistance of your arms. After all a squat jump with your hips going past parallel is a huge increase in difficulty.
This is also true of a more simple exercise like a squat. But for someone who’s own body weight is too much to control down and up in a squat pattern (making it a challenging exercise for THAT individual) the TRX becomes an avenue to de-load the movement while allowing them to work within the necessary range of motion.
Let’s not forget to touch on stability/balance. If you have used a TRX before you know this. The straps can move in all directions giving the exerciser a challenge to their balance. A good example is a push-up. If your hands are holding on to the straps and your feet are on the ground there will be a lot of instability at your upper body. You will have to work very hard to keep your form as you perform the push-up. Which will cause stabilizing muscles around your shoulders and upper body to kick on and it will really fire your core.
Isn’t that interesting? Something simple as straps hanging can have such an impact on stimulating physiological adaptations?
WHY SHOULD YOU BE TRAINING WITH A TRX
I love the TRX because it can train strength, balance, flexibility and stability. But it also can help the user scale the exercise to fit their needs. Making it a top piece of equipment even for a home gym.
The TRX website clearly states why you want to use a TRX, “… to develop strength, balance, flexibility and core stability.” Let’s discuss flexibility and range of motion, stability and strength.
FLEXIBILITY AND RANGE OF MOTION
When we talk about flexibility we are talking about muscle lengthening to improve range of motion. The TRX can be used to help us move into a greater range of motion than we would be able to on our own. Why? Because you can use the TRX as a support system, de-load the exercise and ultimately increase range of motion.
And range of motion is directly correlated to power, which is the result of strength training. But how can range of motion be correlated to power? Let me explain.
Stored elastic energy is what allows us to be explosive and powerful, whether that be for running, jumping or swinging a club. This elastic energy is stored in your muscles and you can think of your muscles as rubber bands. We want them (your muscles) to lengthen like a rubber band and then “snap back” explosively. The more you pull/stretch the rubber band the more speed it snaps back with. So the more range of motion you can access in exercise, with proper stability, allows you to have the potential for greater stored elastic energy and therefore more power.
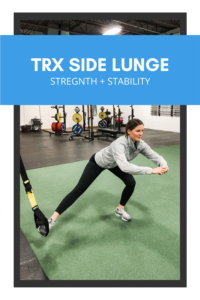
For the lower body that support comes in the form of holding on to the foam handles with your hands. Take a side lunge, for example. If you hold the handles in your hands you will be able to use your upper body to help you control the decent (lowering) and pull yourself back up. This support or de-loading will allow you to “sit into” a deeper range of motion. If done correctly, it can also help you use the proper muscles throughout the entire movement pattern.
If you put your foot into the loop and perform a side lunge the exercise will feel entirely different. That is because you are no longer supporting yourself to achieve a greater range of motion. You are now challenging your balance, stability and strength. I consider the foot in side lunge to be an advanced variation, and I would not recommend starting here for beginners.
It is worth saying that there should never be pain when working to improve your flexibility. If you have a previous or current injury pushing yourself into a new range of motion may make things worse. You should consult a professional before trying.
STABILITY
How a TRX is designed demands you have stability in order to perform the exercises. The more challenging the exercise the more stability is required as you use the straps while moving. Including variations like single leg, single arm and adding resistance like a dumbbell will all increase the stability demand of the movement.
The TRX can also be supportive. For someone who is unsteady or recovering from an injury the TRX can be used to give them more support to remain stable through their range of motion. A great example is the squat. If you struggle to sit down to a chair without “plopping” or using your hands, the TRX can help you gain the stability to control the movement.
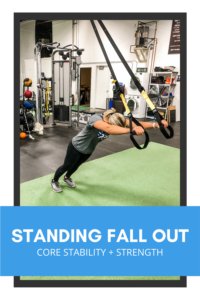
Improved core stability is another advantage of training with a TRX. You can use the TRX to challenge your core stability in exercises you are already doing, like a plank or mountain climbers. Or you can more advanced exercises like a fall out or complexes that include multiple movement patterns to really tap into your core stability and muscular endurance.
As a side note, in order to have good core stability you need ALL of your core muscles to be operating effectively AND synergistically. And your core stability is important because it helps transfer force from the lower to upper body (and back), and to keep your spine healthy (and keep good posture) and prevent injuries.
STRENGTH
And of course the TRX can help increase your overall strength. Now, used by itself you aren’t going to build large muscles or an immense amount of strength because you are using your bodyweight as the resistance.
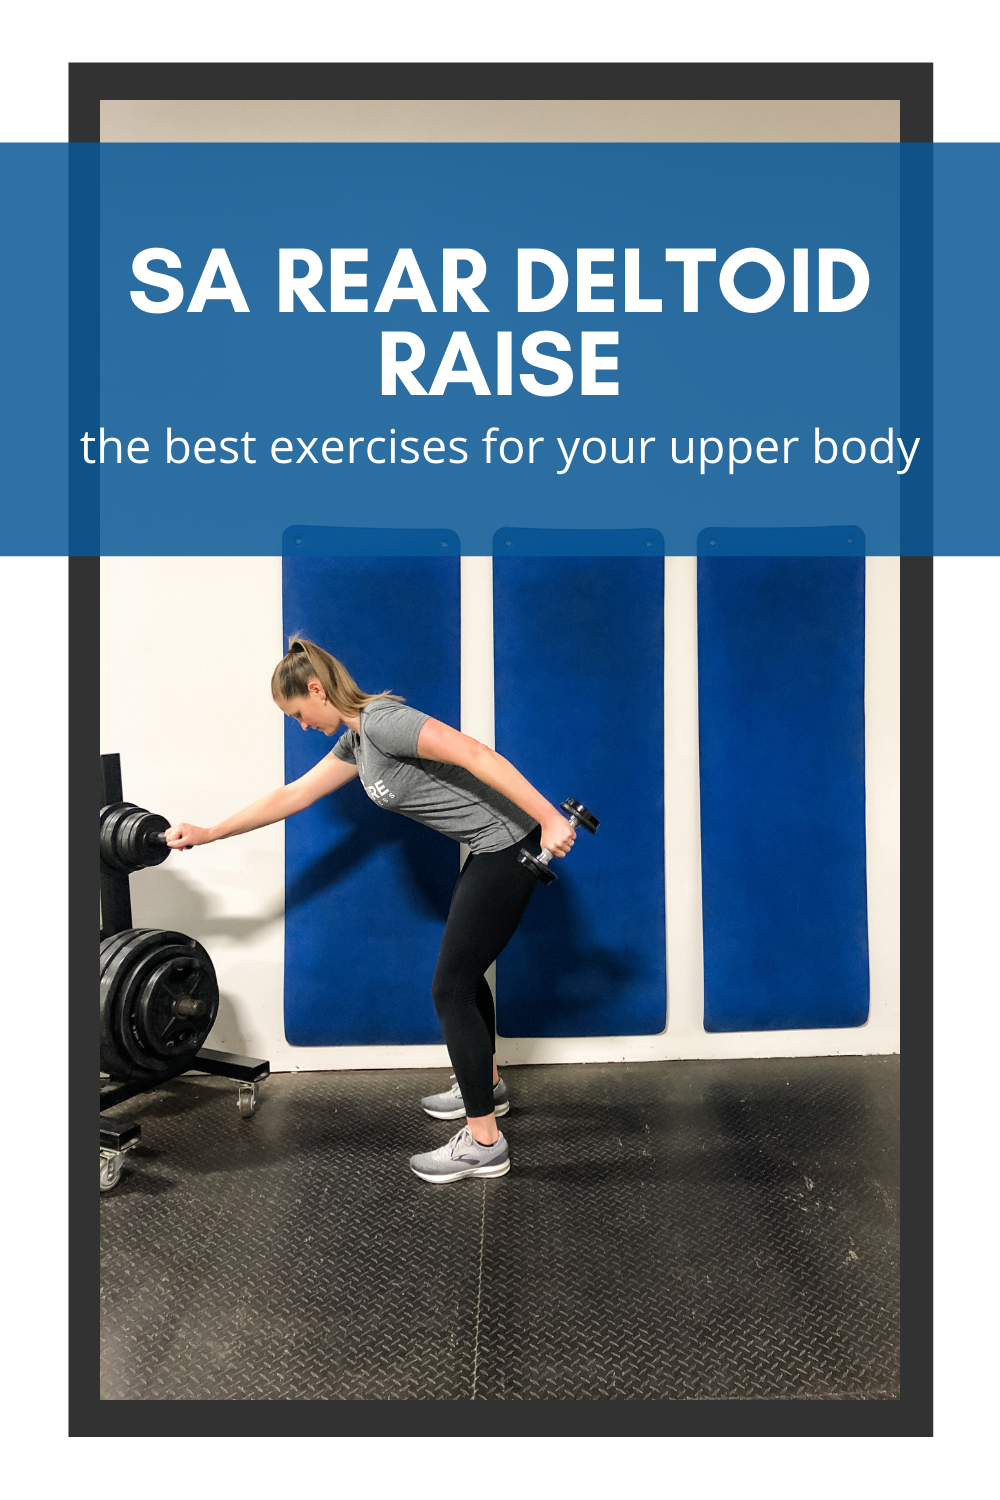
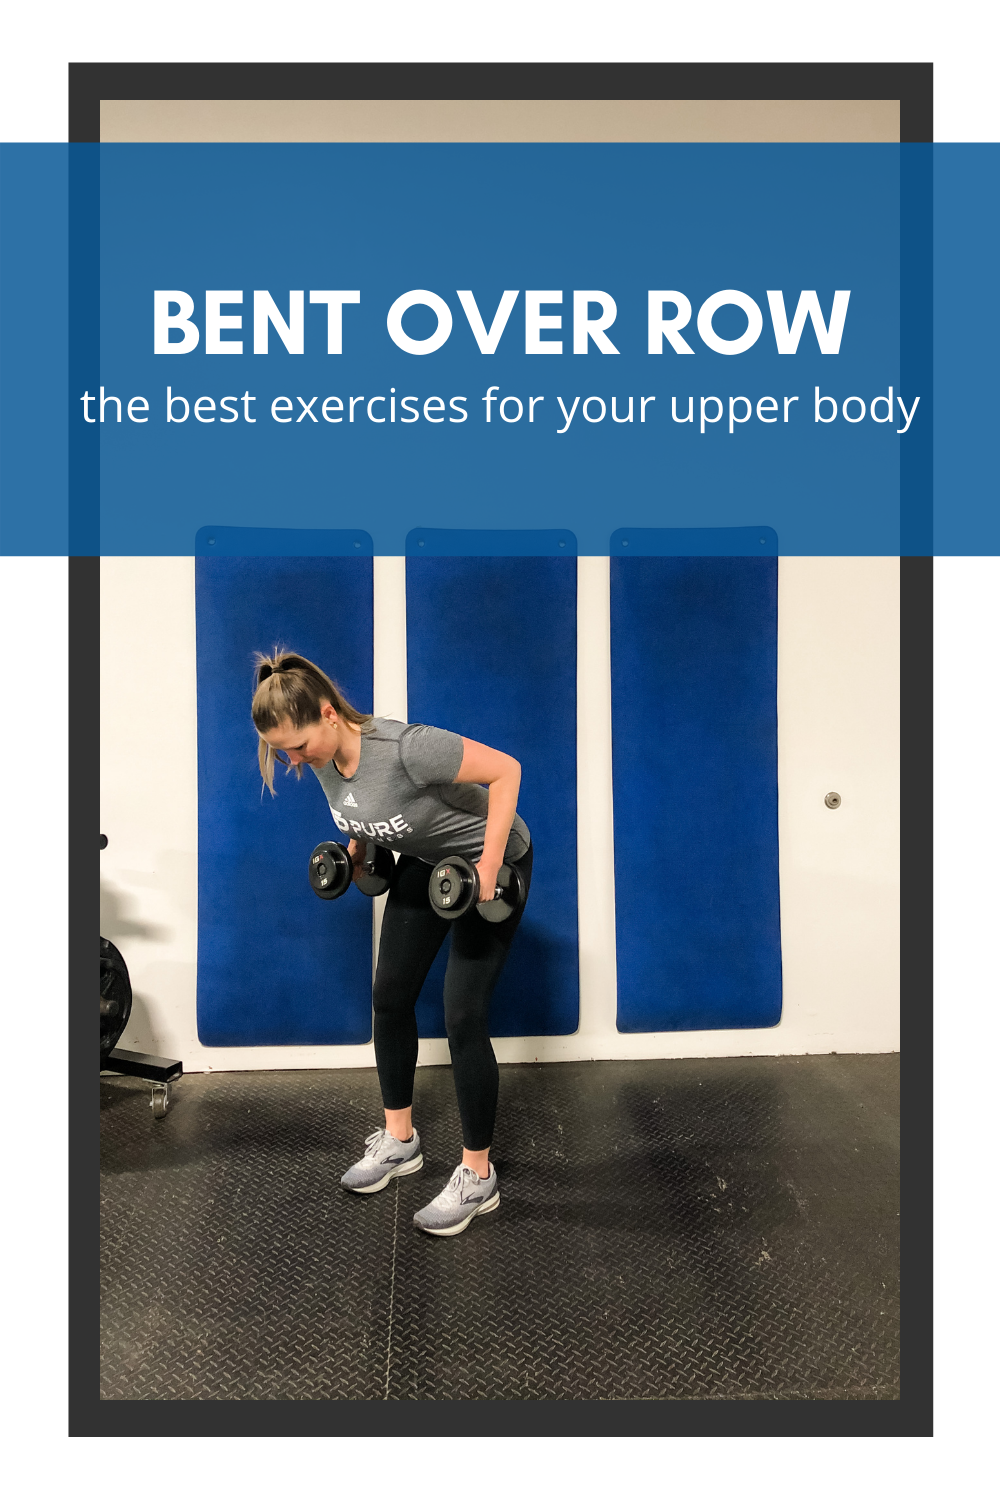
You can add additional resistance if needed. Holding on to one handle will doing just about any movement and holding a dumbbell in the other hand is an easy way to add resistance. Think of doing a side lunge, in the large range of motion you get from holding on to the handle, but adding more resistance by holding a weight in the other hand. Another example, this time for the upper body, would be a single arm row with a weight held at the chest. This will really challenge your core strength (anti-rotation) and your back muscles.
TRX STRENGTH TRAINING
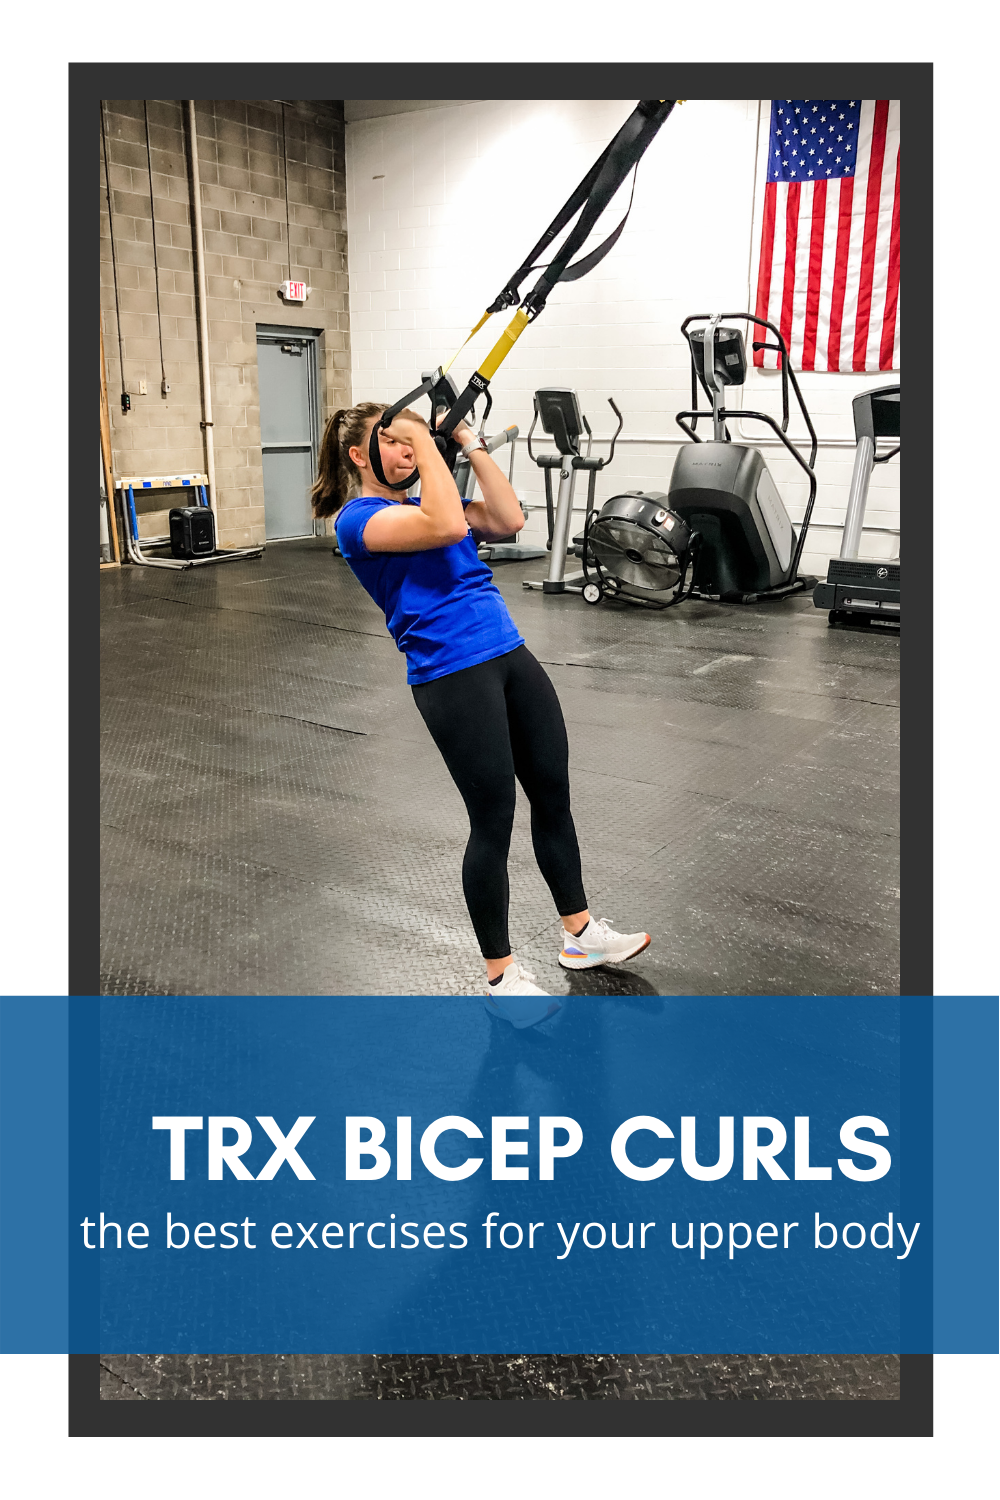
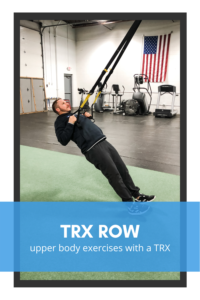
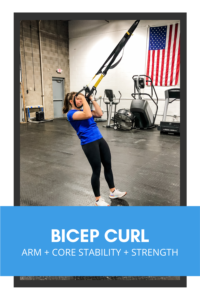
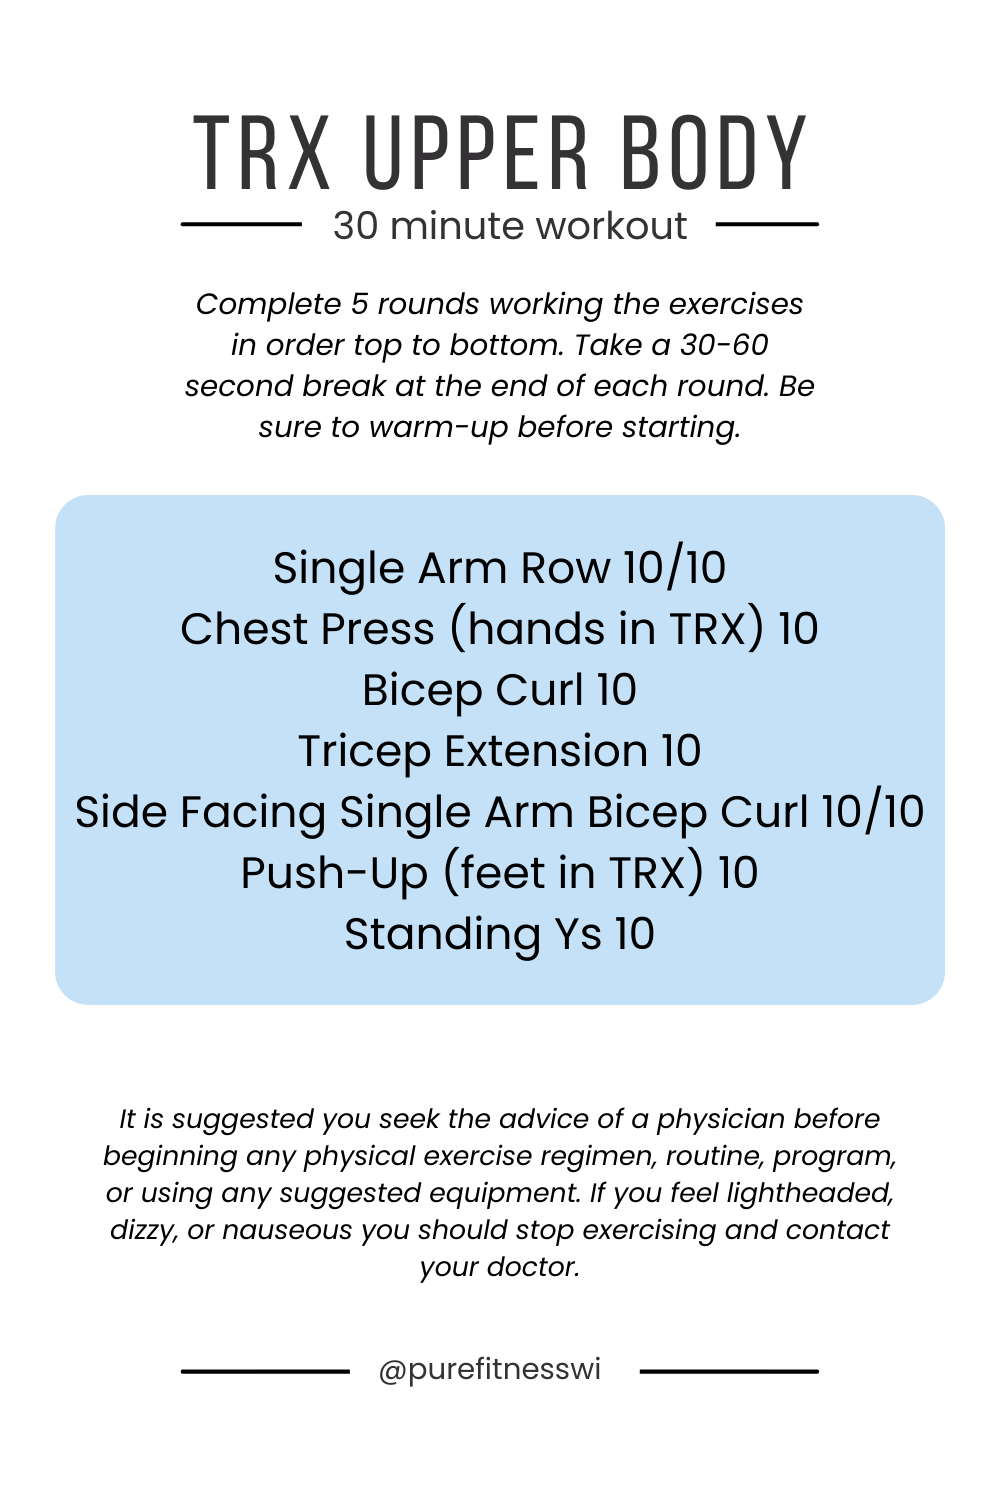
Upper Body Strength Exercises
- Row on two feet, single foot or single arm (two feet and two arms shown)
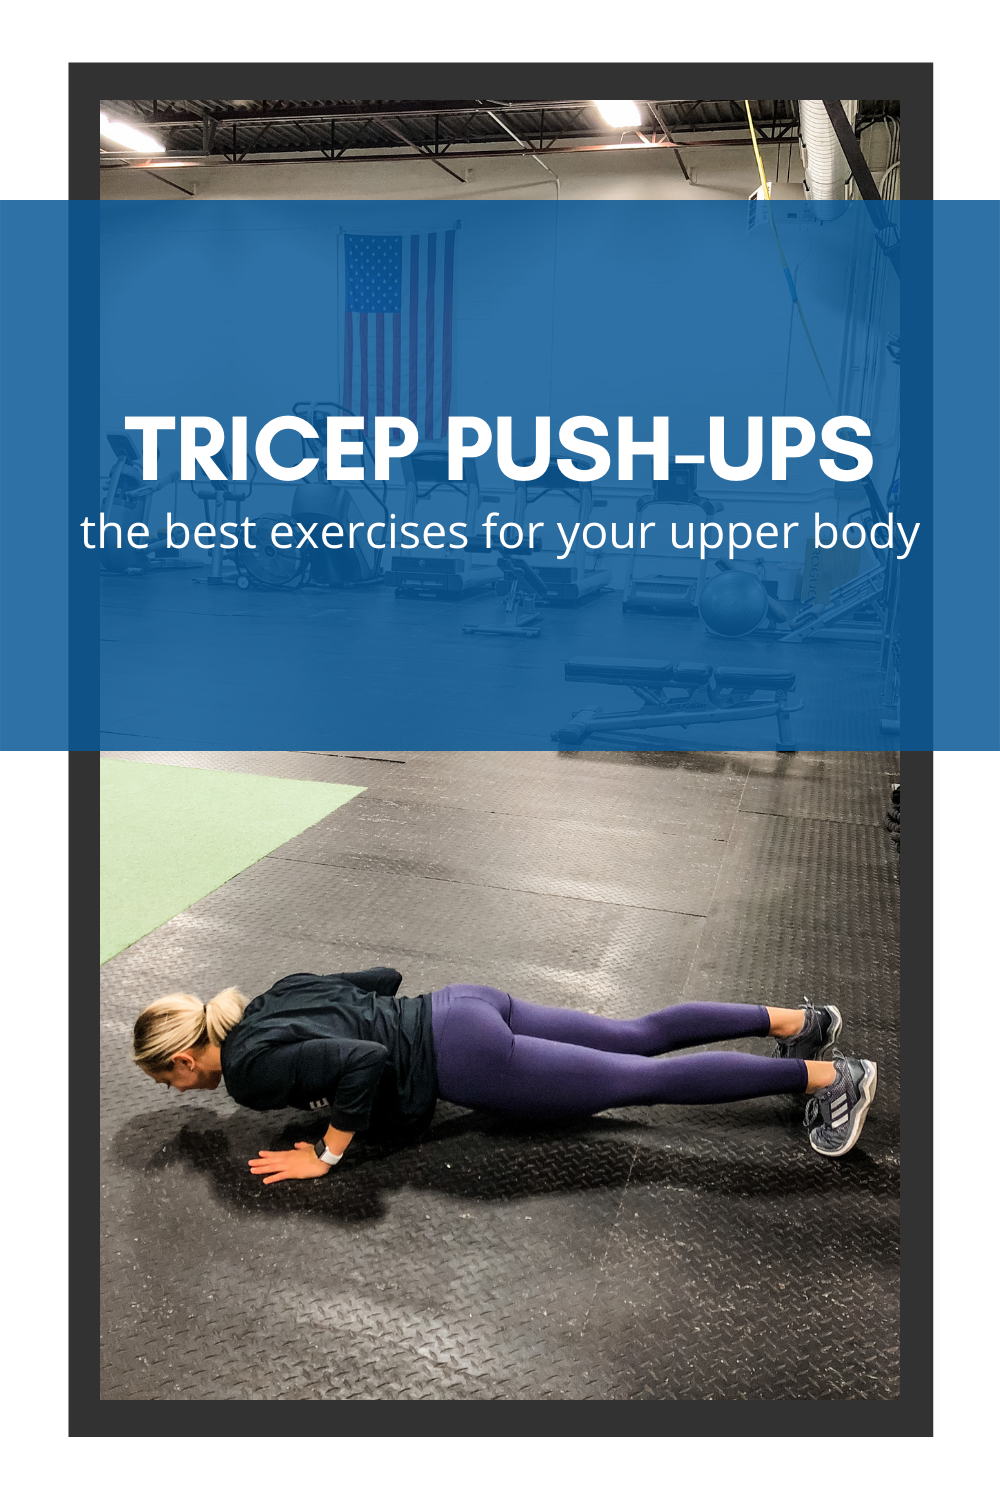
- Push-up with feet in or hands in (hands in shown)
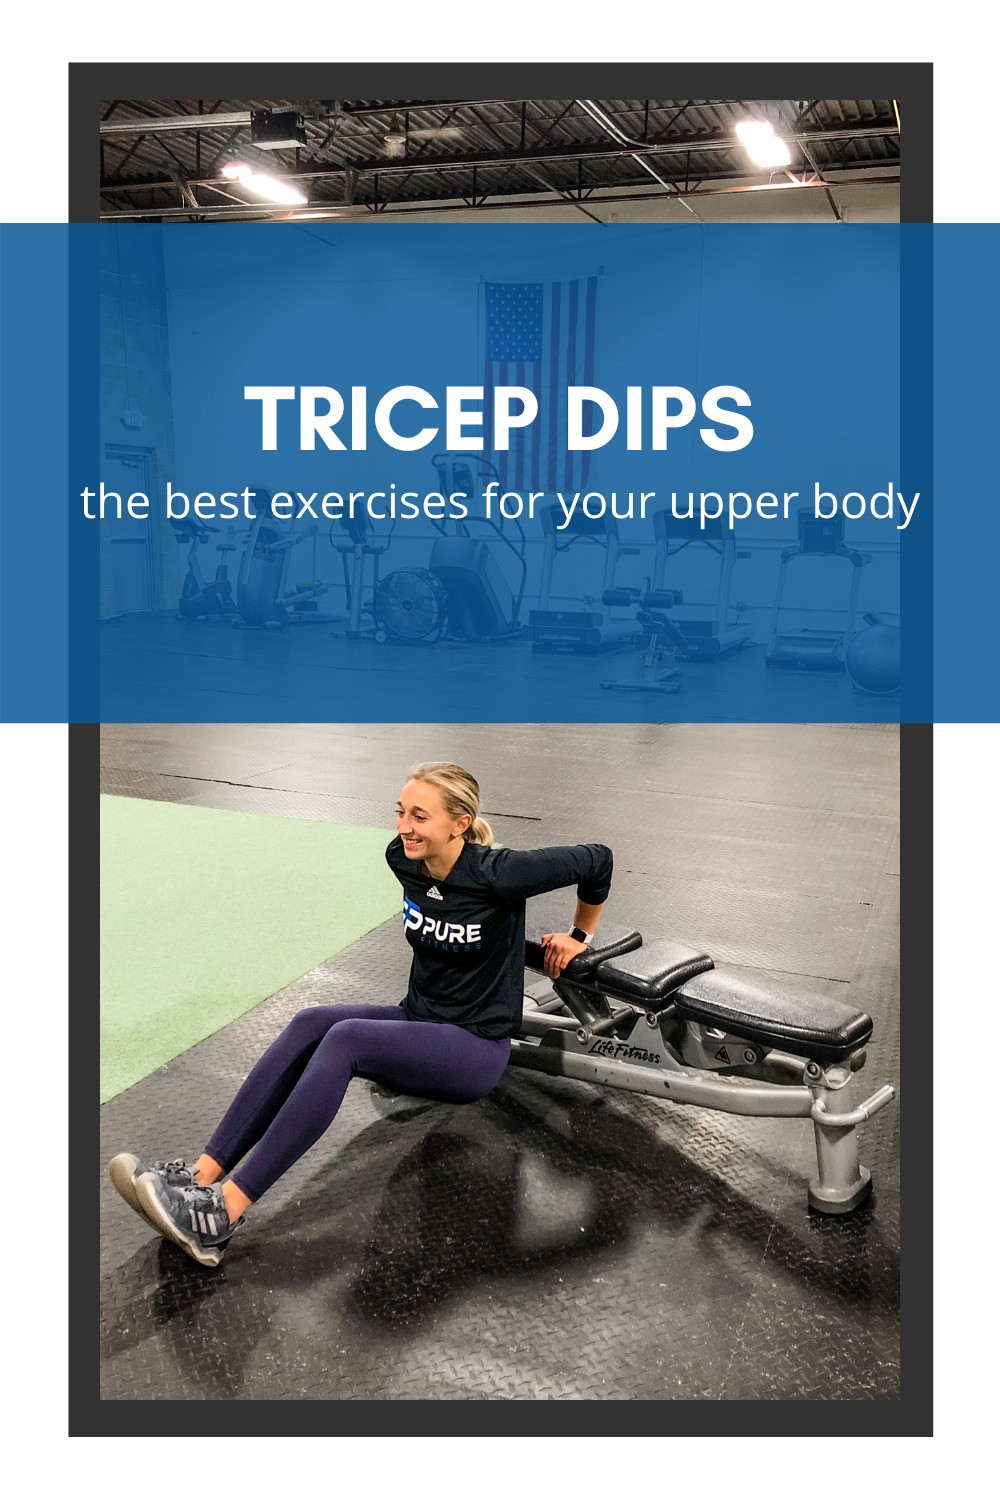
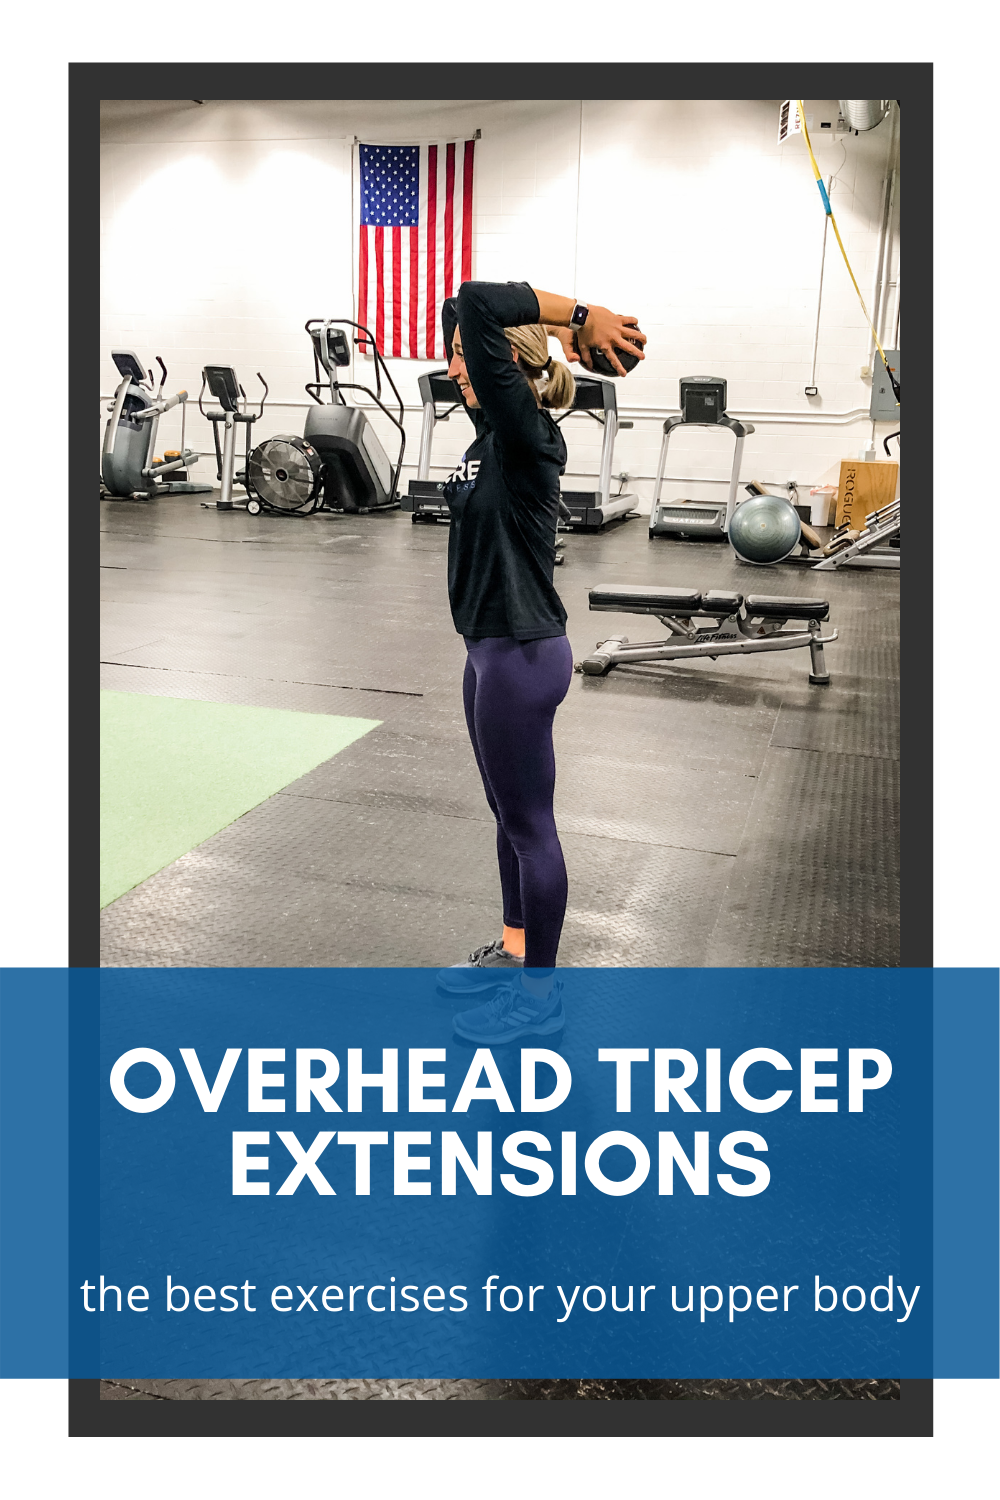
- Tricep extension or tricep dip (extension shown)
- Squat and curl at top or bottom (top shown)
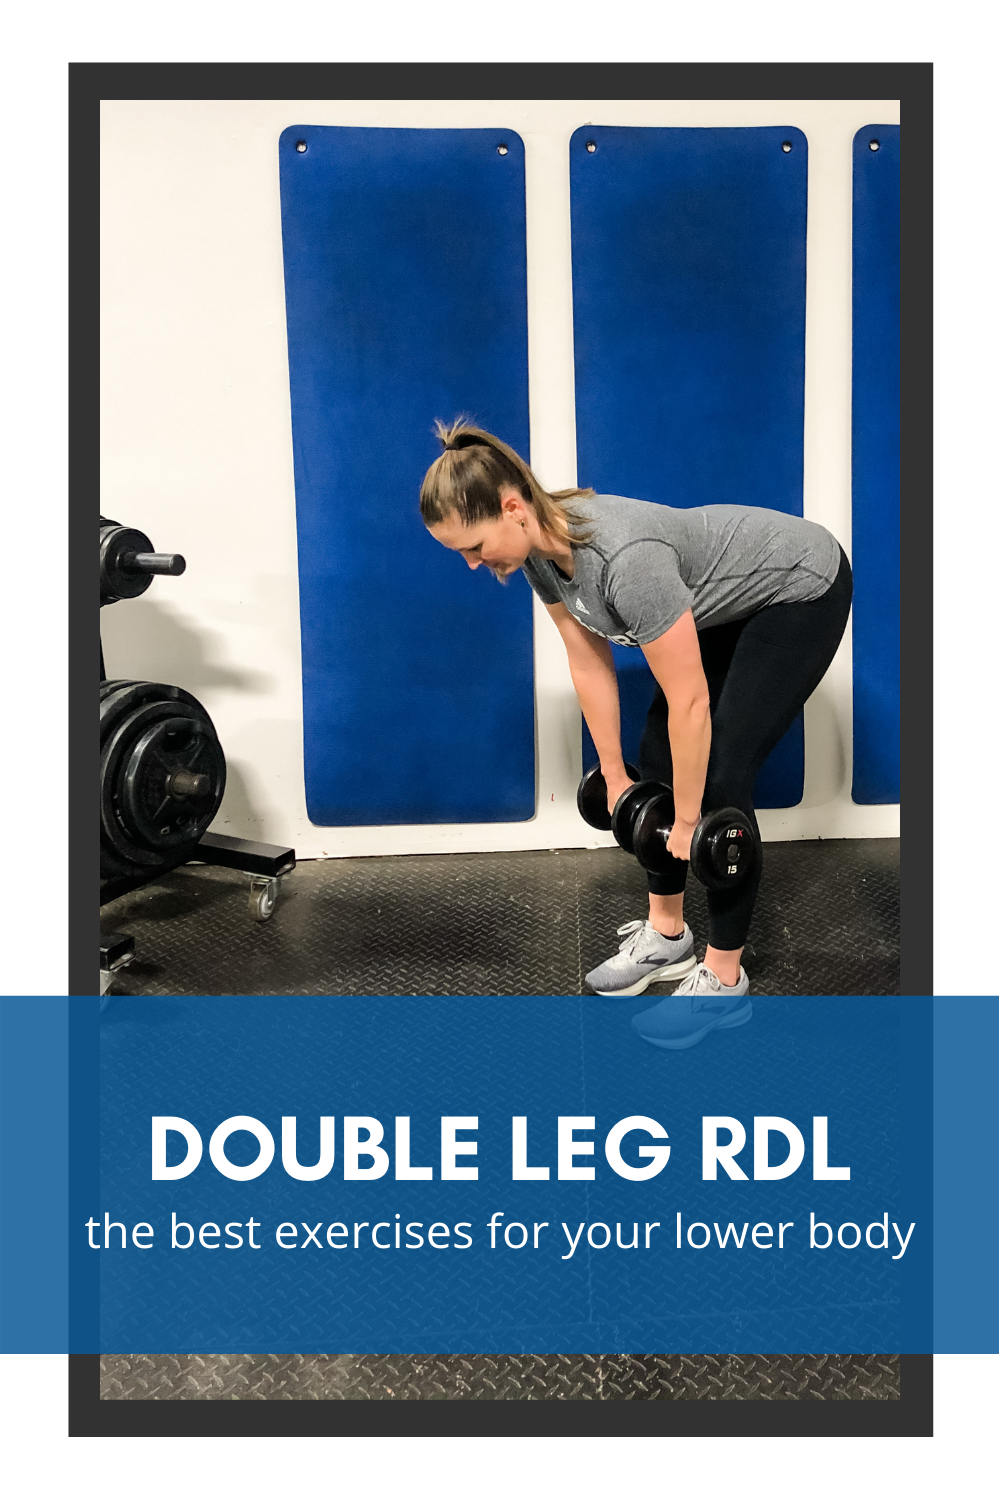
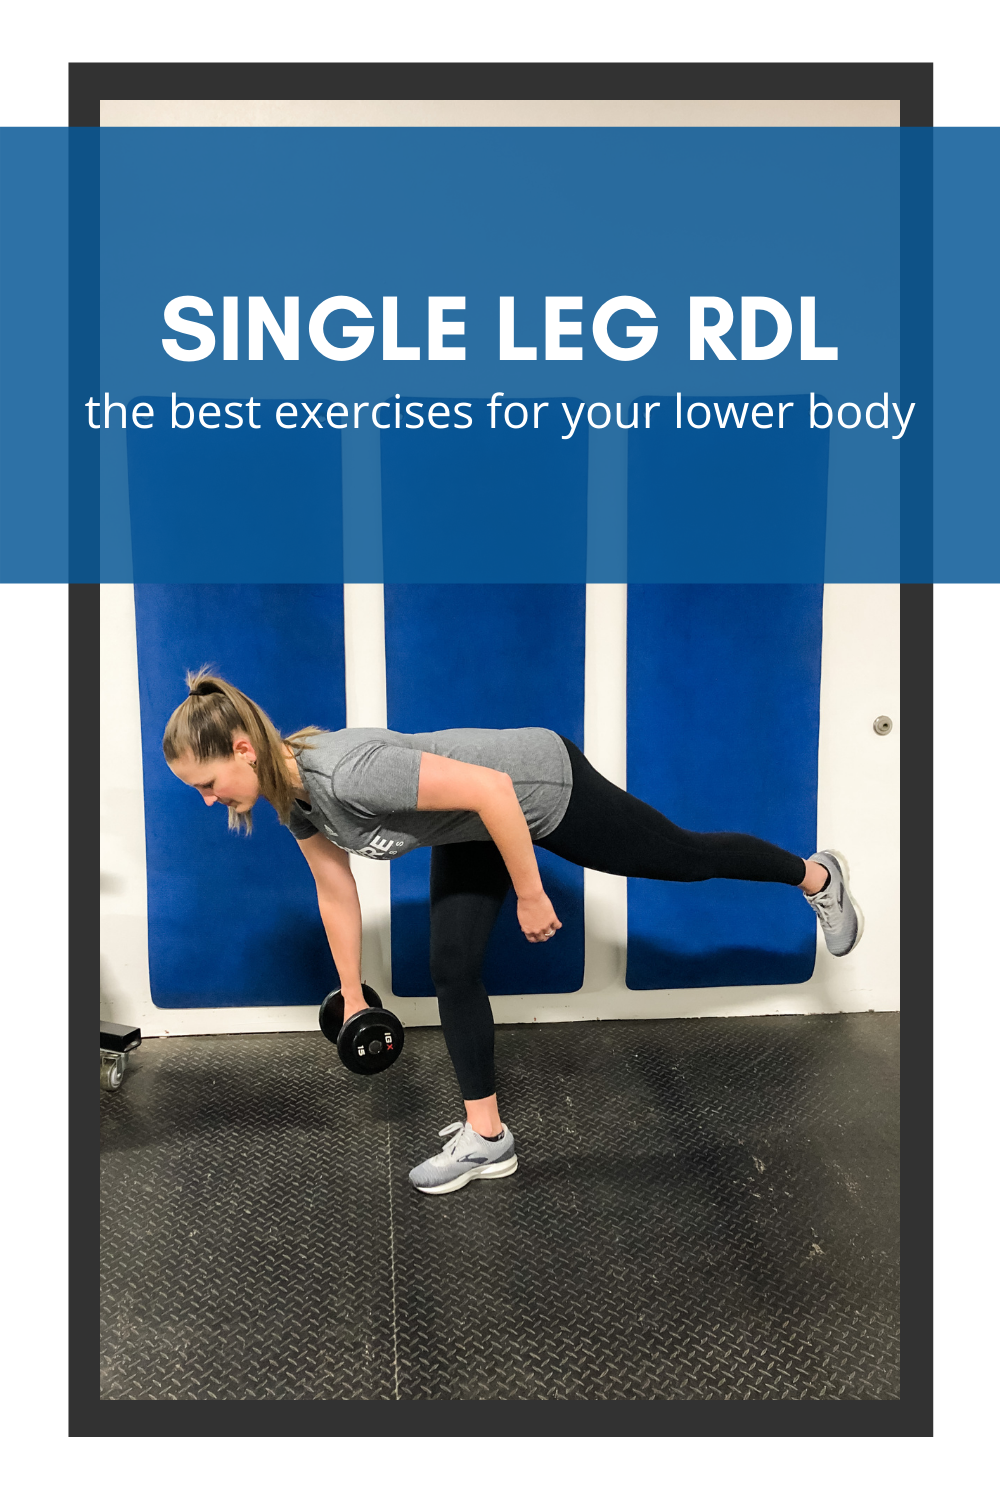
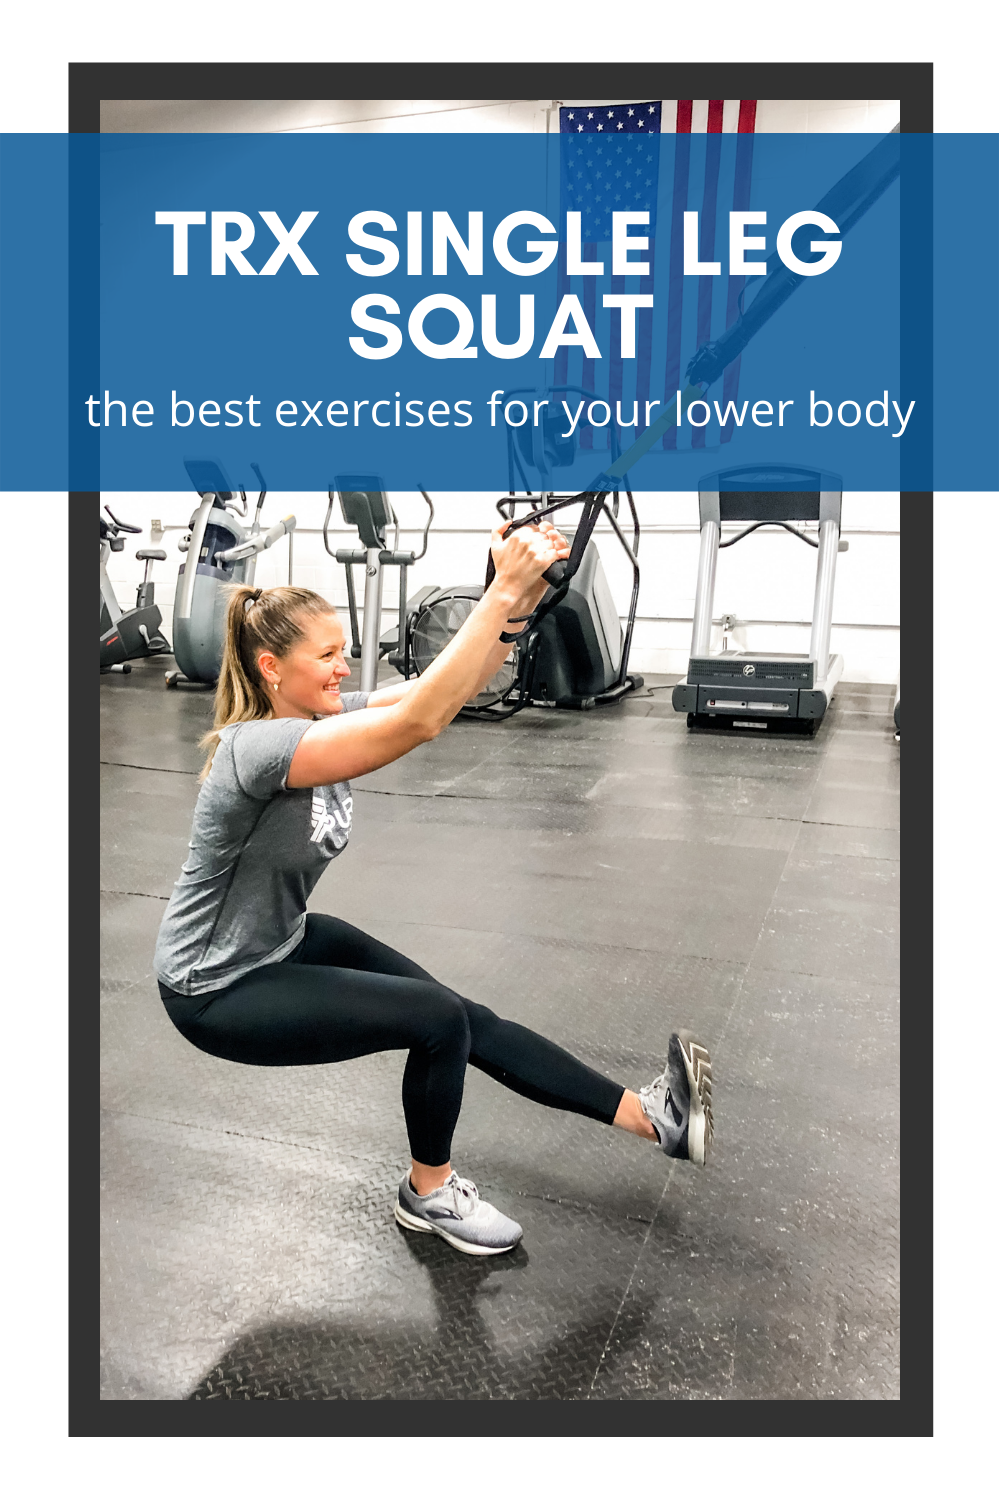
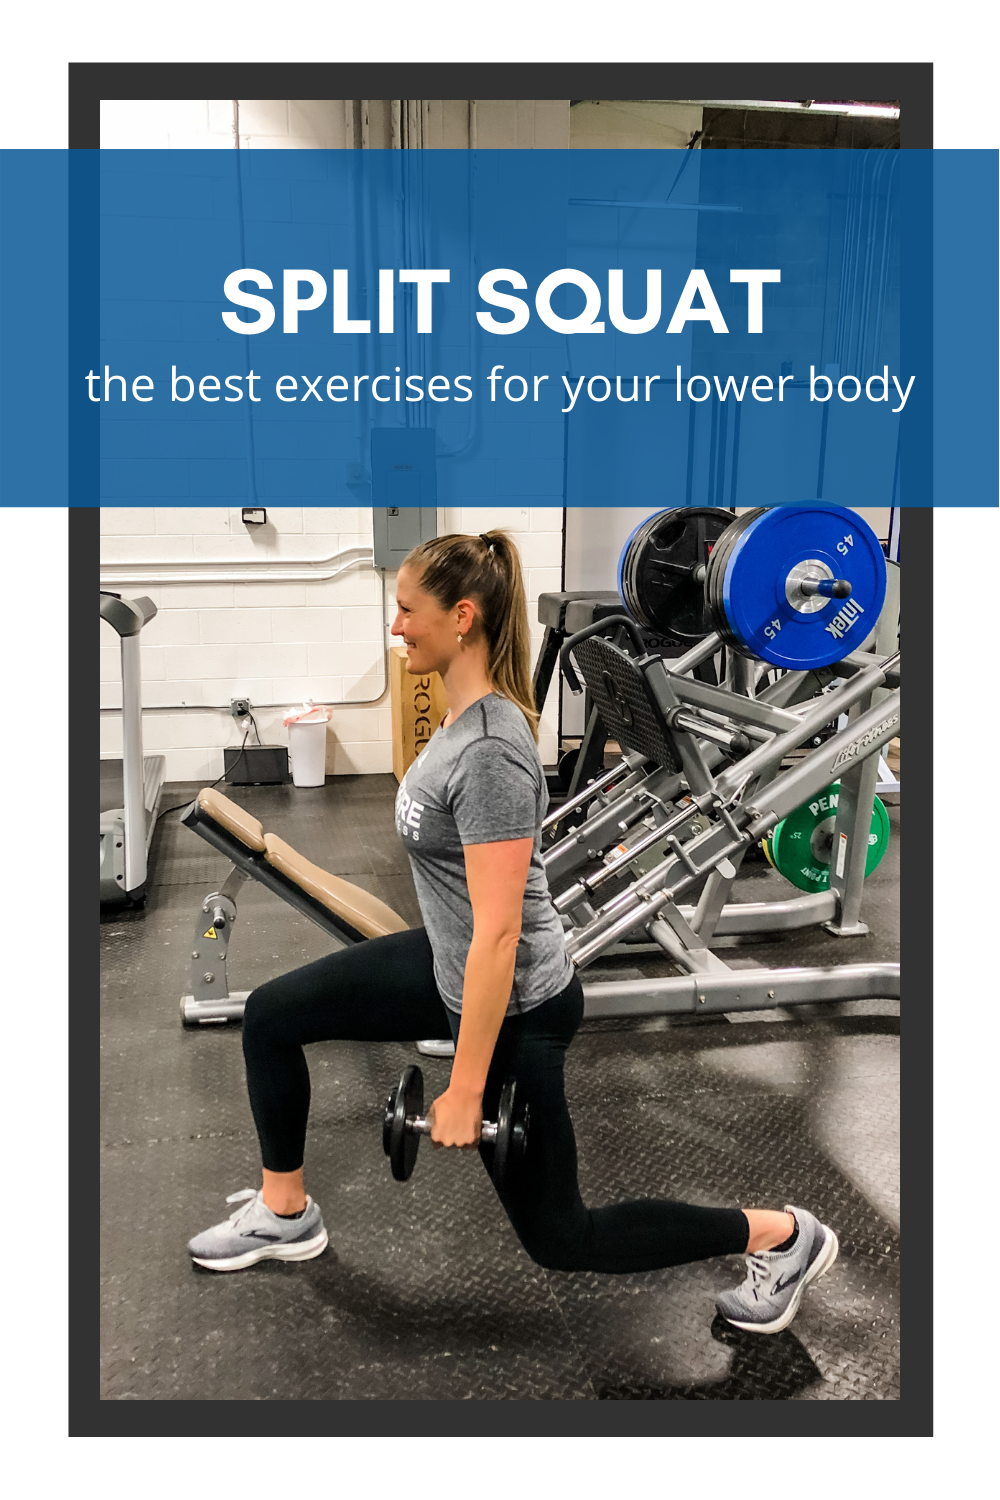
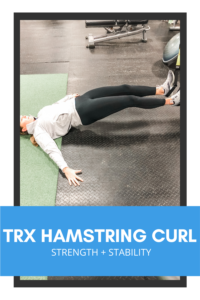
Lower Body Strength Exercises
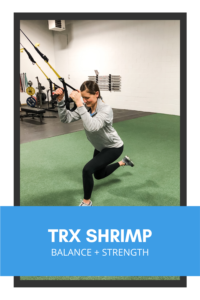
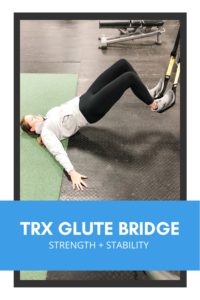
Here are five great exercises for the TRX at various difficulty levels. If you want to take these for a test drive I would recommend starting with the glute bridge or the shrimp. Why? Well, they are the “easiest” of the five.
- Shrimp
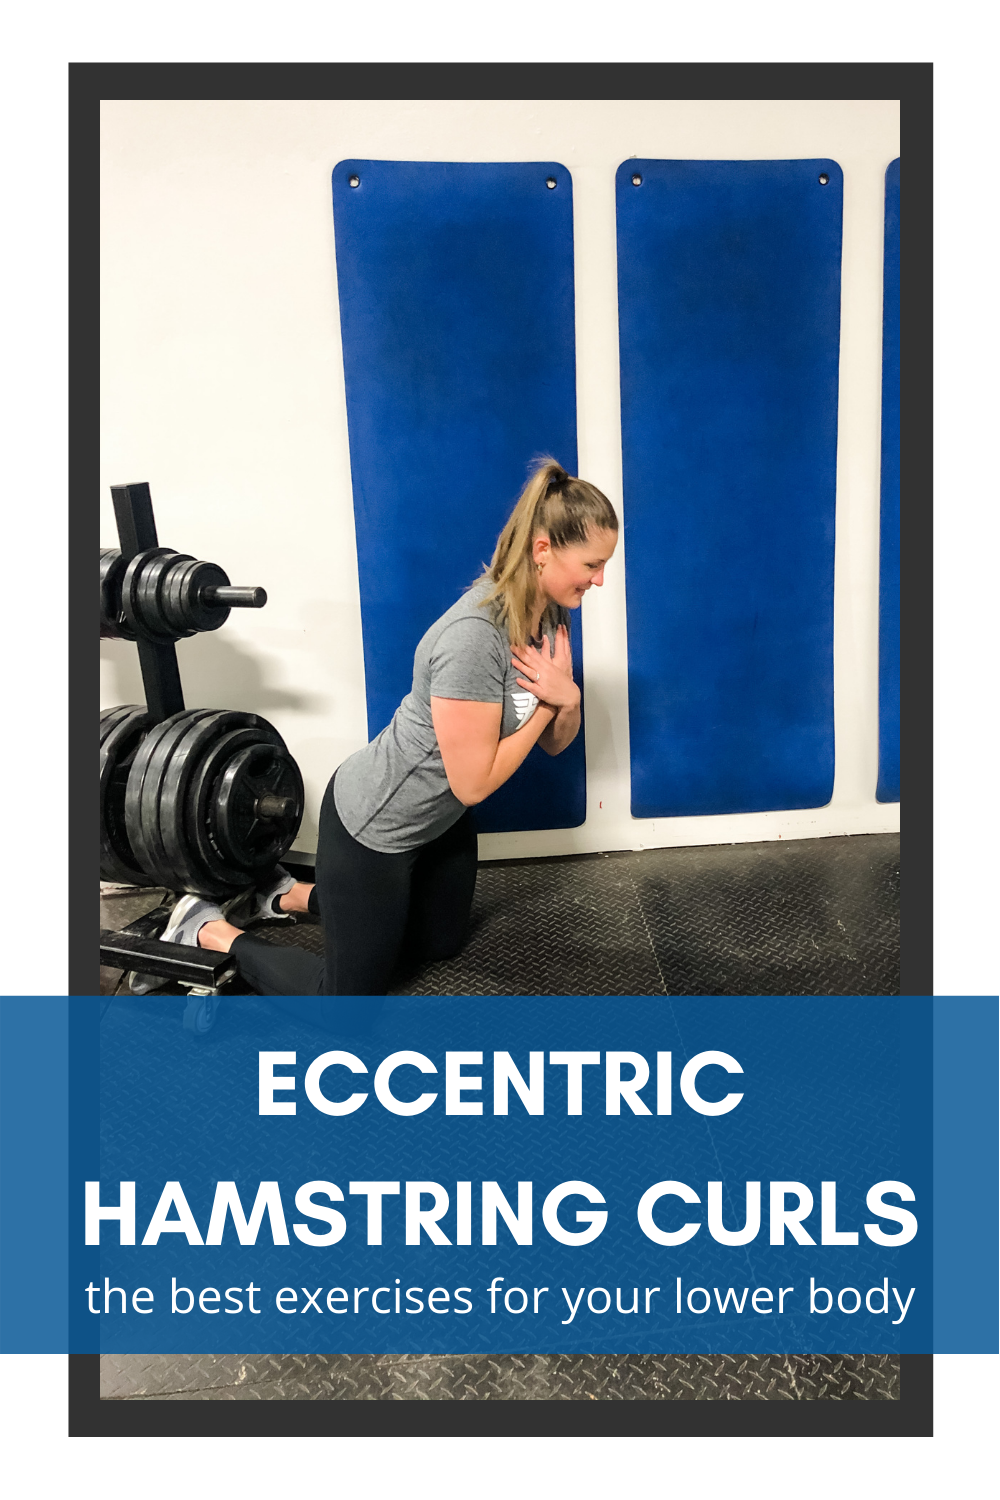
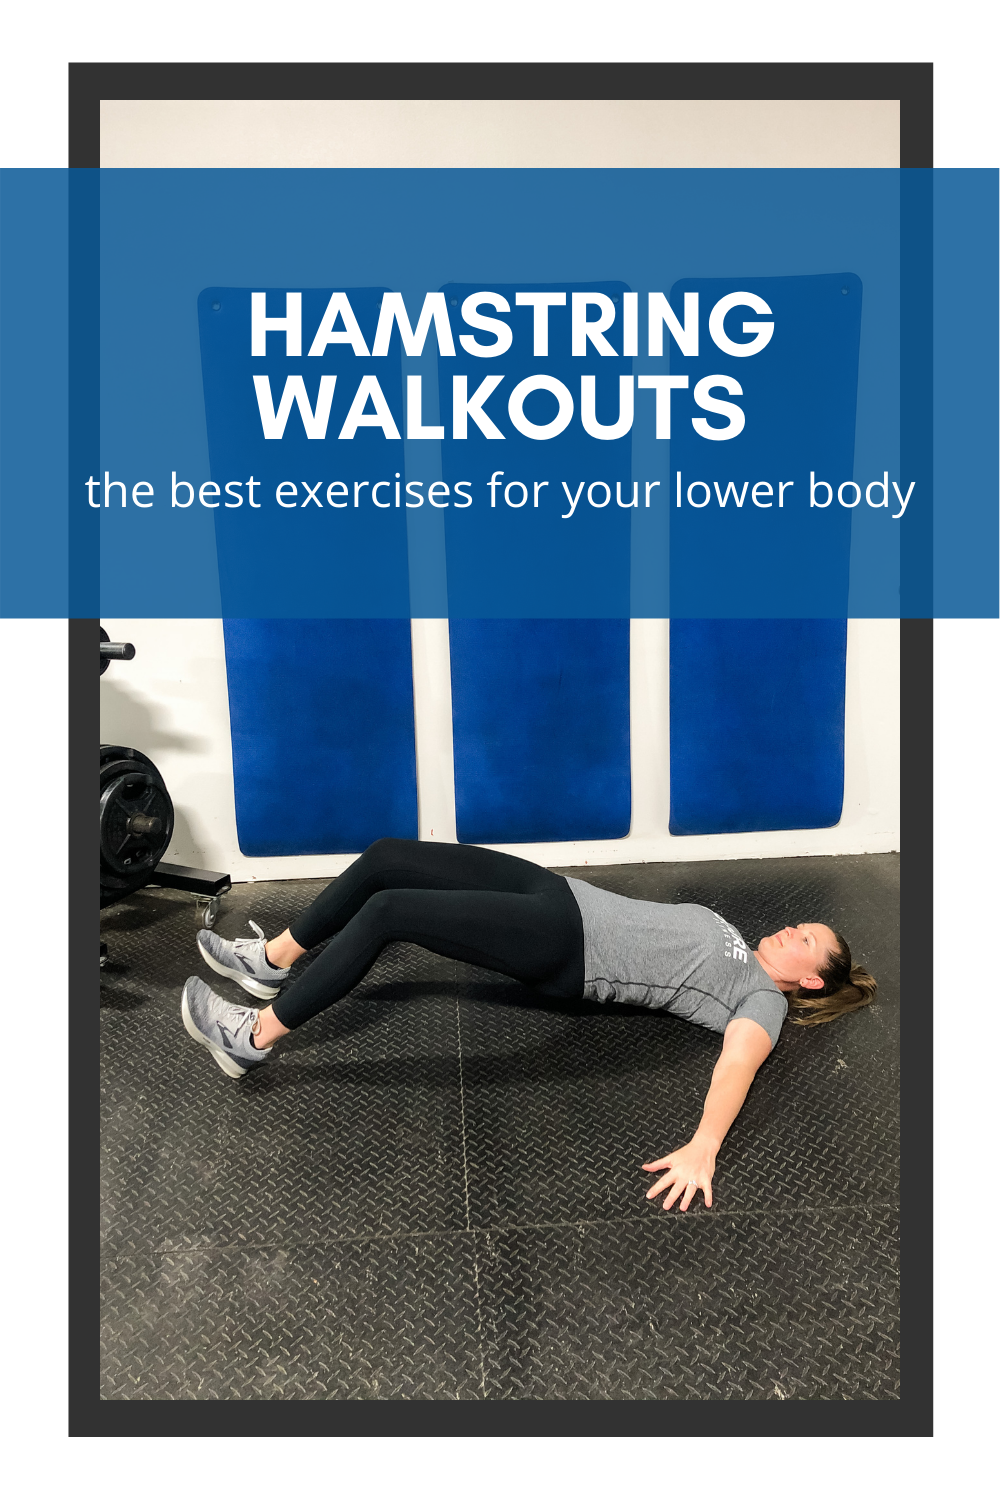
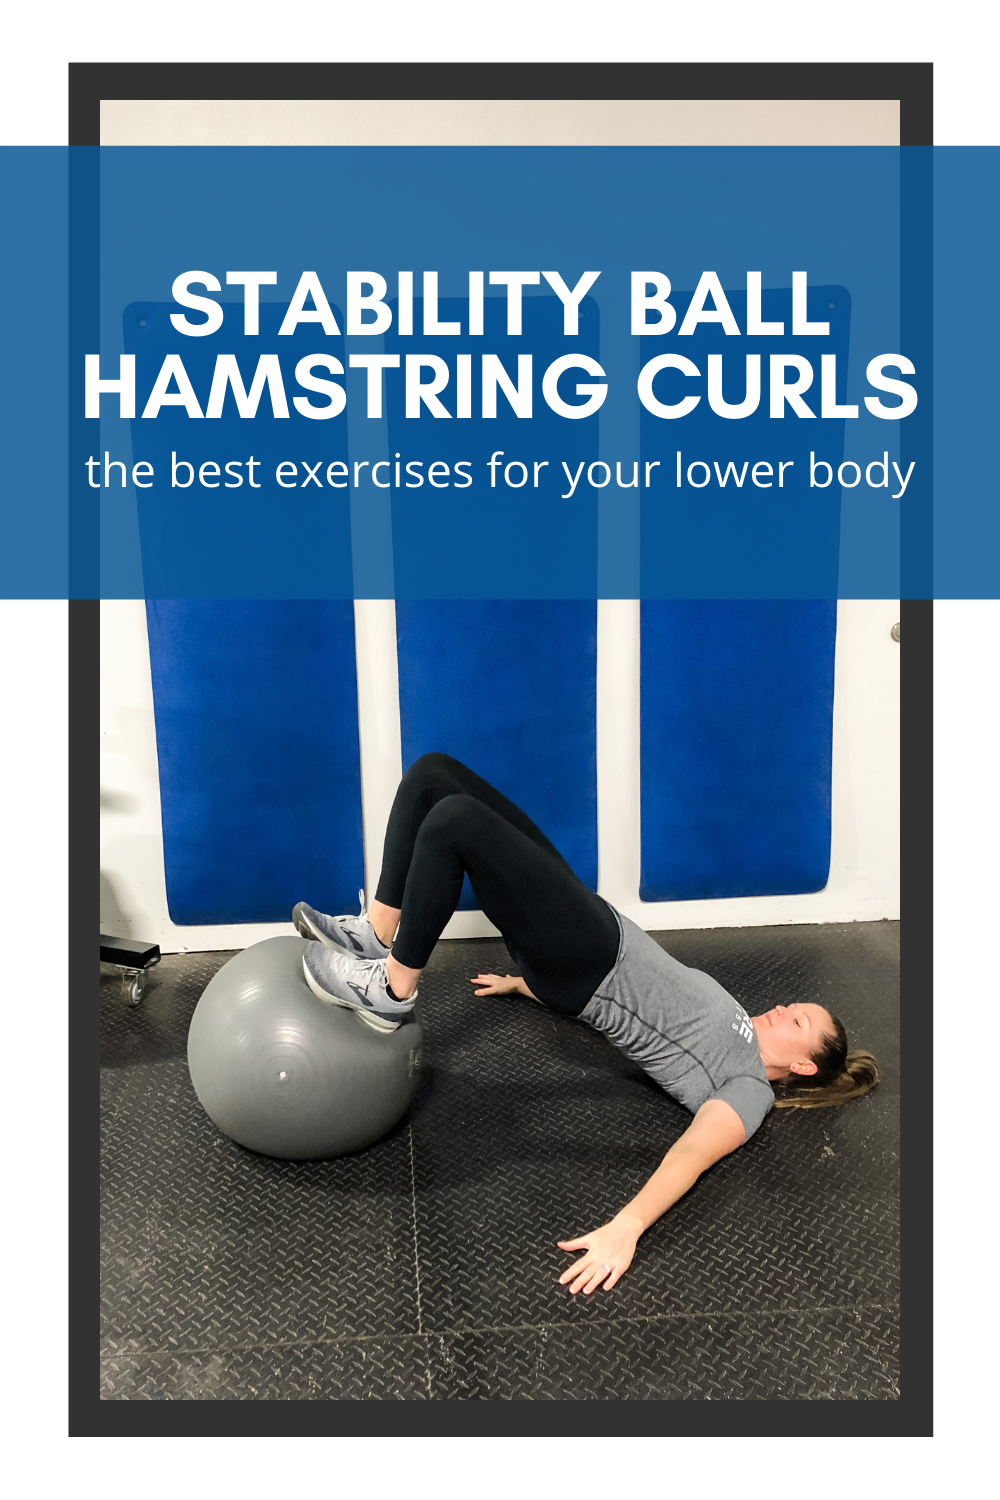
- Hamstring Curl
- Pistol Squat
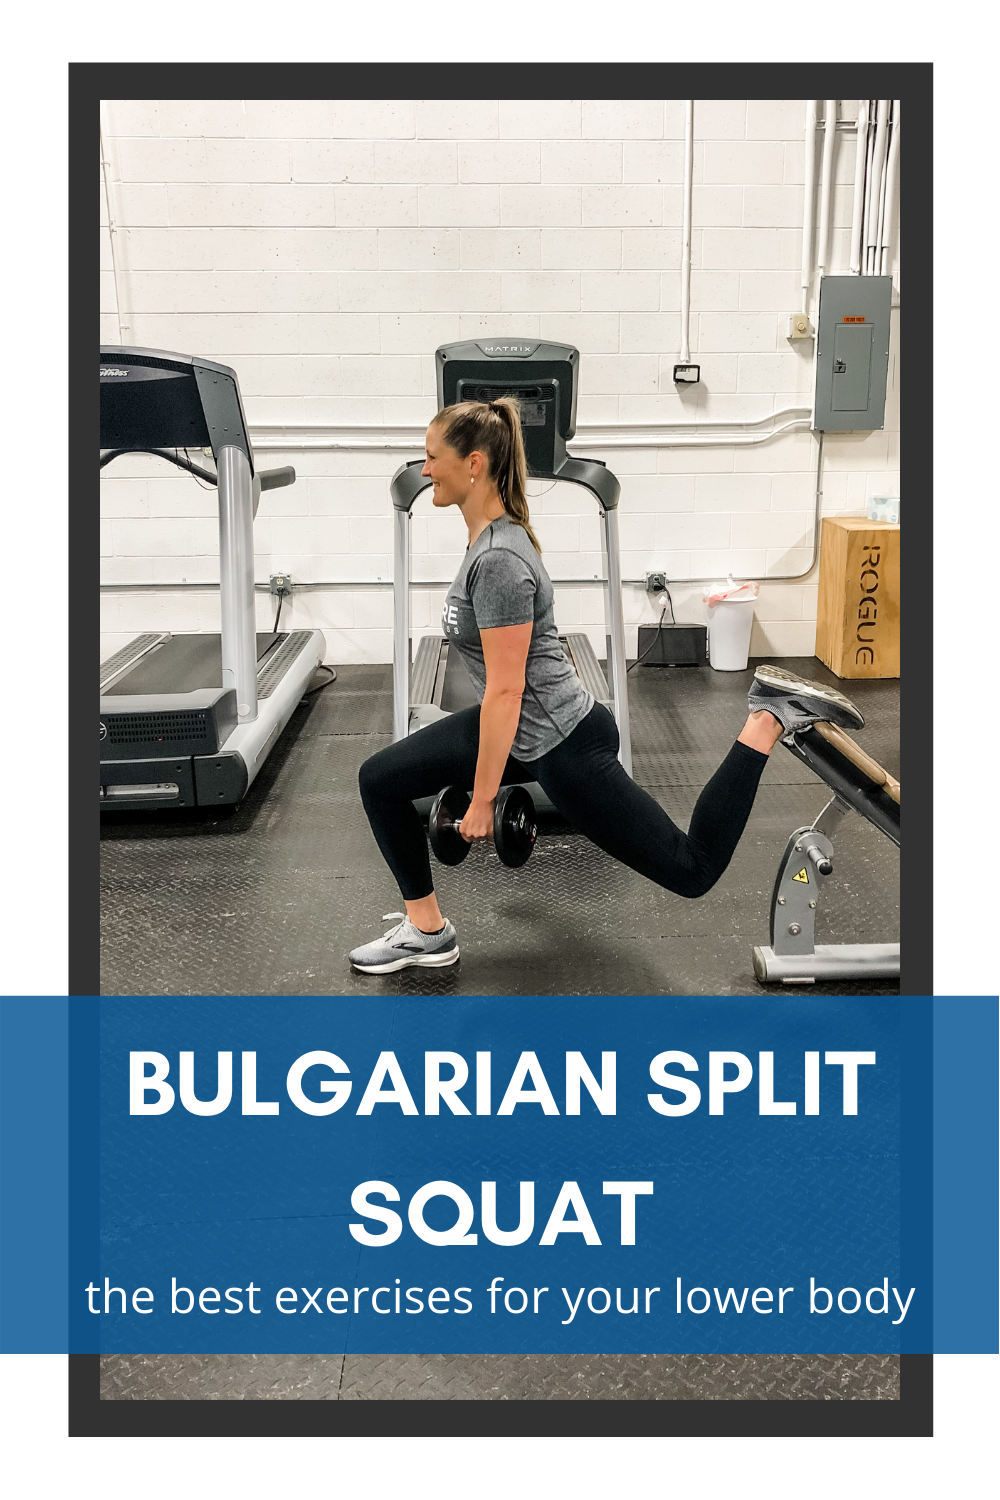
- Side Lunge
- Glute Bridge
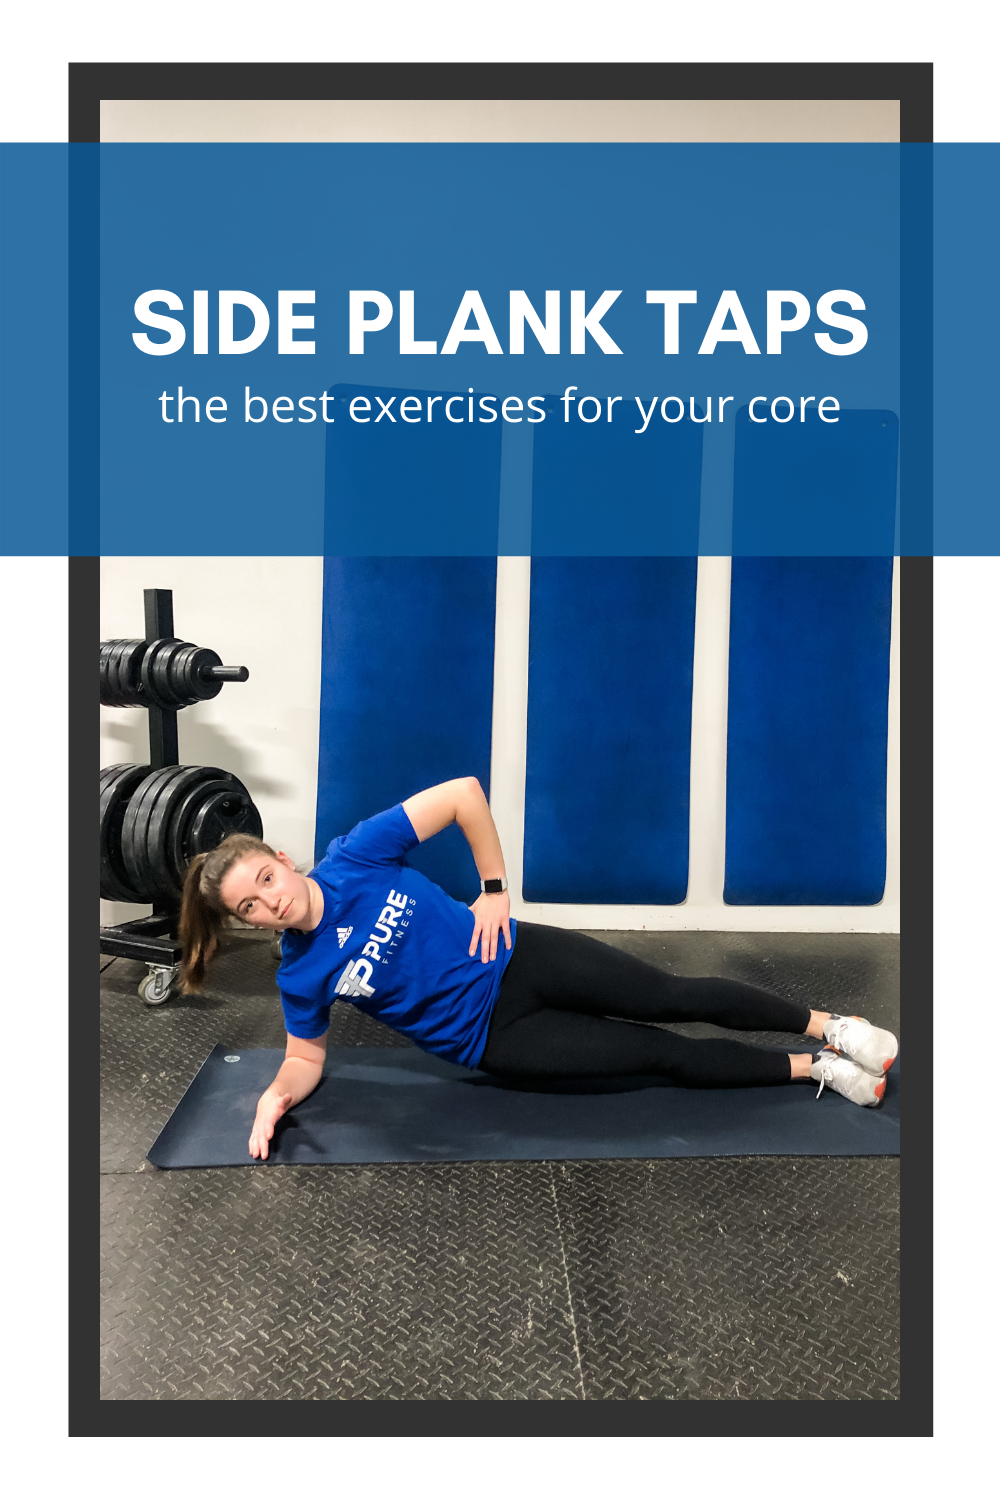
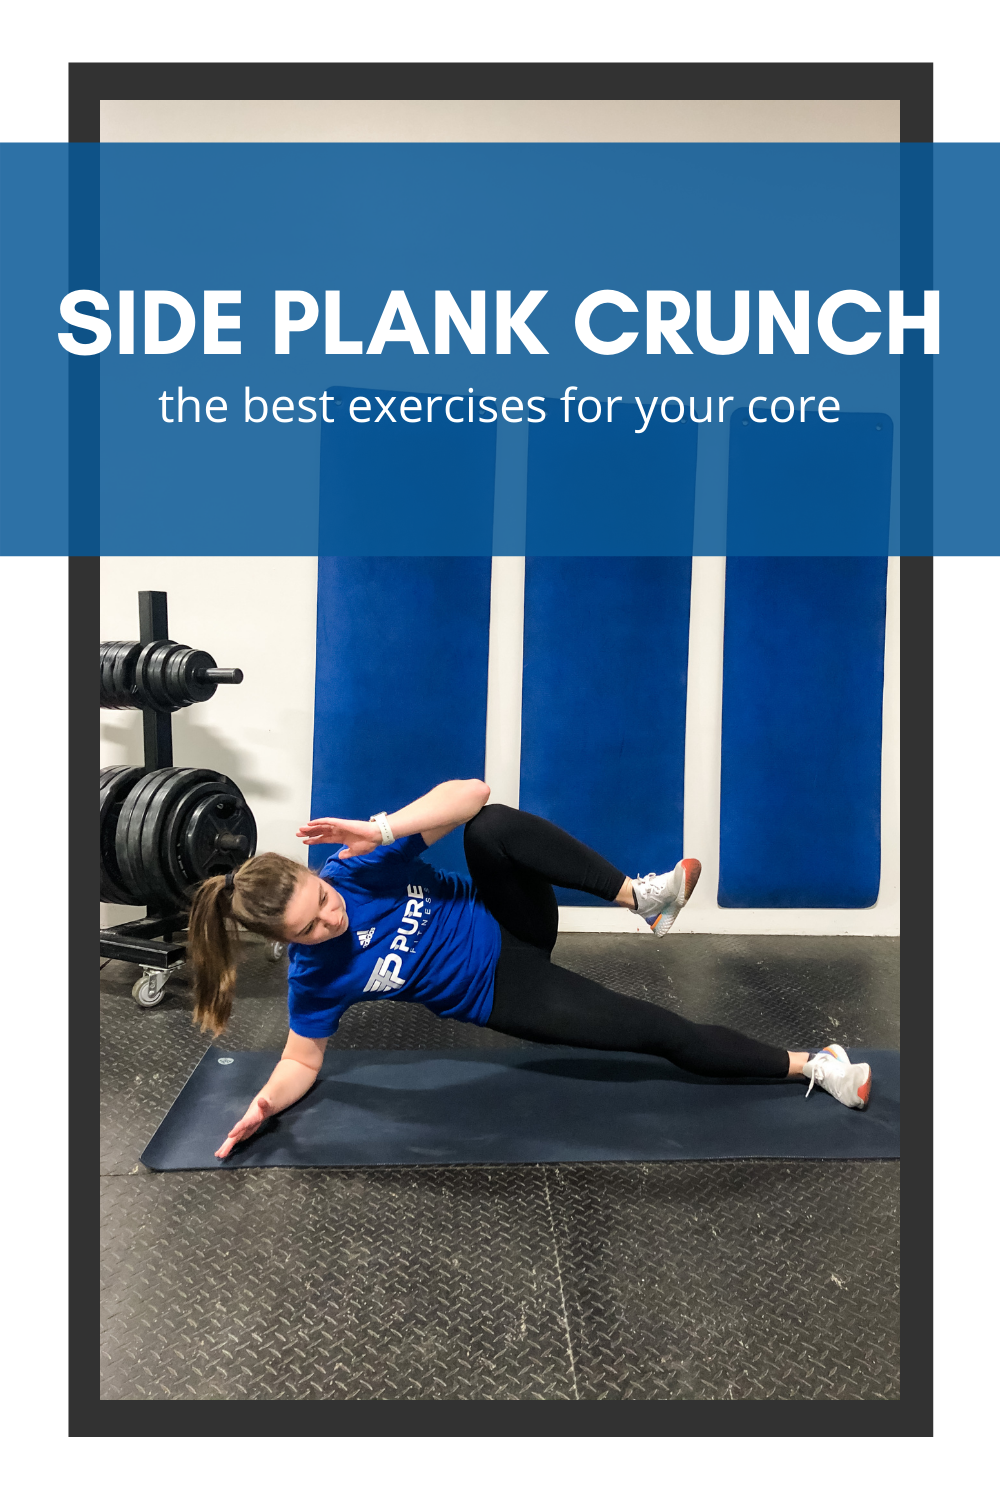
Core Strength Exercises
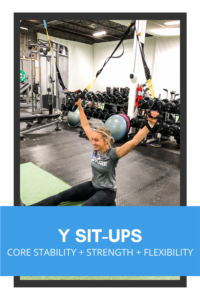
I think most people are familiar with using the TRX with feet in the straps to train your core. It’s challenging. It looks cool. But I would bet there are a few on this list that you haven’t seen before.
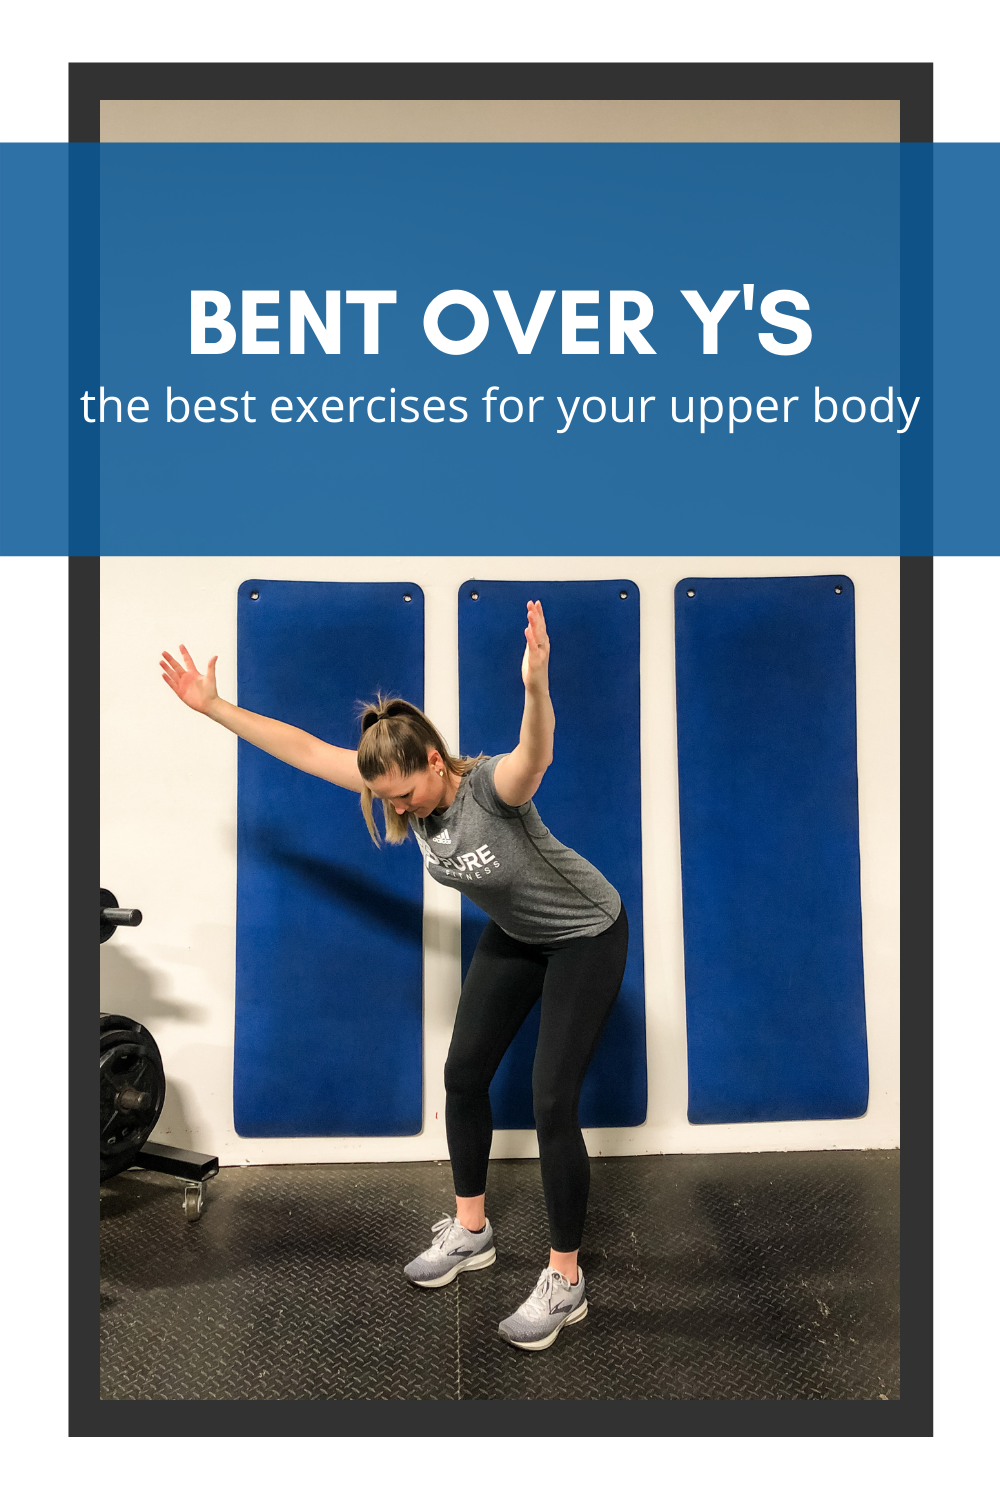
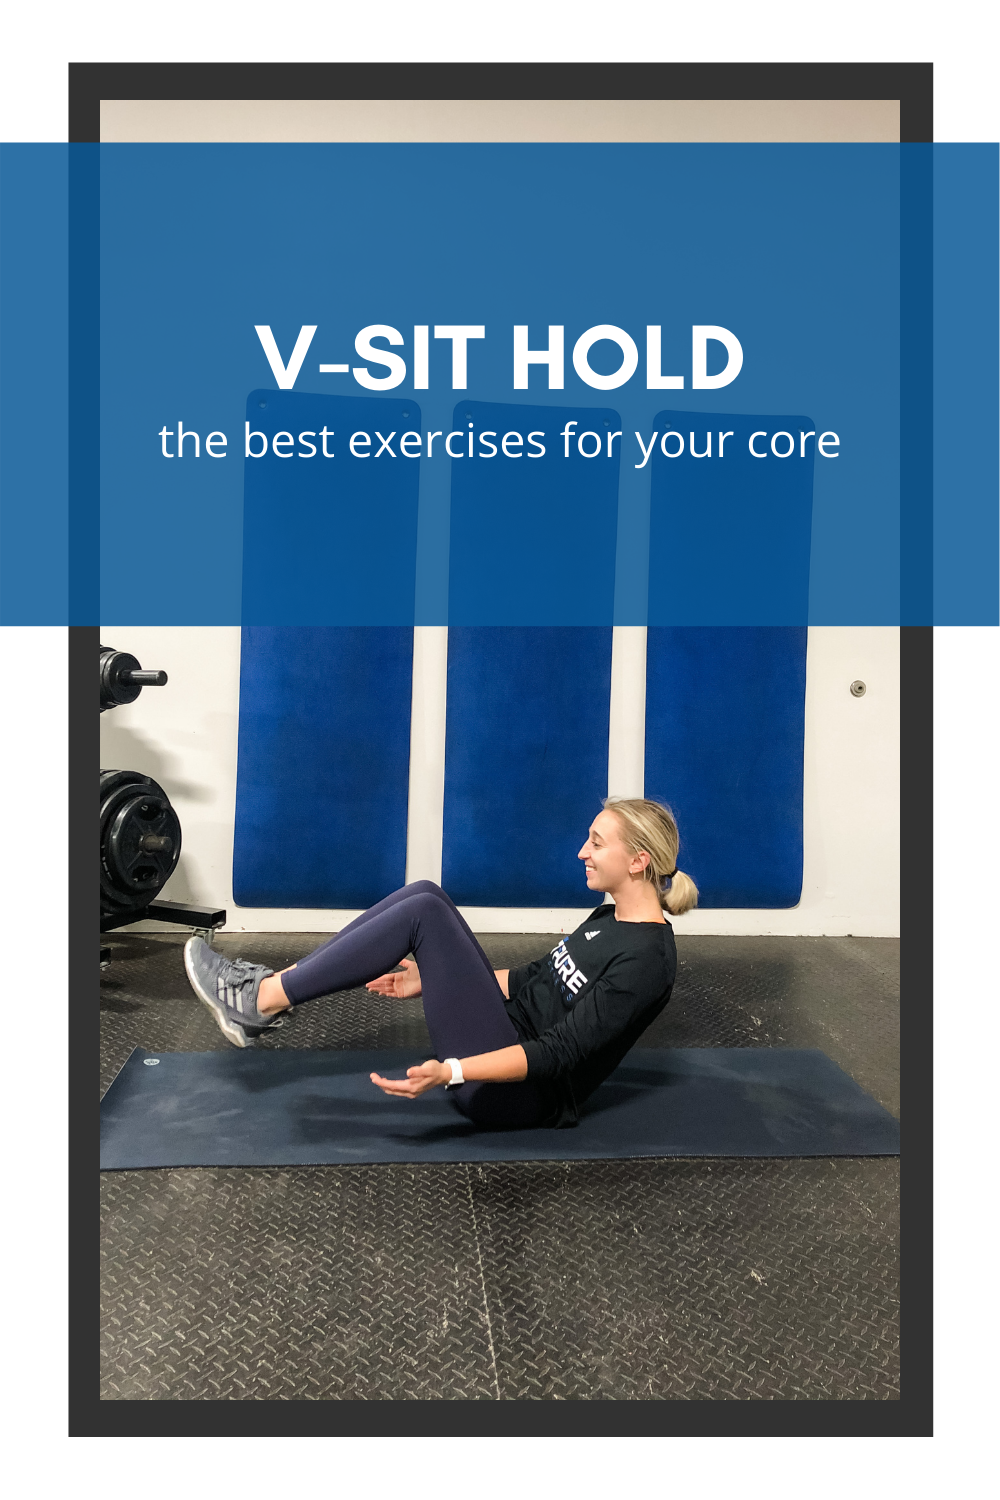
- Y Sit-Ups
- Standing Fall Out
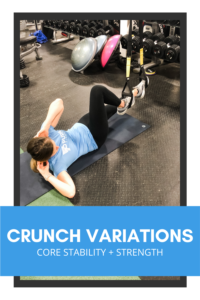
- Leg Supported Crunch Variations
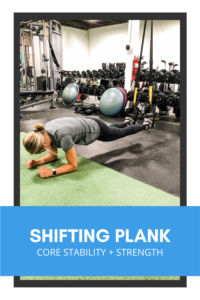
- Shifting Plank
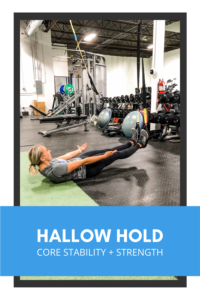
- Supported Hallow Hold
- Mountain Climber Variations
- Pikes and Single Leg Variations
- Plank Kick Through
- Plank Tucks
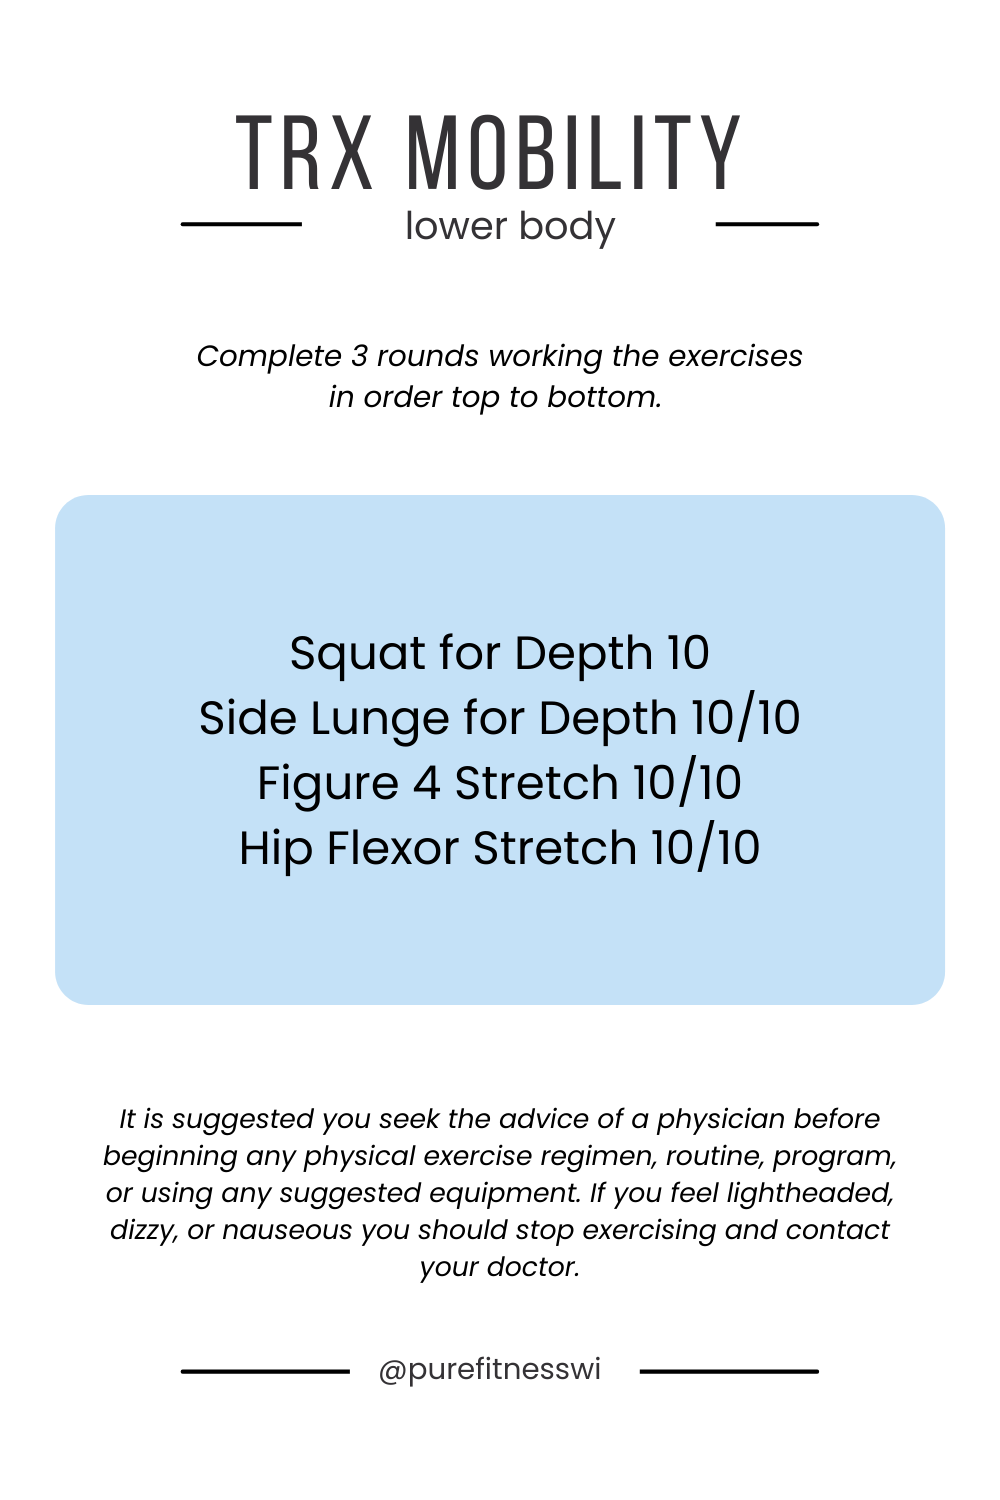
TRX MOBILITY
We talk a lot about mobility. It has become increasingly important in our sedentary world. Our joints can become so tight when we sit for long periods of time or do the same motions over and over. Most commonly we see individuals with tight anterior upper bodies (chest) and tight hips/hamstrings.
One of the main ways we can alleviate some of these aches and pains is by restoring balance at the joint through flexibility/mobility and strengthening. And these need to happen in a cooperative way because you need to have range of motion at a joint, then stability and then power. Which is why mobility training should be a part of your week!
In the exercises below we are going to use the TRX to help provide traction as we reach the end of a range of motion or to help support our body weight to increase our range of motion.
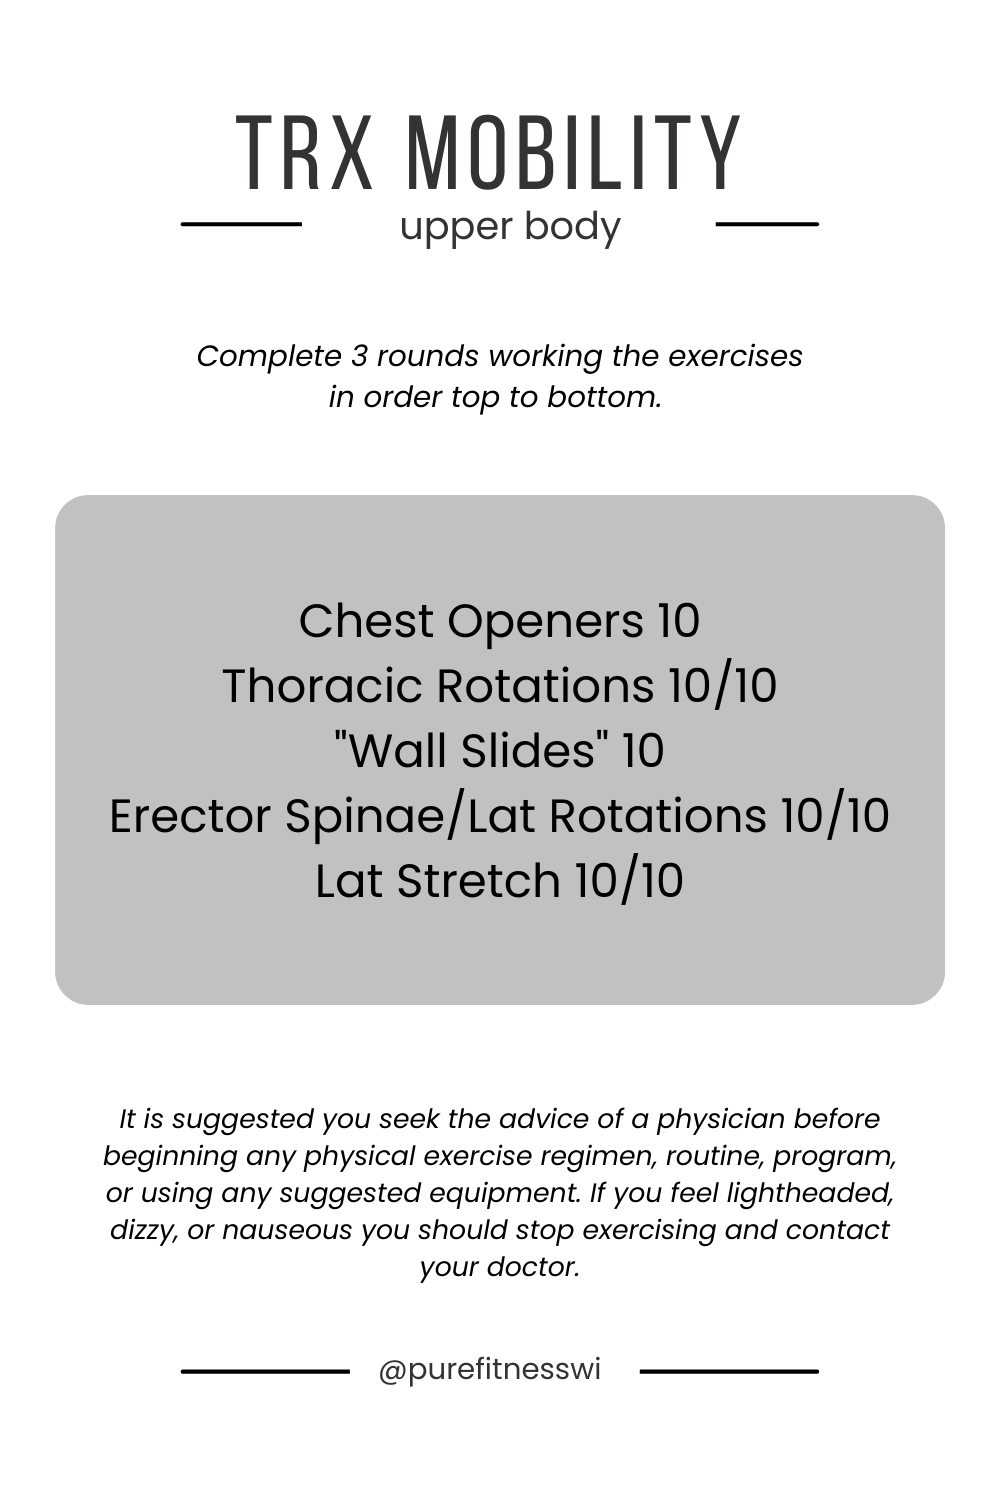
For upper body mobility we are going to target opening up the chest, releasing the lats, and working on upper back rotational mobility. The combination of these three is going to help release a lot of that tension built up from sitting, driving & everyday life. And it will feel great at the end of your workout.
When we talk about lower body mobility we are mostly talking about mobility in and around the hips. Yes, you are going to gain some mobility in the range of motion at the knee joint, but since it is a uniaxial joint that only goes in one direction it will not see as much improvement as the hip will. Since the hip is a multiaxial joint, we have to work for range of motion in multiple directions and you will feel exactly what I’m talk about when you try these exercises.
Upper Body Mobility Exercises
- Chest Openers
- Thoracic Rotations
- “Wall Slides”
- Erector Spinae/Lat Rotations
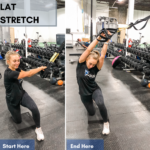
- Lat Stretch
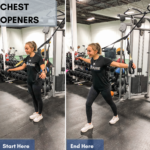
CHEST OPENERS
Start by having the TRX straps comfortably in hand and facing away from the anchor. Proceed with the mobility exercise by stepping forward and letting the straps gently pull your arms behind you. This will create a traction stretch within your anterior shoulder and chest. Alternate each foot you are stepping with and see if with a couple reps you can improve your range of motion.
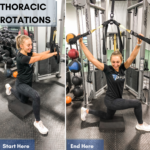
THORACIC ROTATIONS
This is a favorite to do in our gym on the wall, but we love being able to use the TRX for an added stretch at the end. I would not recommend this until you are able to do half-kneeling thoracic rotations on the wall as seen in the PureForged Method (great for you golfers out there!).
Starting kneeling with the outside knee up and TRX straps in hand on the side. Begin by rotation away from the anchor. Keep your arms straight as you let your upper back (thoracic spine) rotate and your chest open up at the end. Keep your lower body as still as possible.
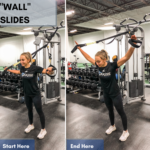
“WALL SLIDES”
Start with the TRX straps out to the side of your body as pictured above. You are going to slowly move your arms toward the ceiling while keeping your arms wide. This will allow you to work on shoulder mobility through the entire range of motion while getting some traction stretch in your shoulders toward the end.
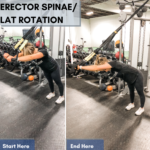
ERECTOR SPINAE/LAT ROTATIONS
This next one is going to feel great on the lattisimus dorsi muscle (your lats) and your erector spinae muscle which runs through the middle of your back to your glutes. You are going start facing away from the anchor. Walk your feet back so that you are leaning into the straps and having a slight forward bend. Keeping your arms straight rotate from side to side to get a great traction stretch in both these muscles.
LAT STRETCH
Starting half kneeling with your knee closest to the TRX up, have the straps together as one. Grab onto the one handle with both hands and swing your arms up overhead and lean the outside hip away. This will create a great stretch down the side and through your lats.
Lower Body Mobility Exercises
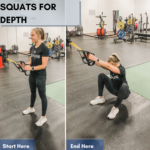
- Squat for Depth
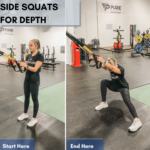
- Side Lunge/Squat for Depth
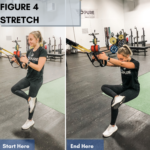
- Figure 4 Stretch
- Hip Flexor Stretch
Squat for Depth
Starting with your hands in the handles with elbows bent at your side, take a comfortable squat stance. You may want to take your feet a bit wider to allow for greater mobility. Proceed as you would with a normal squat, sitting back with weight mid-foot to heel. Come back up using your legs with assistance from the TRX.
Side Lunge/Squat for Depth
Similar to the squat, the use of the TRX here is going to allow for greater depth in that side squat/lunge. Often times people are limited moving laterally because they feel like their hip stops them. The use of the TRX is going to allow your hip to go deep, almost deeper than the knee. This is going to create a glute stretch.
Figure 4 Stretch
This is another great glute stretch that is going to allow your lower back to release as well. Start standing with the TRX straps in hand with your elbows at your side and standing on one leg. Take the other leg and cross it over so that your ankle is over the other knee. Squat normally by sitting back into your glute. You should feel a great stretch in your glutes.
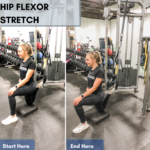
Hip Flexor Stretch
This one is one of our go-tos because it is great to open up the hip flexor. You are going to start in a half-kneeling position with your back foot inside the TRX. This is going to create traction for the hip flexor to help it open up. To create a great mobility stretch, have your hips go forward by squeezing your glutes and shifting your weight forward. This will also start to work in a quad stretch. Your body will stretch what it needs to, so whichever is tighter will feel the greatest difference.
TIPS FOR USING THE TRX
- Keep tension on the straps. The whole point is to use the TRX for exercise. A helpful tip is to find the end point of your range of motion when you are training with a TRX. Make sure there is tension and you are in the proper stance or position.
- Remember the intention of the movement. I see a lot of people going crazy when they use a TRX. This results in sawing of the handles, or them sliding back and forth. It also causes a lot of sagging in the low back when doing core work.
- The TRX also shouldn’t rub against your arms. If that is happening you need to adjust your positioning.
- Make the adjustments. If the three above didn’t hammer it home let me be clear. You can make easy adjustments while using the TRX. If your angle is too hard or steep, change it and finish your reps don’t quit. If you can’t keep tension on the straps, stop adjust your positioning and resume your reps. Oh, you can’t control your hips from sagging, or the straps from swinging, or the rubbing on your arms? Stop and adjust. As always with exercise quality comes first.
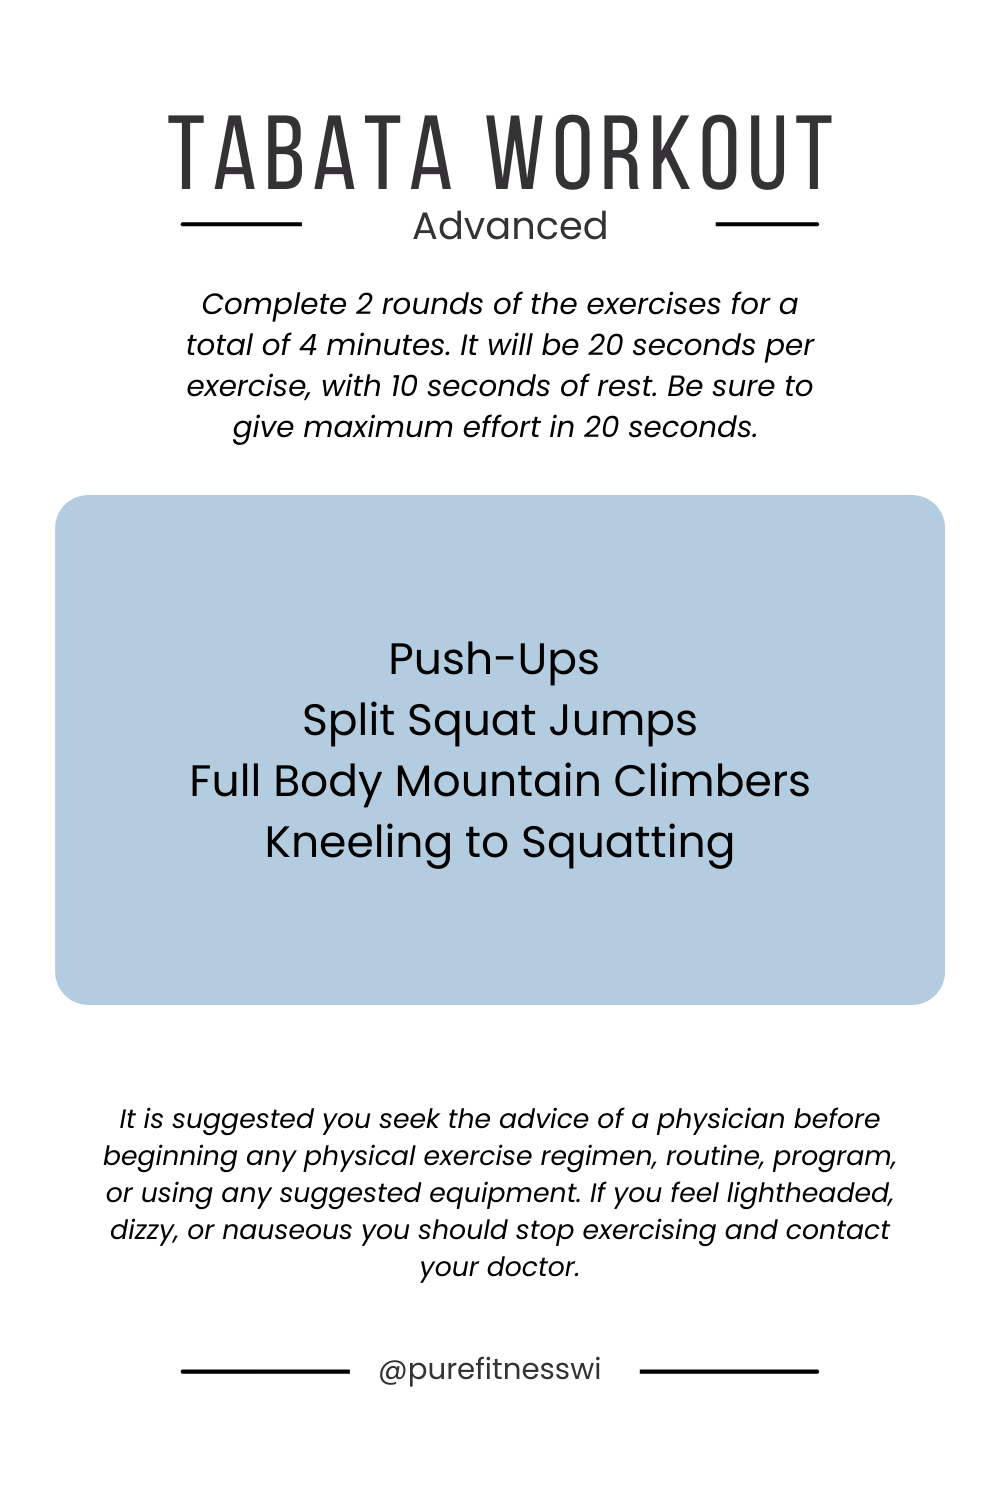
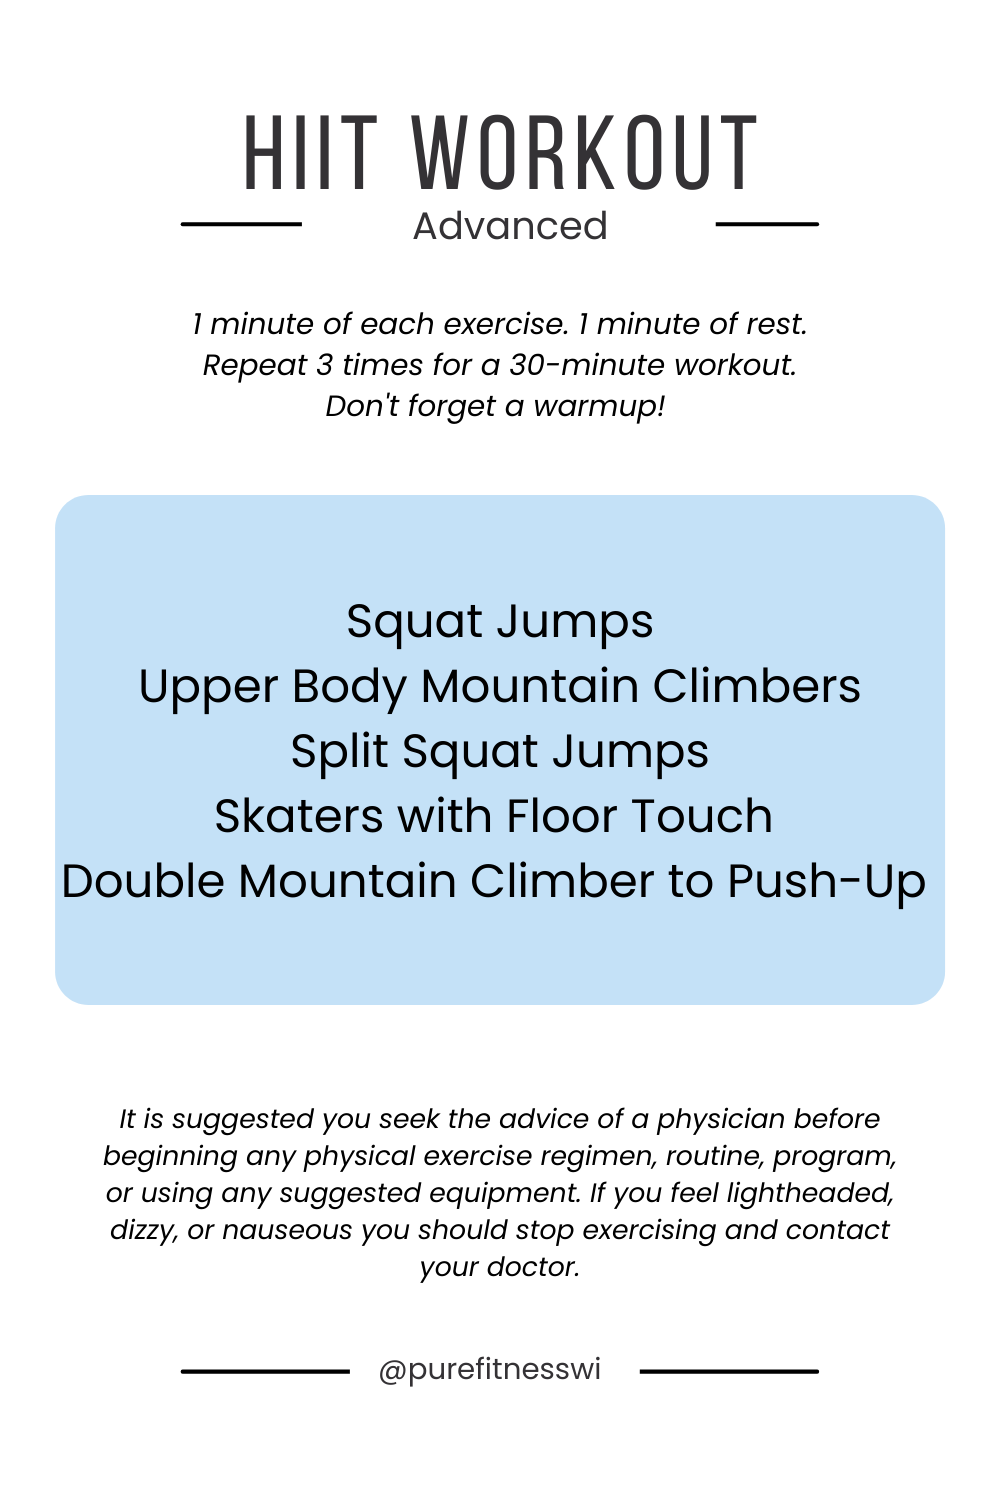
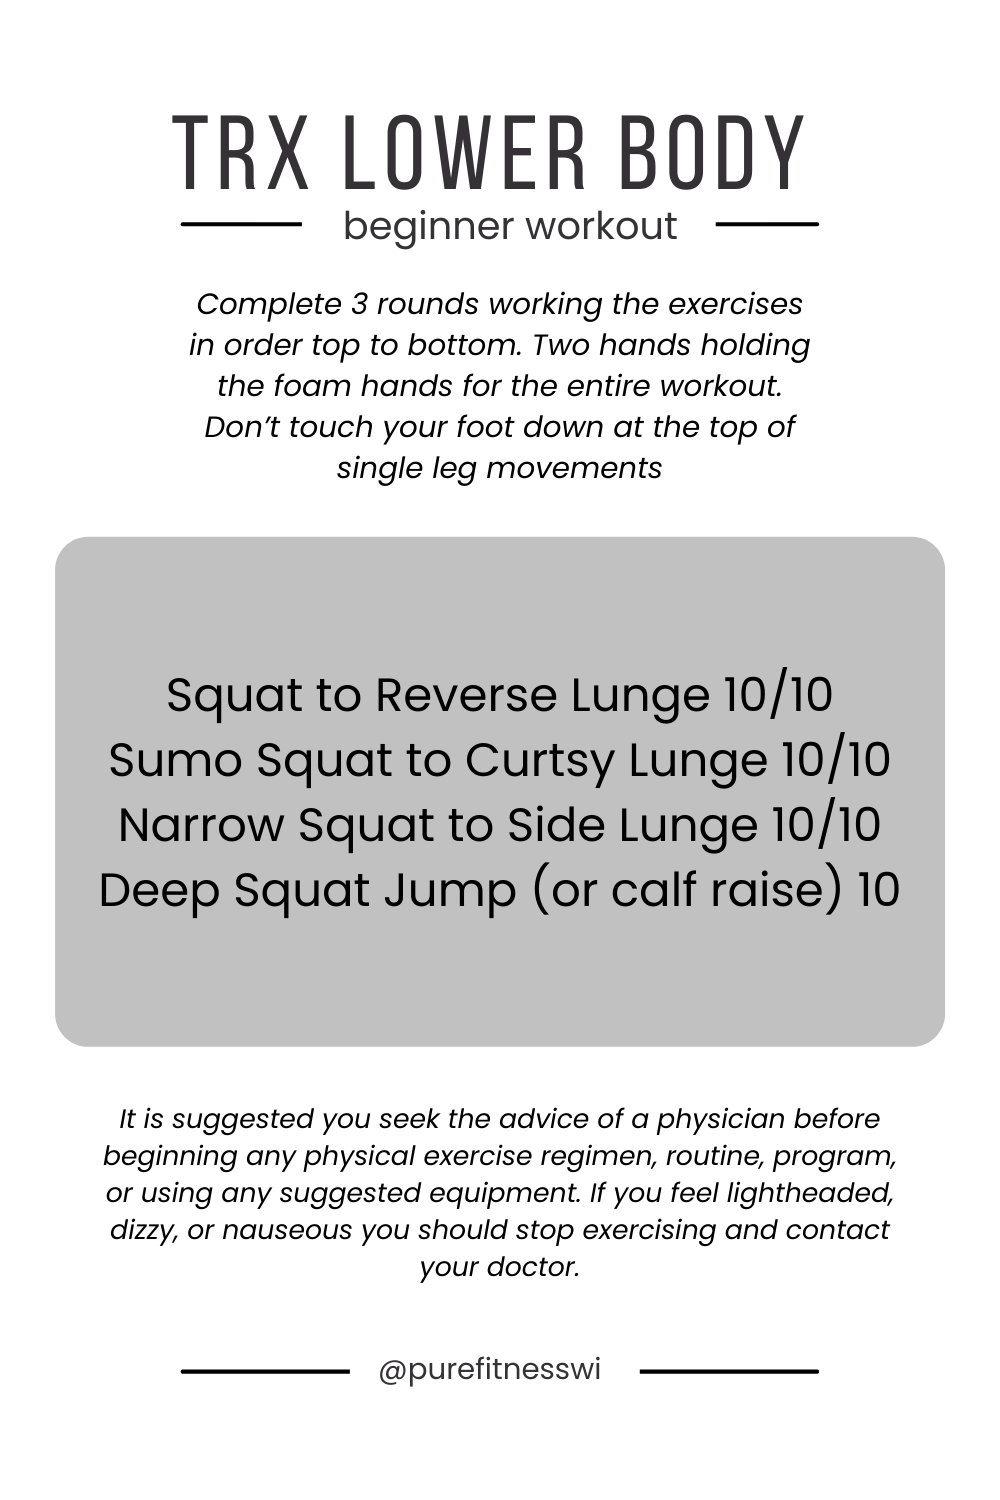
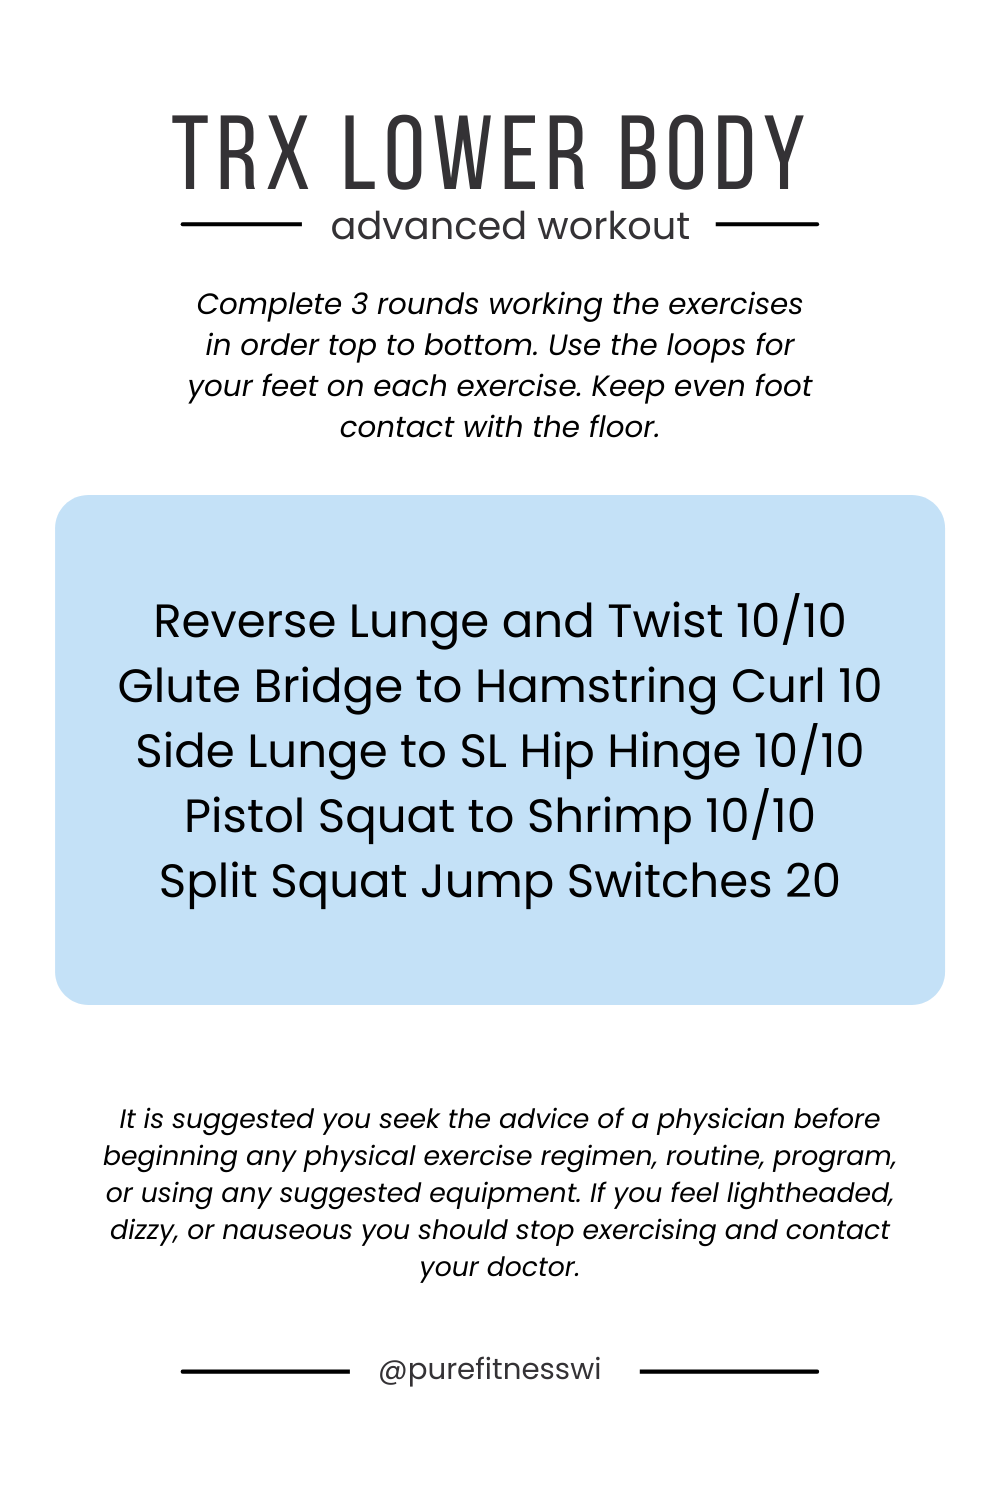
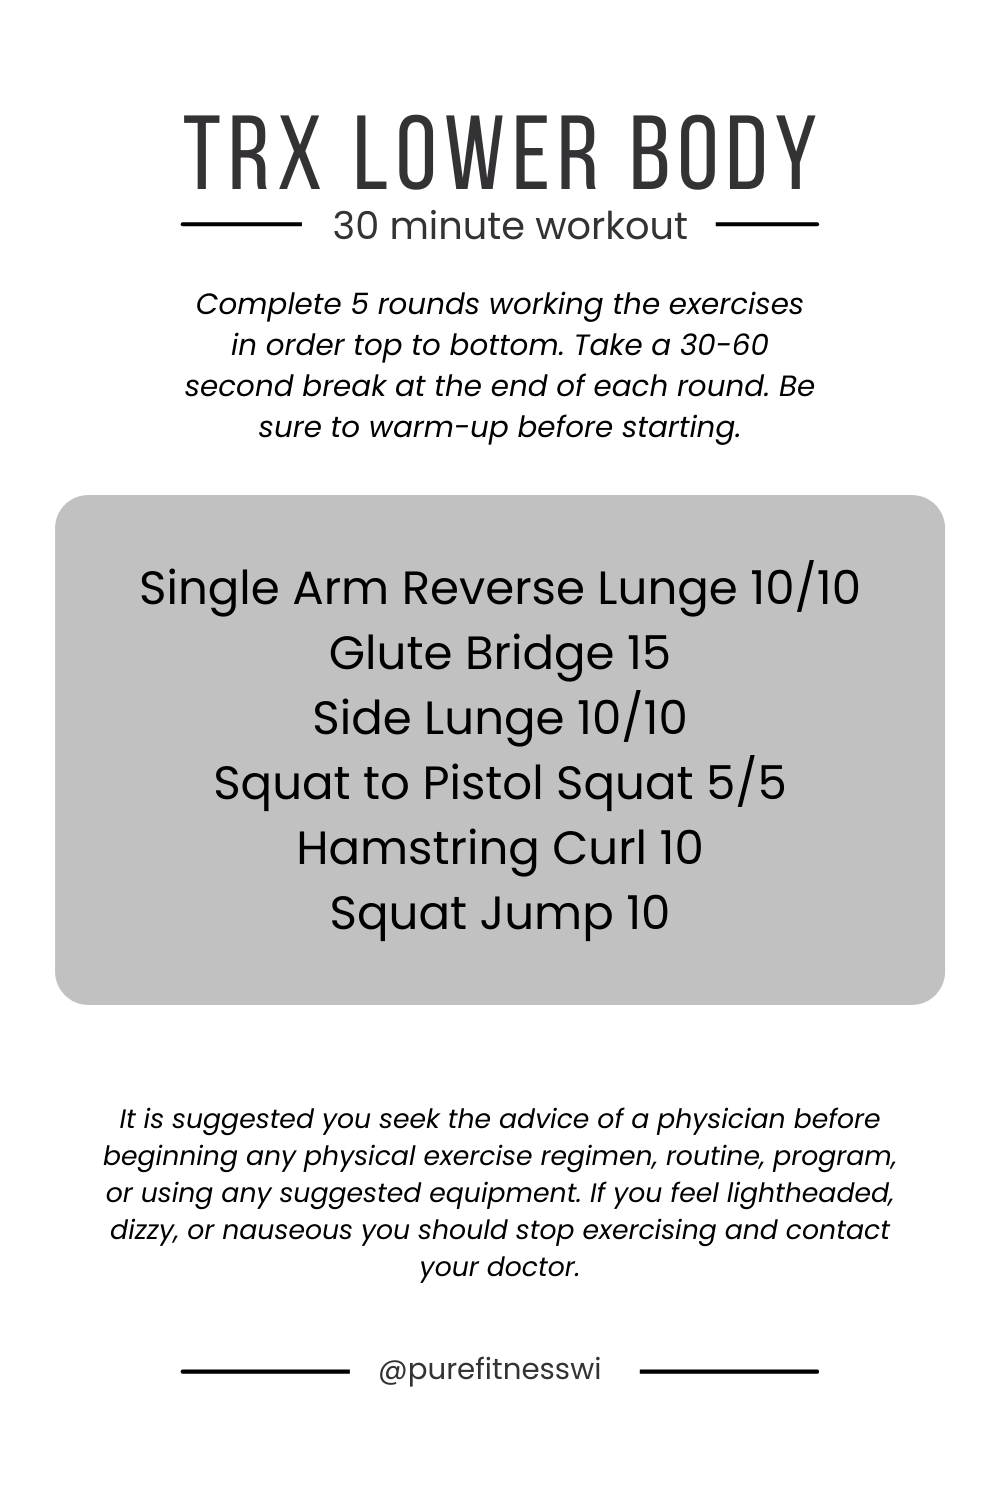
TRX WORKOUTS
There are various workouts for mobility, upper, lower and core. One of my favorite things to do is mix in cardio intervals after every round. When I am doing a strength workout this breaks up the strength sets and increase my stamina. And when I am doing mobility it helps to keep variation in the workout and keep my body temperature and blood flow to muscles high.

EQUIPMENT – WHERE TO BUY A TRX
These are affiliate links. While there is no cost to you when you order through them, I do make a commission. Your support, by ordering through them, is greatly appreciated!
You can find a TRX all over the place. But if you want to support me and the Pure Fitness team you can order through this link on Amazon 😃
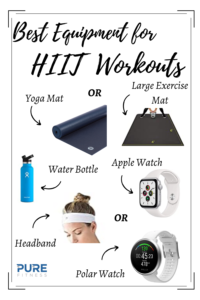
Now for some items you will want to use with your TRX. A high quality exercise mat. My favorite brand is Manduka because it has lasted years, I don’t slip and it is easy to clean. I linked the one I use here.
If you have a space dedicated to a home gym I would get the TRX wall anchor. This way you don’t have to worry about moving your TRX in and out of a doorway every time you want to start and end your workout.


How Personal Trainers Can Attract Clients Consistently
read more

How to Maintain Golf Fitness During the Off-Season
The off-season is a crucial time for golfers to focus on maintaining and even improving their fitness levels. Staying in shape during this period not only helps prevent injury when the season resumes but also gives you a competitive edge. We are going to walk through...

Effective Workouts for Busy Women: Stay Fit with Limited Time
Does anyone know why it is so easy for us to identify the reasons NOT to do something? If you asked someone what are some reasons working out is hard for you, they could list 10 reasons in 30 seconds. “I work long hours, I have kids, gym memberships are expensive,...