Let’s be honest: parenting is an all-consuming 24 hour role with no breaks. Between school drop-offs, meal prepping and cooking, laundry piles, and trying to keep tiny humans alive, finding time for yourself feels like a luxury. And if you are like me, you can think...

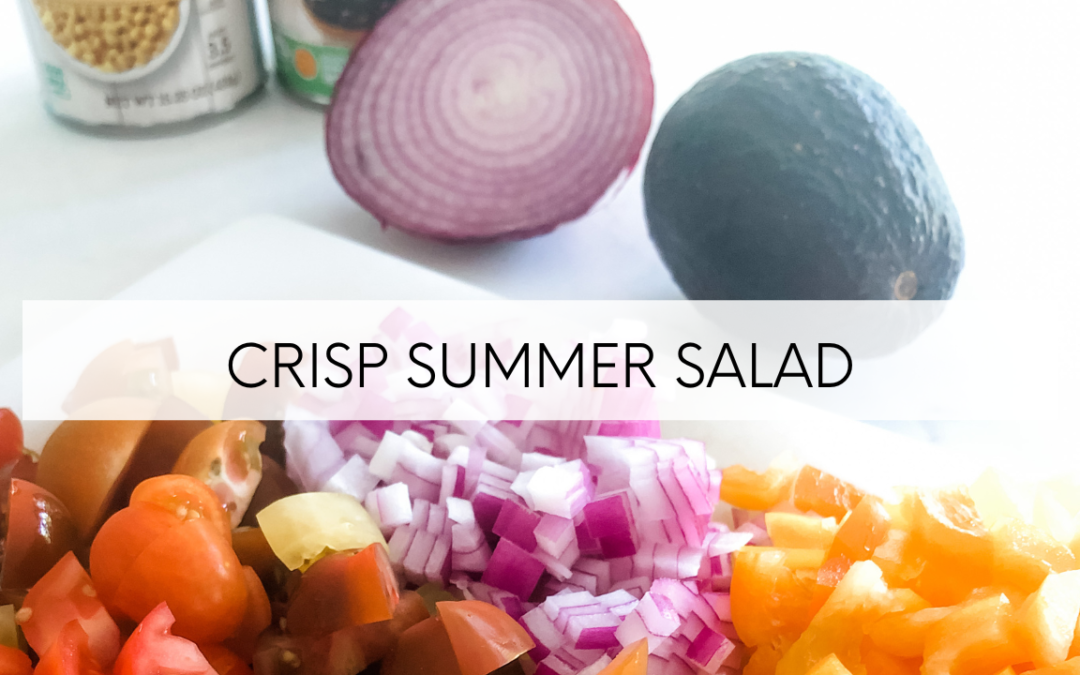
Grinder Salad Recipe
I think this recipe exploded the internet last summer and since then my girl friend and I have been tweaking and perfecting the recipe that we now consider the source of truth for all Grinder Salad to come.. Some of it might be the exact ingredients or maybe it is the dressing because after all that will make or break any salad. This final recipe leans heavy into the toppings to strike the perfect balance of crunch, it embraces the easy and scalable so you can make it for yourself or your next family gathering and it is bursting with flavor, protein and happiness. This is (my) perfect Grinder Salad.
In case you aren’t convinced all ready…
Why You’ll Love This Grinder Salad
- Healthy Ingredients: Packed with fresh Romaine lettuce, bell peppers, garbanzo beans, and more, this salad delivers essential nutrients from a variety of sources.
- Quick and Easy: it is genuinely so easy to chop all the ingredients and mix the dressing on a Sunday and make it (several times) during the week.
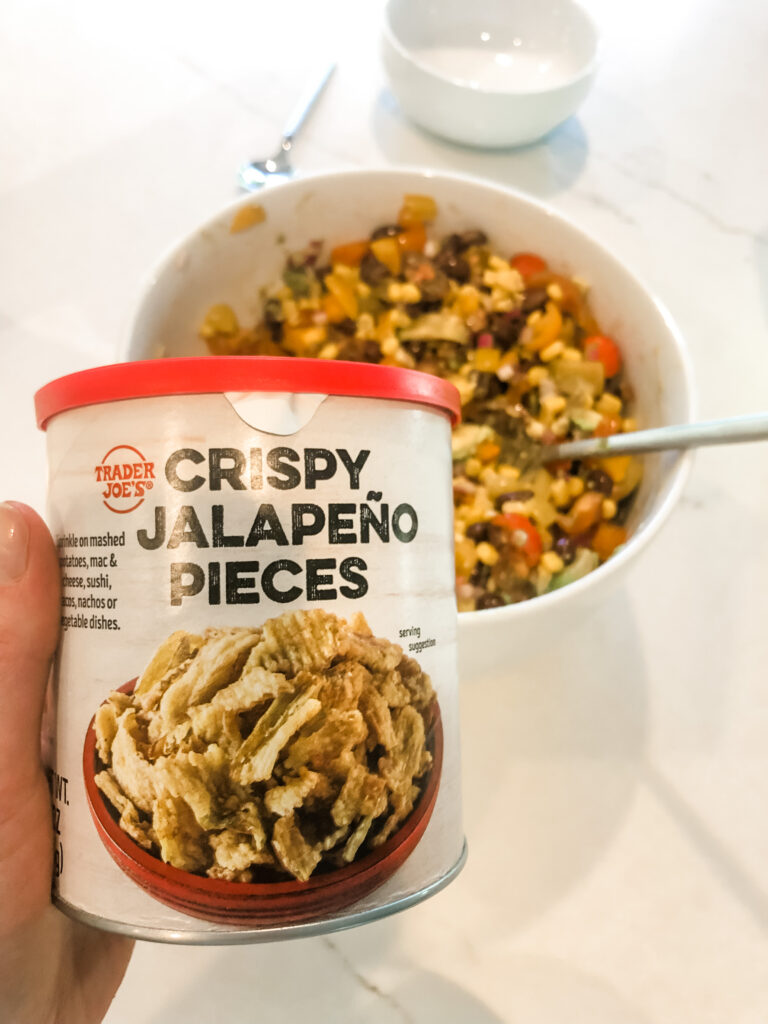
- Customizable: Swap out ingredients to suit your taste or dietary needs. Sure you can do this, its how we got to where we are today, but really why mess with perfection? 🙂 OK, fine. Here are some other ingredients we have tried: tomatoes, cucumbers, chicken, turkey, kalmata olives, white onions, and jalapeno (I still do this one).
- Protein-Packed: With salami, garbanzo beans, and Greek yogurt in the dressing, this salad offers plenty of protein to keep you satisfied and help you build or maintain strength.
Ingredients You’ll Need
2 Servings
Salad Ingredients:
- 1 medium sized head of Romaine lettuce, finely chopped
- 1/4 red onion, thinly sliced
- 1/3 cup chopped banana peppers
- 8 pitted green olives, chopped
- 1 cup chopped bell peppers
- 1/2 can of drained garbanzo beans
- 1/2 cup salami, chopped
- 1/2 cup shredded white cheddar cheese (no comparison to Trader Joe’s Unexpected Cheddar)
Dressing Ingredients:
- 1 cup Greek yogurt
- 2 tbsp mayonnaise
- 1 tbsp yellow mustard (Trader Joe’s Dijon is soooo good)
- 2 tbsp red wine vinegar
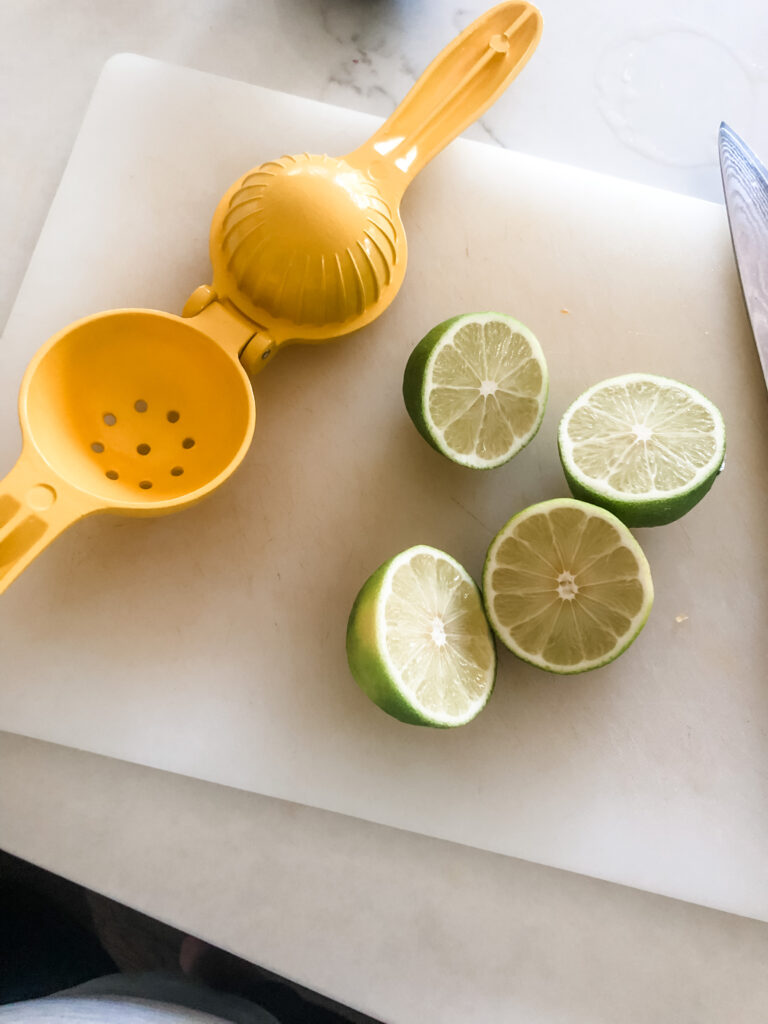
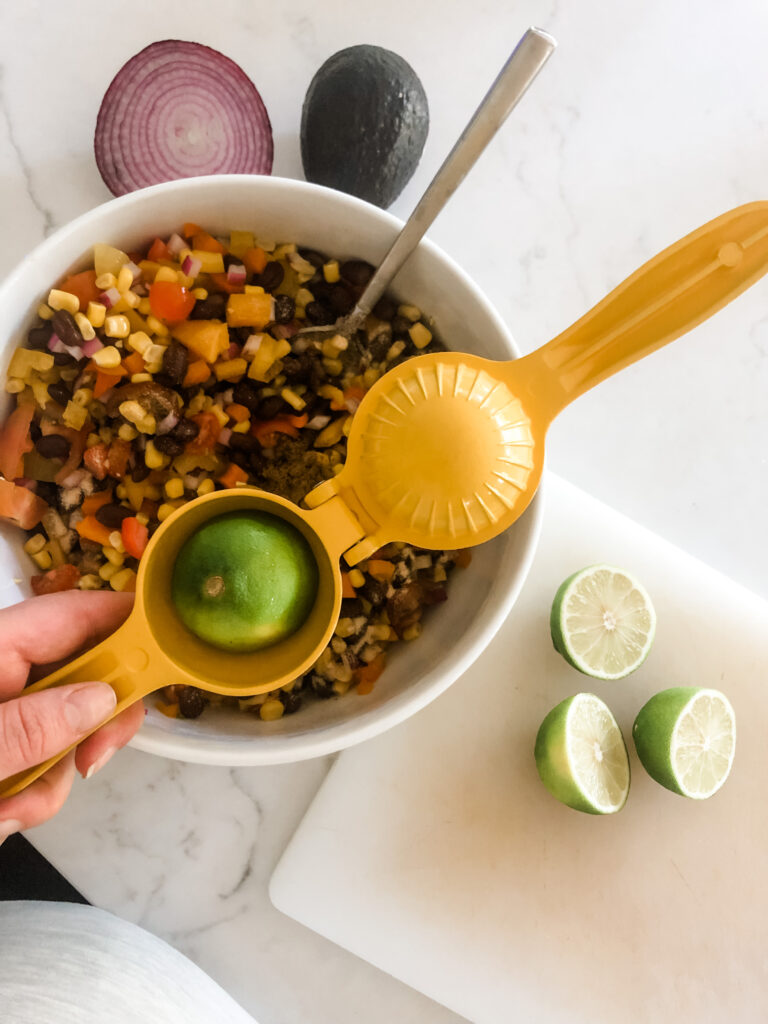
- Juice from 1/2 a lemon
- 2 tbsp banana pepper juice
- 1 tbsp olive oil
- Trader Joe’s Aglio Olio seasoning (or your favorite seasoning blend)
- 2 tbsp honey, to taste
Step-by-Step Instructions
- Prepare the Salad Base: In a large mixing bowl, combine the chopped Romaine lettuce, red onion, banana peppers, green olives, bell peppers, garbanzo beans, salami, and shredded white cheddar cheese.
- Whisk the Dressing: In a small bowl or jar, whisk together the Greek yogurt, mayonnaise, mustard, red wine vinegar, lemon juice, banana pepper juice, olive oil, seasoning, and honey until smooth.
- Combine: Pour the dressing over the salad mixture and toss thoroughly to ensure all the ingredients are coated.
- Serve and Enjoy: Serve immediately or store in the refrigerator for a few minutes to chill. If you are storing for the week DO NOT put the dressing on until you wan to serve.
Health Benefits of Grinder Salad
This Grinder Salad is not just delicious; it’s also loaded with nutrients:
- Romaine Lettuce: A low-calorie base rich in fiber and vitamins A and K, but let’s not forget the banana peppers that are also high in fiber, low in calories and rich in antioxidants.
- Garbanzo Beans: A great source of plant-based protein and fiber and for many offers a new food, not commonly consumed for the week.
- Greek Yogurt Dressing: Provides probiotics, protein, and a creamy texture without the heaviness of traditional salad dressings. Greek yogurt and cottage cheese have been the most impactful changes between end of 2024 and into 2025 for me and my family – they can so easily be added to recipes to boost flavor and protein.
Save this Grinder Salad recipe for your next meal plan! Whether you’re hosting a party, prepping lunches, or enjoying dinner, this salad is versatile and satisfying. Plus, it’s the perfect way to get more veggies and protein into your day.
GET MORE INFORMATION


How to Balance Parenthood and Fitness Without Losing Your Mind
read more

Debunking Common Fitness Myths to Get Real Results
Sorting Through Fitness Myths: What Really Works? If you’ve ever tried to get fit, you’ve probably encountered a flood of conflicting information. One day, carbs are the enemy; the next, they’re essential. Some say cardio is the best way to lose weight, while others...

How Personal Trainers Can Compete with Established Trainers
Starting as a business as a personal trainer can feel overwhelming, especially when competing with experienced trainers who already have a strong client base. Thankfully, with a few marketing tips, an intentional plan and consistency you can build your reputation and...
10950 N. Buntrock Ave, Mequon, WI 53092