Let’s be honest: parenting is an all-consuming 24 hour role with no breaks. Between school drop-offs, meal prepping and cooking, laundry piles, and trying to keep tiny humans alive, finding time for yourself feels like a luxury. And if you are like me, you can think...
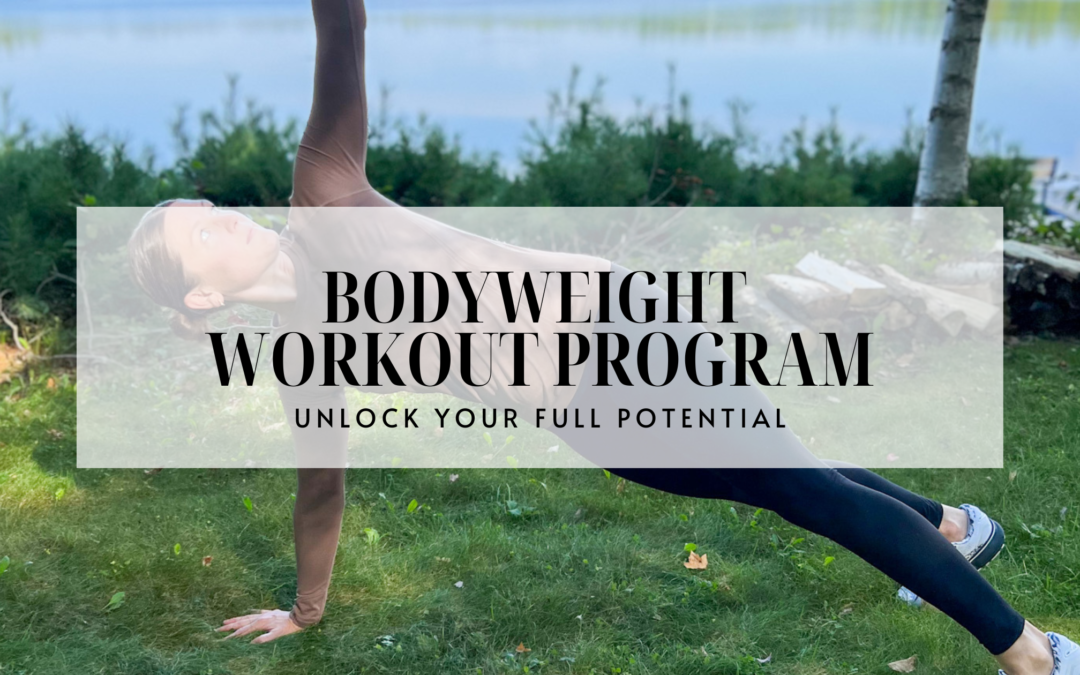
Unlock Your Full Potential: The Bodyweight Workout Program
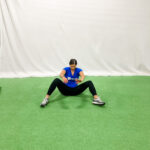
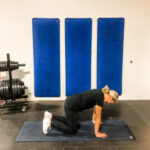
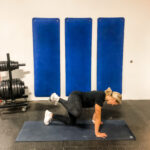
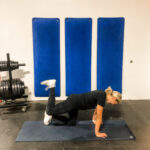
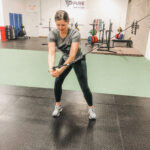
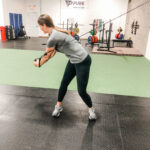
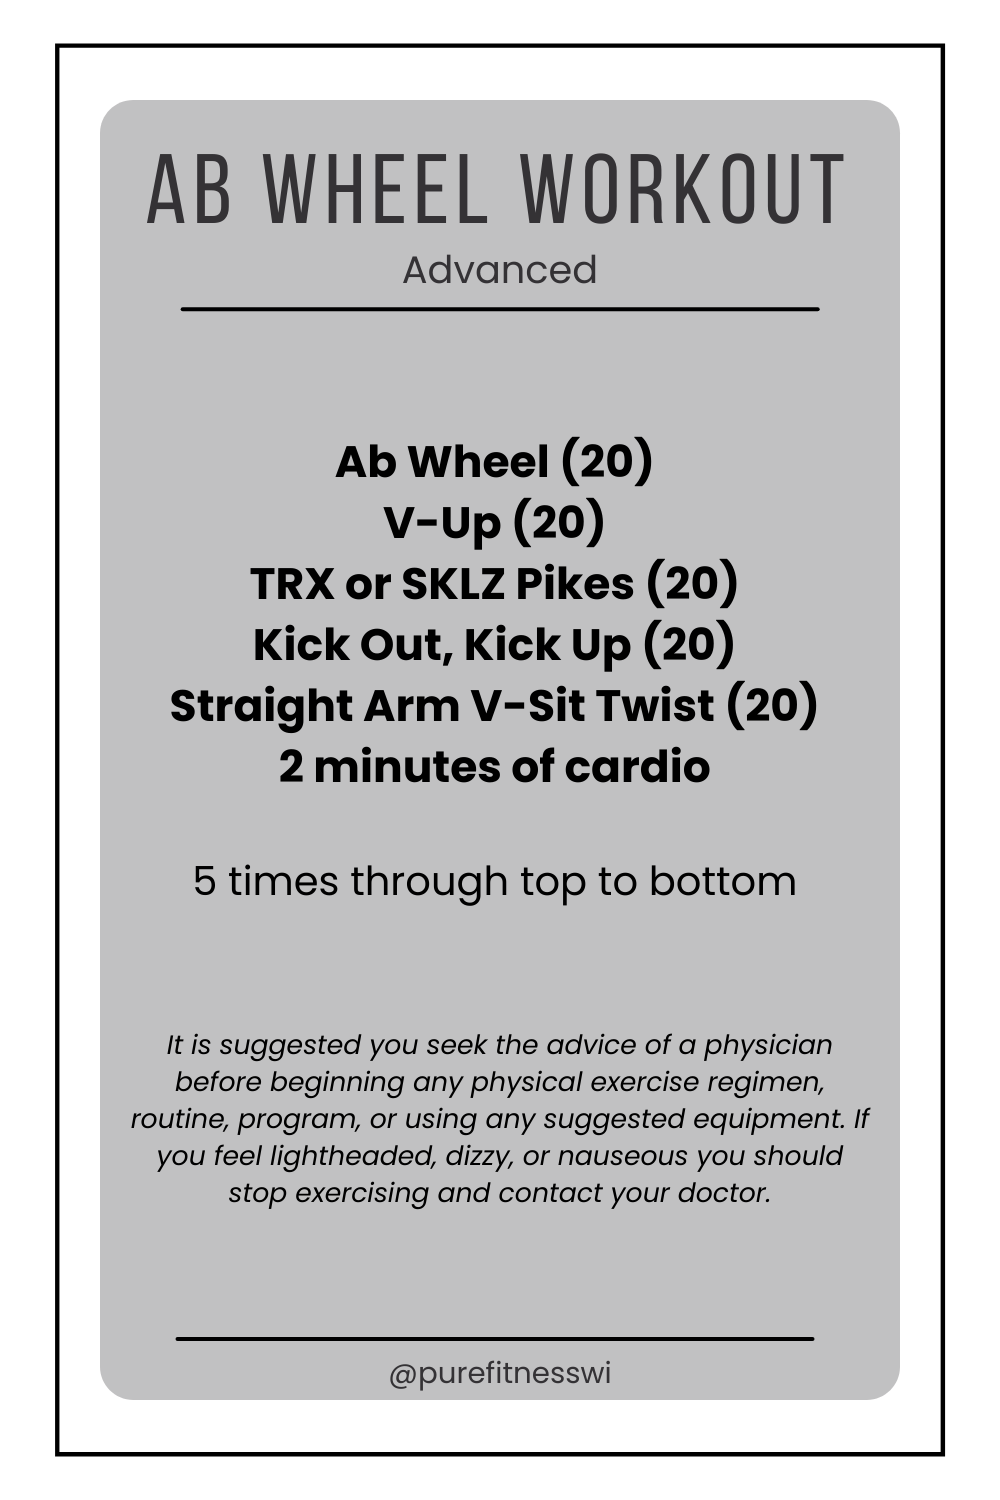
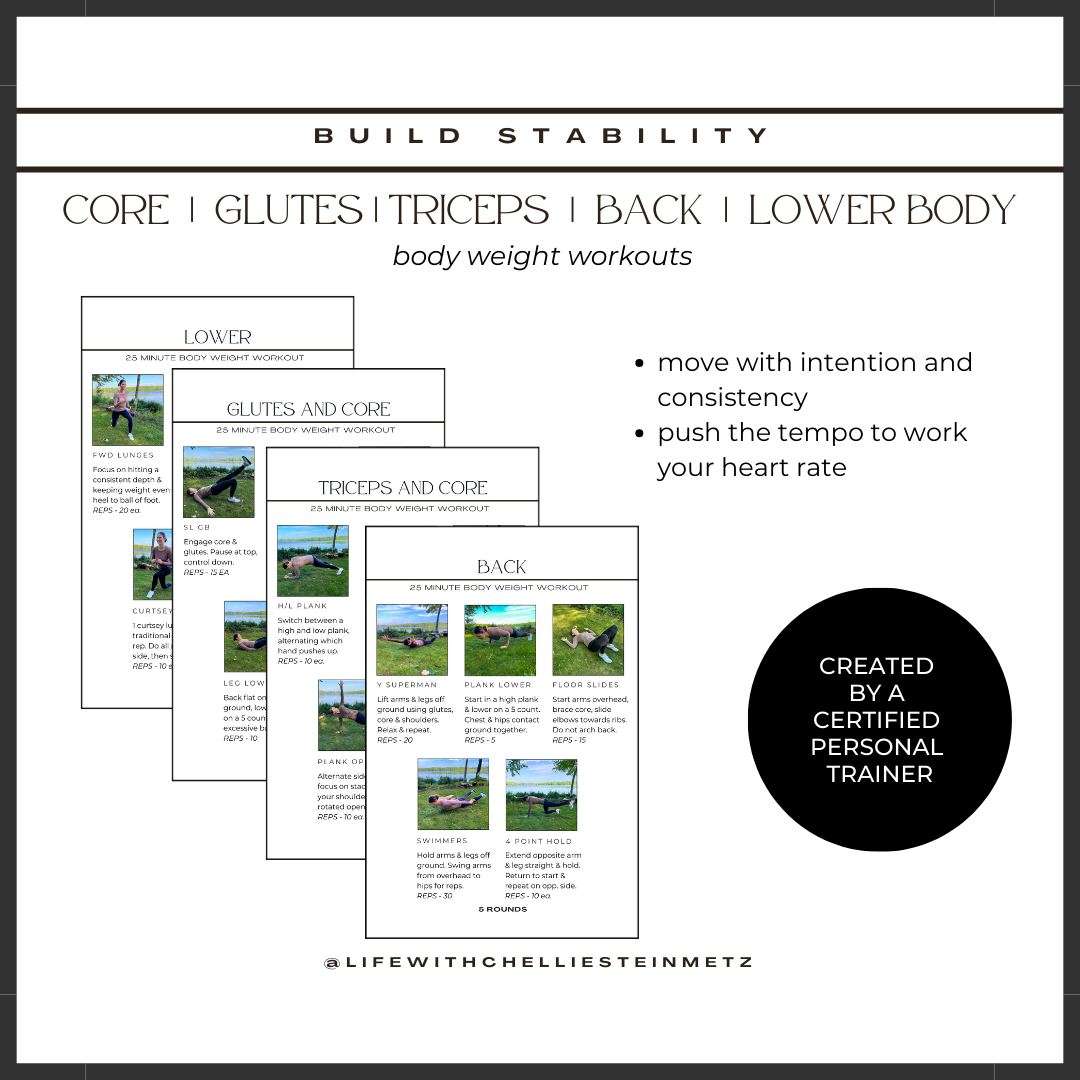
Are you looking to transform your body, boost your fitness, and achieve your health goals without the need for expensive gym memberships or fancy equipment? Look no further! I have an amazing solution for you, my Bodyweight Workout Program.
In today’s fast-paced world, it can be easier to skip a workout than to show up. But your health should always be a priority, and staying fit doesn’t have to be complicated or costly. My Bodyweight Workout Program is here to help you take a step toward consistent workouts.
EFFECTIVE, AFFORDABLE, CONVENIENT
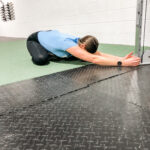
- Convenience and Accessibility: My Bodyweight Workout Program is tailored for individuals who value convenience. It eliminates the need to commute to a gym or invest in expensive fitness equipment. You can perform these workouts wherever you are, whenever it suits you, whether that’s at home, in your backyard, or even while traveling. No more excuses – your fitness journey is at your fingertips.
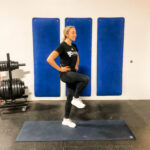
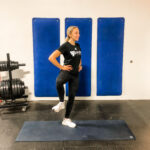
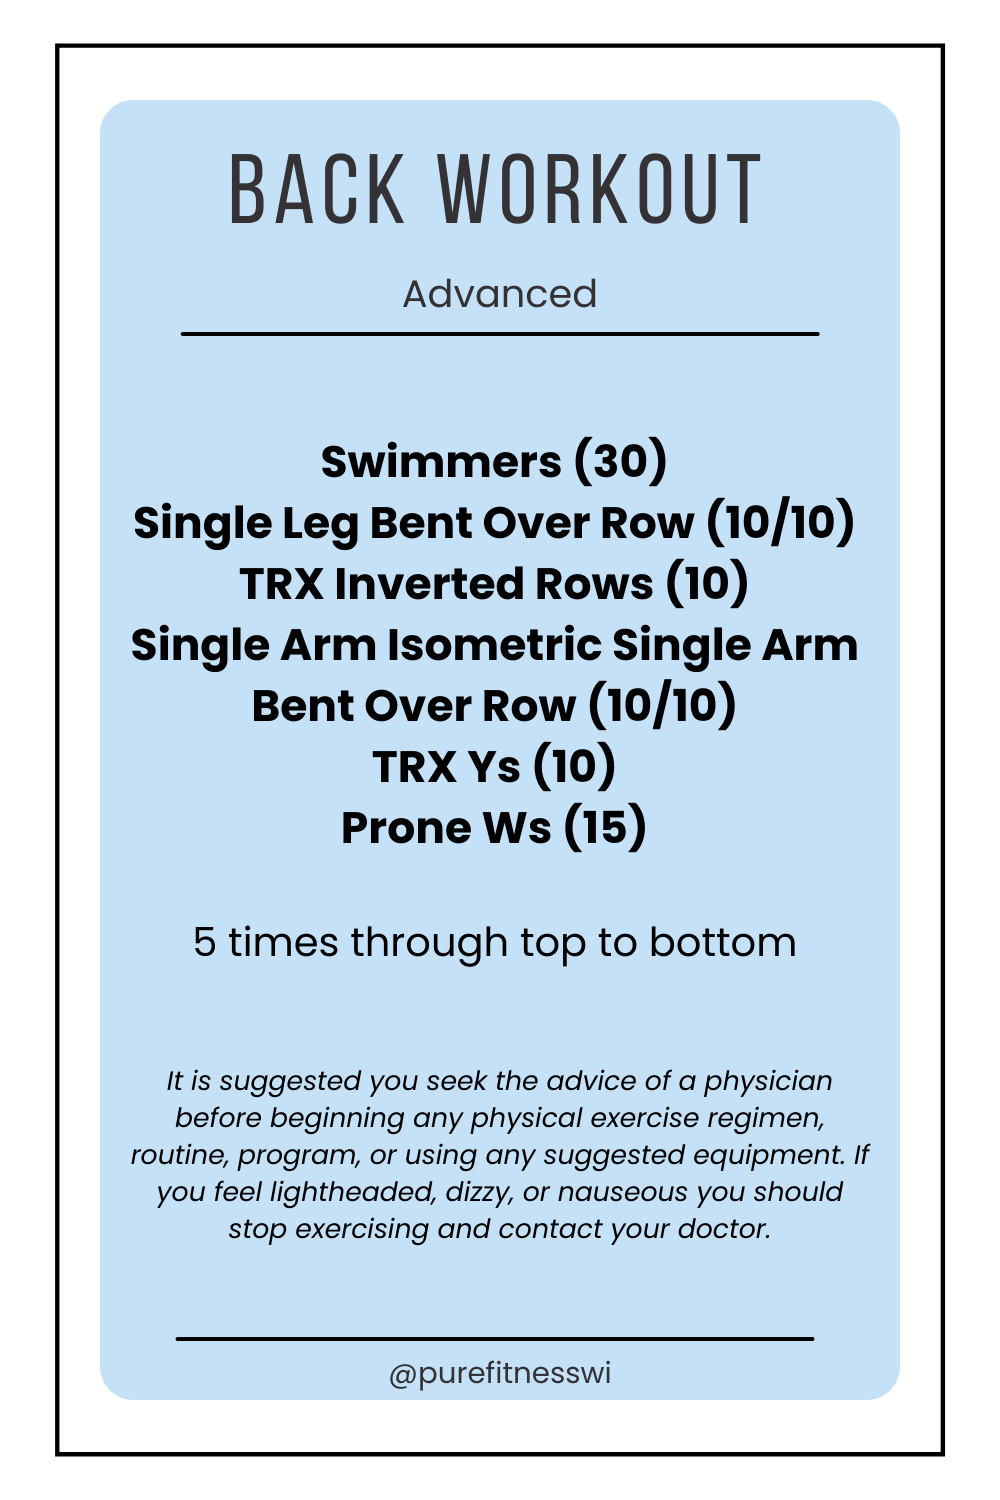
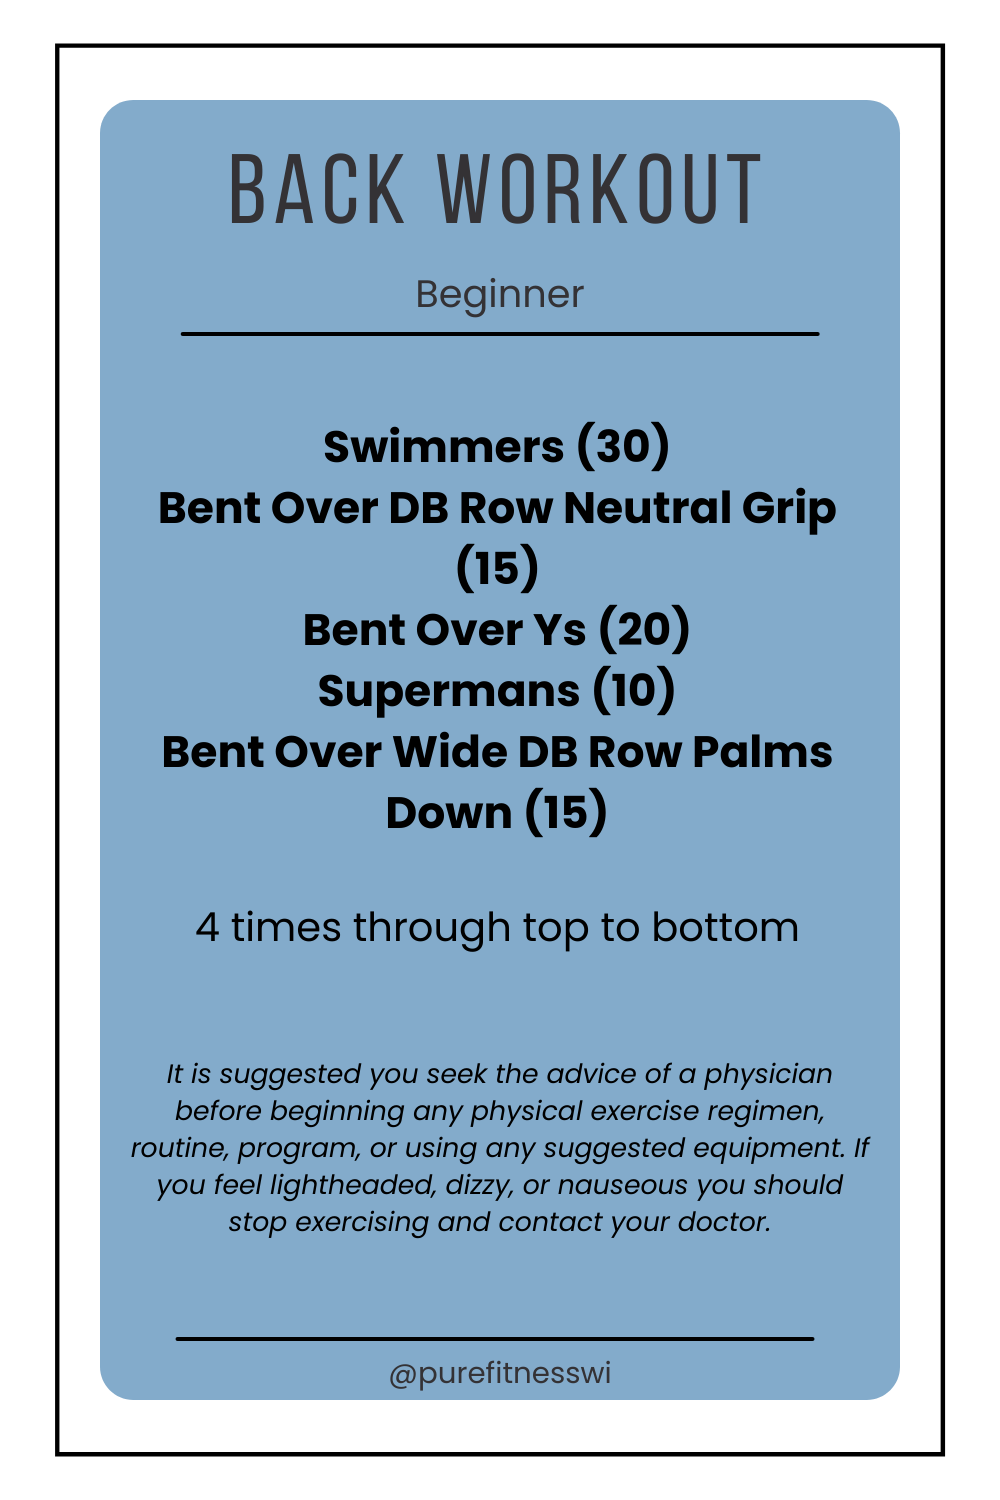
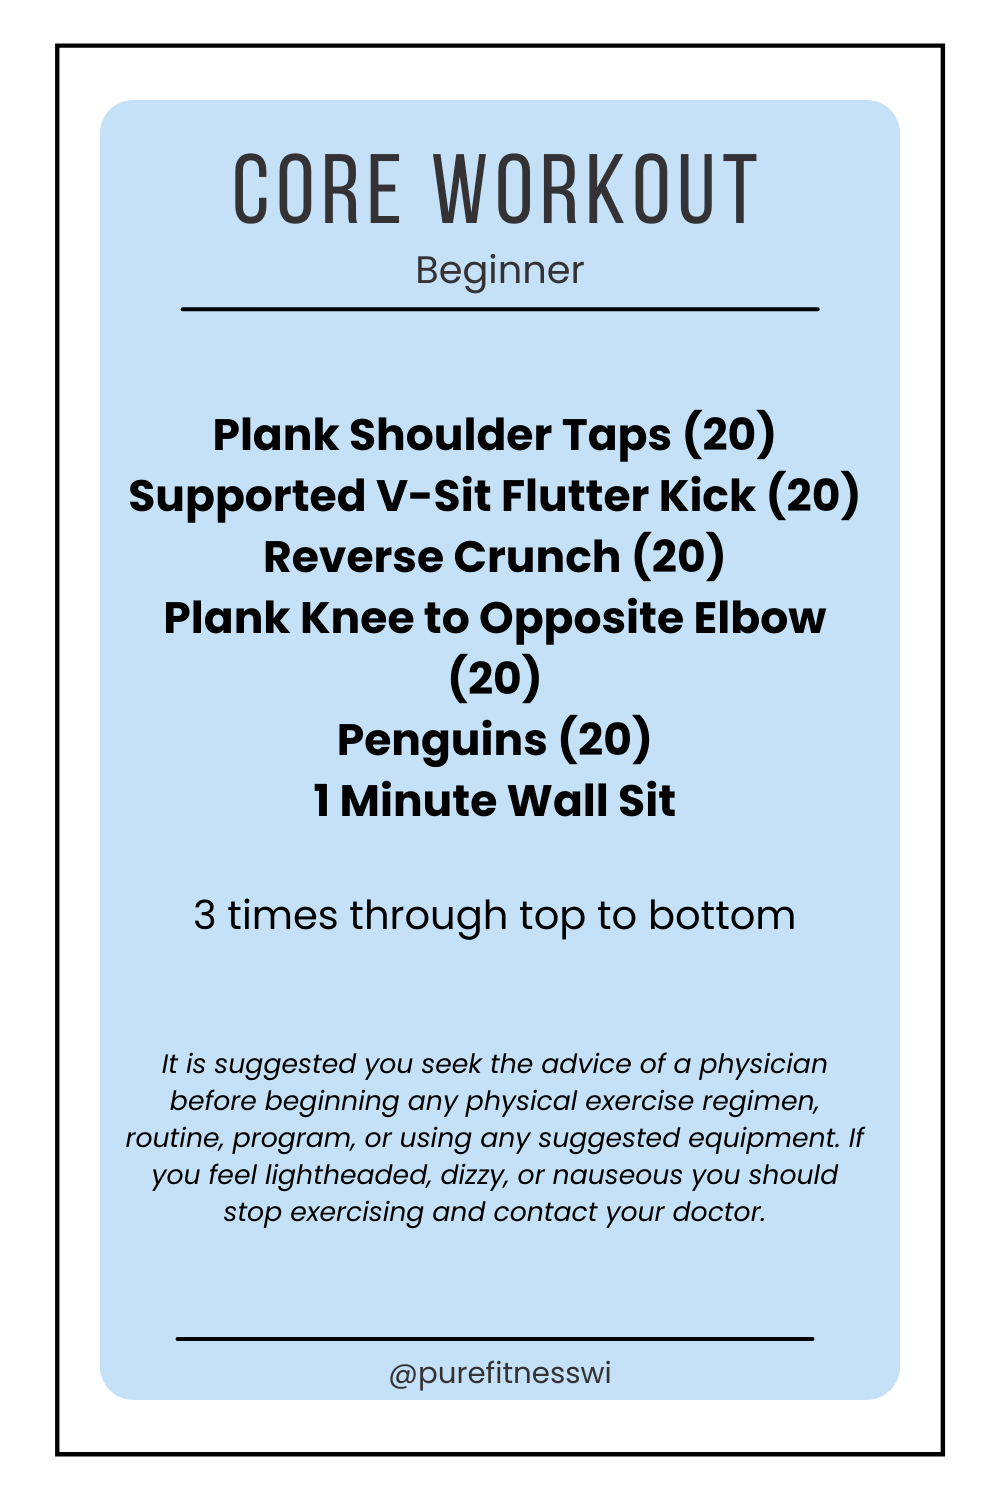
- Suitable for All Fitness Levels: Whether you’re a fitness enthusiast or just starting on your health and wellness journey, this program is designed to accommodate all fitness levels. Each workout intensity can be adjusted to match your current abilities, making it a fantastic choice for both beginners and advanced exercisers.
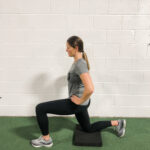
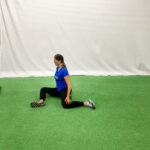
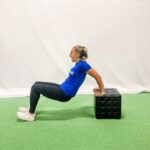
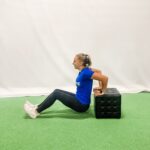
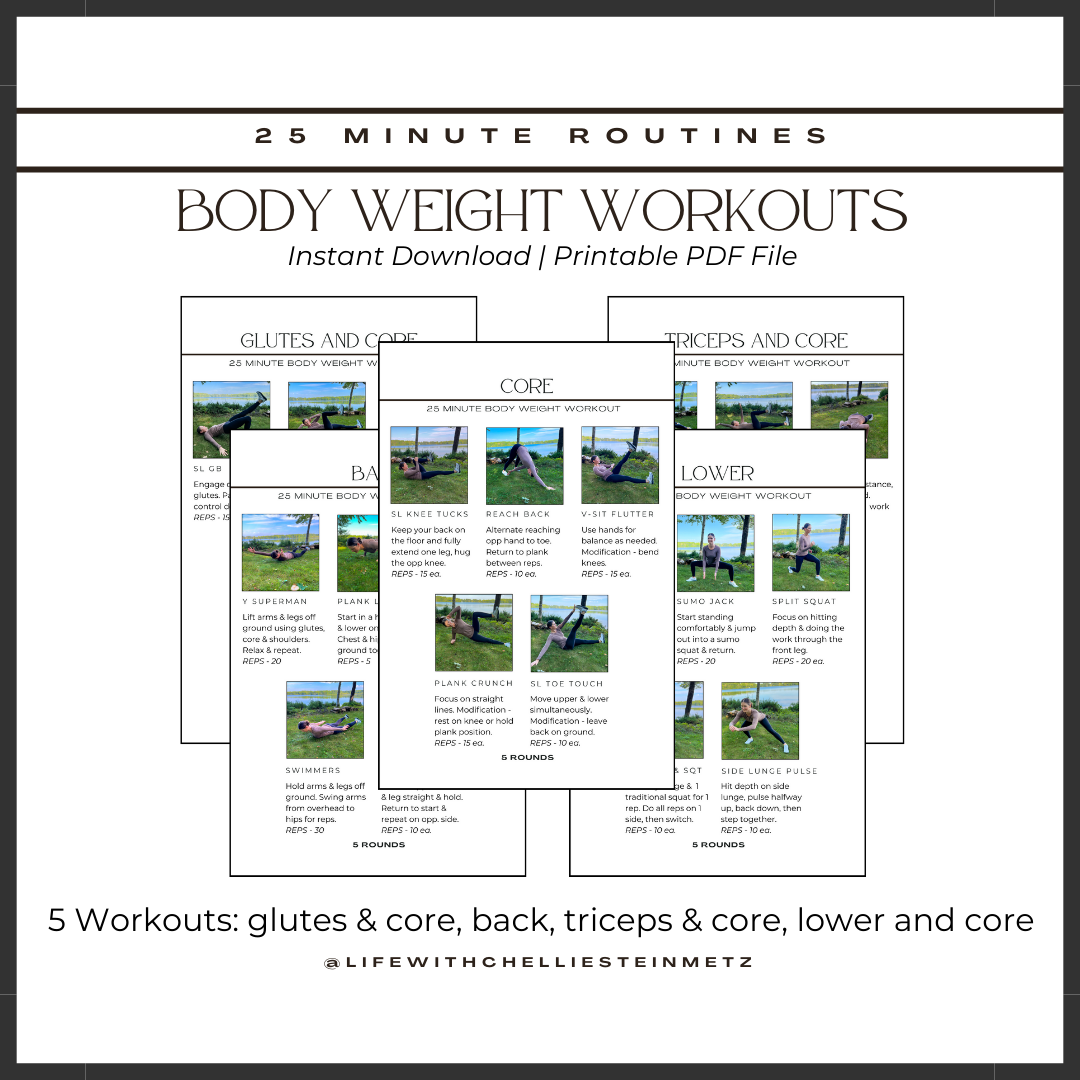
- Balanced Workouts: One size doesn’t fit all when it comes to fitness. I recognize this, which is why my Bodyweight Workout Program trains the entire body, focusing on creating strength and symmetry. The flexibility to pick your daily workout ensures you stay engaged and disciplined as you work towards your unique fitness goals.
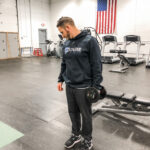
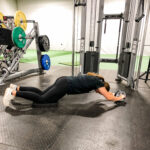
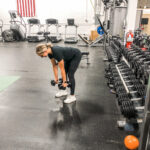
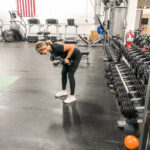
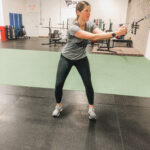
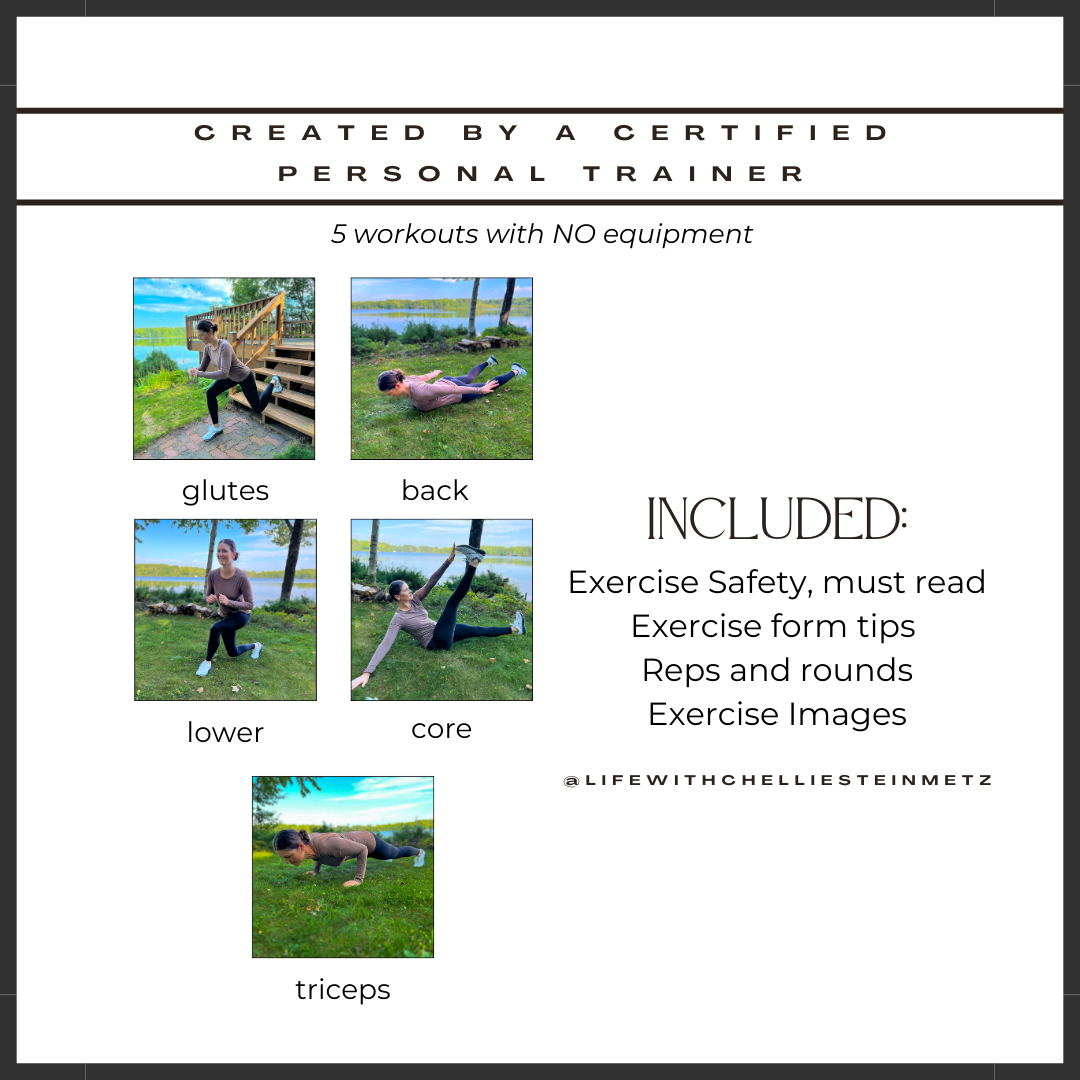
- No Additional Equipment Required: Don’t have a set of weights, resistance bands, or exercise machines at home? No worries! My Bodyweight Workout Program relies exclusively on you. Ensuring that you can still achieve an effective and challenging workout without any extra equipment. These exercises were selected to improve your overall fitness, balance, and coordination using nothing but your own body.
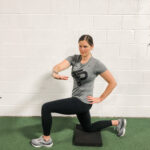
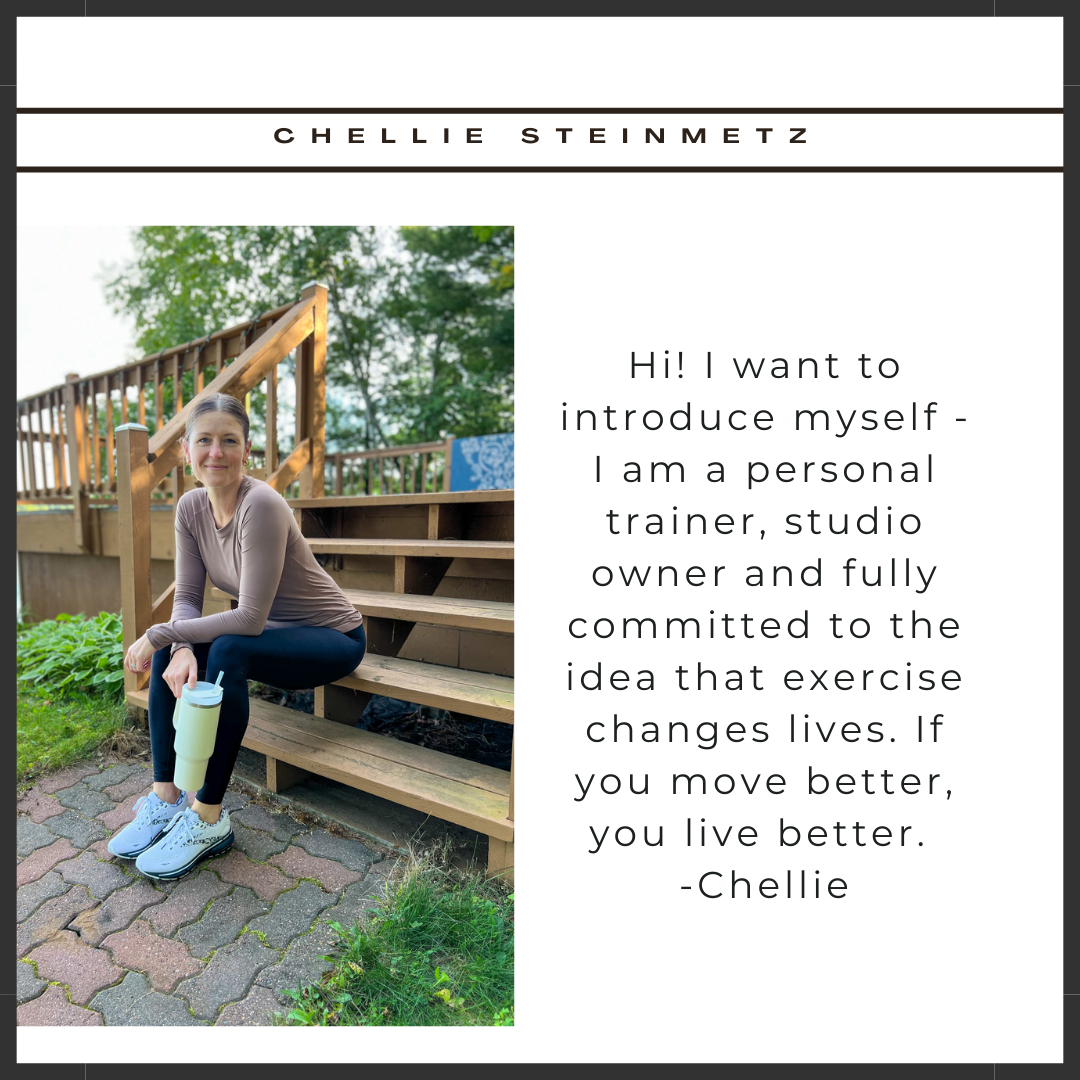
- Expert Guidance and Support: I have meticulously designed this program to help you achieve your fitness goals. My 15 years experience as a personal trainer, degree is exercise science and dedication to fitness create the foundation for this workout routine. You’ll have access to my guidance and support throughout your journey, should you want it, ensuring that you’re never alone on your path to better health.
FREE TIP
Music is one of my top recommendations for someone struggling with workout consistency. There is actual data about the impact music can have on your workout and how you can use it to improve your performance. If you found me and my bodyweight workout program because you are in NEED of something new, consider changing up your music too.
GAME CHANGER, THE BODYWEIGHT WORKOUT PROGRAM
I made this Bodyweight Workout Program or anyone seeking a practical, affordable, and effective fitness routine. Because I believe that you don’t need to break the bank or spend hours at the gym to achieve your health goals. With this program, you can take control of your well-being on your own terms.
Invest in yourself today and embark on your journey towards a healthier, fitter, and happier you. Don’t miss out on the opportunity to make a positive change in your life – use the link below to visit my Etsy store and grab your Bodyweight Workout Program now. Your health is worth it!


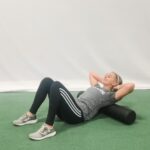
How to Balance Parenthood and Fitness Without Losing Your Mind
read more

Debunking Common Fitness Myths to Get Real Results
Sorting Through Fitness Myths: What Really Works? If you’ve ever tried to get fit, you’ve probably encountered a flood of conflicting information. One day, carbs are the enemy; the next, they’re essential. Some say cardio is the best way to lose weight, while others...

How Personal Trainers Can Compete with Established Trainers
Starting as a business as a personal trainer can feel overwhelming, especially when competing with experienced trainers who already have a strong client base. Thankfully, with a few marketing tips, an intentional plan and consistency you can build your reputation and...
10410 N Baehr Rd, Mequon, WI 53092