

As the heartbeat of the fitness world, personal trainers hold a unique power - the power to transform lives, ignite passion, and inspire lasting change. Now, imagine channeling that incredible force into something even more extraordinary - your own fitness business....
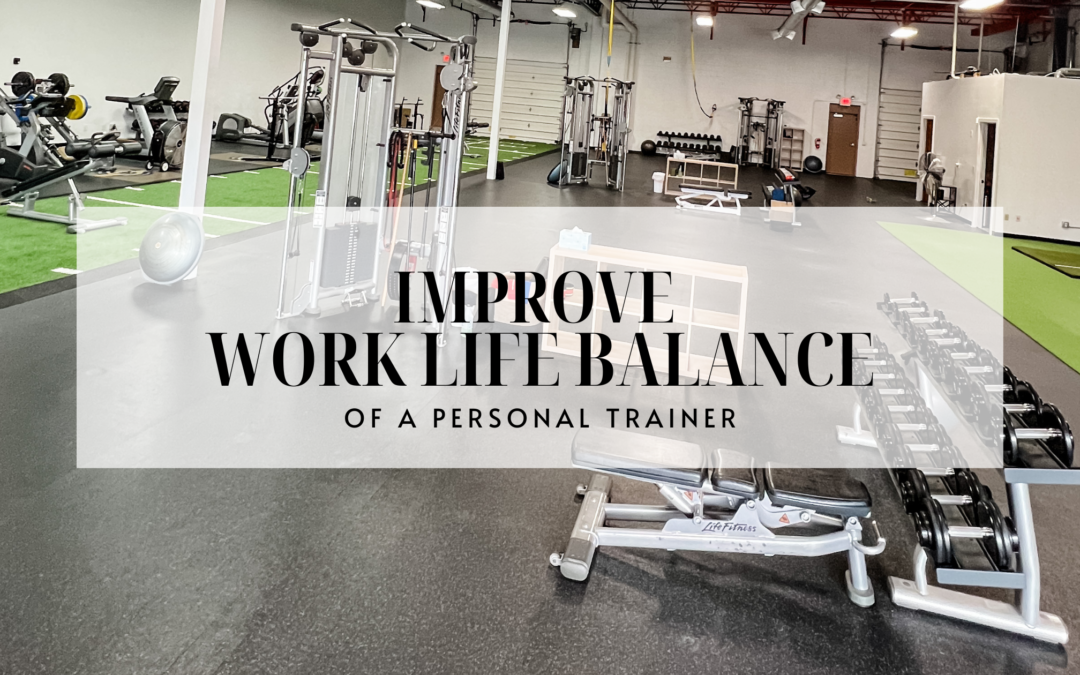
Improve the Work Life Balance of a Trainer
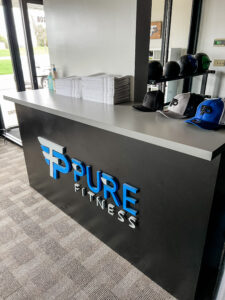
The fitness industry is a growing and exciting area right now. Personal training, specifically boutique fitness, is a creative, flexible, and in-demand space that grows annually. It is also one that struggles to retain personal trainers due to multifaceted job dissatisfaction. Here is how Pure Fitness is going to improve the work life balance of a personal trainer allowing them to love their career and take hold of their future.
CURRENT LANDSCAPE IN PERSONAL TRAINING
According to the Bureau of Labor and Statistics the industry is projected to grow 39% with a personal trainer turnover of 80-90%. This turnover can be attributed to work hours, pay and stunted career growth.
Most positions for personal trainers are hourly based with few opportunities for salaried positions. It is true that in some cases an hourly position can be very lucrative. That is rarely the case for personal trainers.
The average personal trainers are working on an hourly pay basis hoping to pick-up new clients, grow their business and build stability. To do so they need to make themselves available. That means all day, every day, including weekends. This wide open schedule allows personal trainers to cast the broadest net. Successfully attracting the largest number of clients to stimulate income.
On a national average, personal trainers make $40,500 annually depending on employer and geographic location. At 40 hours a week and 52 weeks in year, the average trainer is making approximately $19.50 per hour.
Career growth is represented by new roles and responsibilities and an increase in compensation. In the case of a personal trainer, vertical growth (new roles and responsibilities) are rare. Hourly pay is a result of how much a client pays per session, which will directly limit earning potential.
THE CHALLENGES FACING A CAREER AS A PERSONAL TRAINER
A personal trainer’s work hours will always be dictated by client availability. Most people want to train before work, at lunch, or after work. For a trainer to work a standard 8-9 hour day of sessions they are likely to be working from 5 am to 8 pm, just not every hour.
That is the recipe for burnout.
Career growth comes to a halt after a few years for most personal trainers. Simply because there is a ceiling on how much people are willing to pay for personal training.
The result is that qualified personal trainers leave for more rewarding and lucrative opportunities. And others branch out on their own. Committed to staying in the industry.
HOW TO IMPROVE THE WORK LIFE BALANCE OF A PERSONAL TRAINER
Pure Fitness is here to offer a new opportunity. We are encouraging personal trainers new, old and part-time to look at a cost-effective way of owning their own business. To take control of the career growth and earning potential.
We offer passionate personal trainers, focused on the long-term, the ability to rent space. Effectively minimize overhead expenses and build the career they want. And alleviate much of the financial risk and stressors associated to business ownership.
Personal trainers renting at Pure Fitness have full control over their businesses. They set their price points, pick their schedules and more. There are no annoying responsibilities like cleaning and towel folding. Instead, personal trainers can focus on their craft, their career and their business.
Plus, we remain a resource for our renters. Sharing knowledge based on our education, time in the industry and personal success. A good example is this blog post on gauging success as a personal trainer.
MORE DETAILS
A monthly lease payment at Pure Fitness covers all overhead expenses, we guarantee there will be no surprises. Rent, internet, cleaning, garbage, landscaping/snow removal, music, utilities and more are all covered in the monthly payment. It also gives you access to your own dedicated, fully equipped training space and a common area with cardio equipment and additional strength training equipment.
If this opportunity is of interest to you please use the contact form below to learn more.
GET MORE INFORMATION

3 Reasons a Personal Trainer Thrives as Fitness Entrepreneur
read more

Fit Finds: The Ultimate 2023 Fitness Gift Guide
Welcome to the world of fitness and wellness gifting! As we gear up for 2023, it's time to start setting goals and looking for resources to help us succeed. Whether you're a fitness fanatic or seeking the perfect gift for one, our Ultimate 2023 Fitness Gift Guide is...
The Power of Social Proof In Personal Training
In the world of personal training, where trust and credibility play pivotal roles, the concept of social proof functions as an authentic way to connect with your audience. Social proof, the influence created when individuals see others engaging in a particular...
10950 N. Buntrock Ave, Mequon, WI 53092